 | ||
| Your browser is not supported. | ||
|
Please browse our site using any of the following options:
| ||
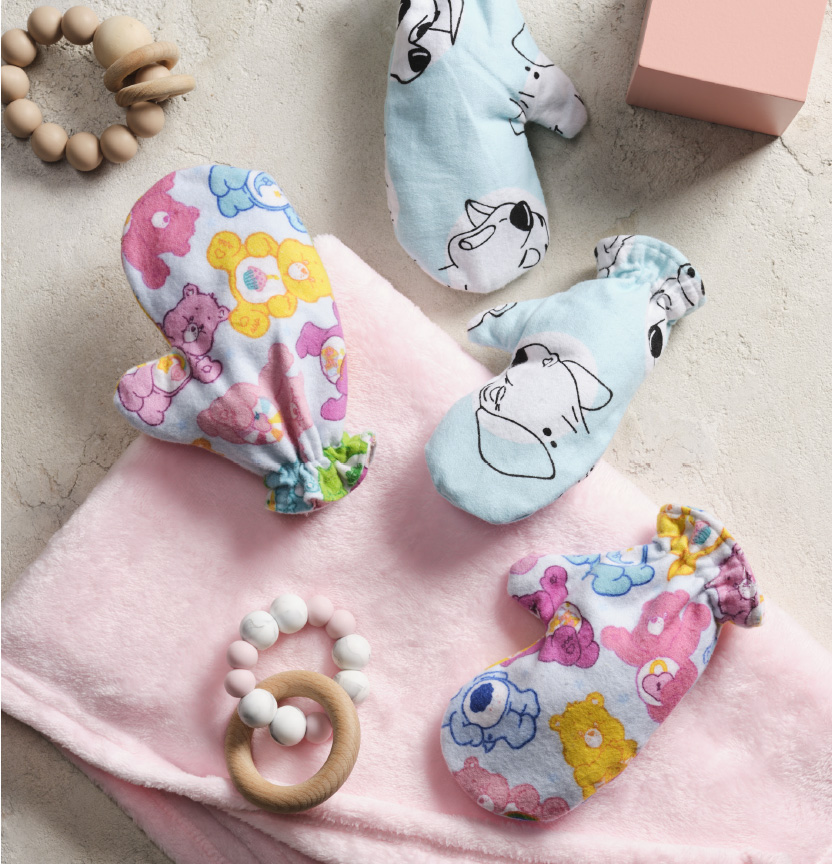
KIDS MITTENS

Level: Intermediate
What you'll need:
- Pins
- Scissors
- Thread
- Measuring tape
- Sewing Machine
- Sewing chalk or pencil
- .30cm fabric
- Safety Pin
- 30 cm of elastic
Instructions:
Mitten Lining
Step 1 - Using the pattern template, cut 8 of the mitten shapes. (8 cuts will produce two lined mittens).
Step 2 - Lay two pieces of the mitten pieces on top of each other right sides facing and pin together. Using the notches on the pattern (marked with xxx), mark the inseam under the thumb for the elastic casing.
Step 3 -Straight stitch sew from the top of the mitten piece to the first notch. Backstitch to secure. Insert your needle, lift the presser foot and position your foot and needle back into the fabric at the start of the next notch and continue to sew around the whole mitten piece. This gap will create an opening for the elastic.
Step 4- Repeat step 1-2 with another pair of mitten pieces. This will create the two mitten lining pieces.
Outer Mitten
Step 1 - Lay two pieces of the mitten pieces on top of each other right sides facing and pin together.
Step 2 - Straight stitch sew from the top of the mitten piece all around. Do not leave any spaces in the seam.
Step 3 - Repeat step 1-2 will the last pair of pattern pieces.
Constructing the Mitten
Step 1 - Taking your mitten lining, turn the piece out so the right side if facing out. Slip the outer piece inside the lining and match up the side seams and thumbs.
Step 2 - Using your pins the .5cm seam allowance of both the lining and outer mitten in to conceal the raw edges. Pin the hem around the top of the mitten, and straight stitch with the sewing machine.
Step 3 - Using the sewing chalk or pencil mark on the lining piece where your elastic casing needs to be stitched. These two lines should match up with the opening that was created when the lining was being sewn. (First line 5cm in from the edge of the mitten, second line should be 1.5cm above that)
Step 4- On the sewing machine straight stitch these two lines for your elastic casing.
Step 5 - Repeat step 1-4 on the other mitten.
Step 6 - Attach the safety pin to one end of your elastic and begin to feed through the elastic casing. Ensure that you hold on to the loose end of the elastic. Once your desired length of elastic has been fed through tie the ends together. Do this for both mittens.
TIP - Test the length of elastic around your child's wrist before threading through. It needs to go around their wrist but not be too tight. Add a couple centimeters for tying.
Step 7 - Turn mittens right way out and enjoy!


