 | ||
| Your browser is not supported. | ||
|
Please browse our site using any of the following options:
| ||
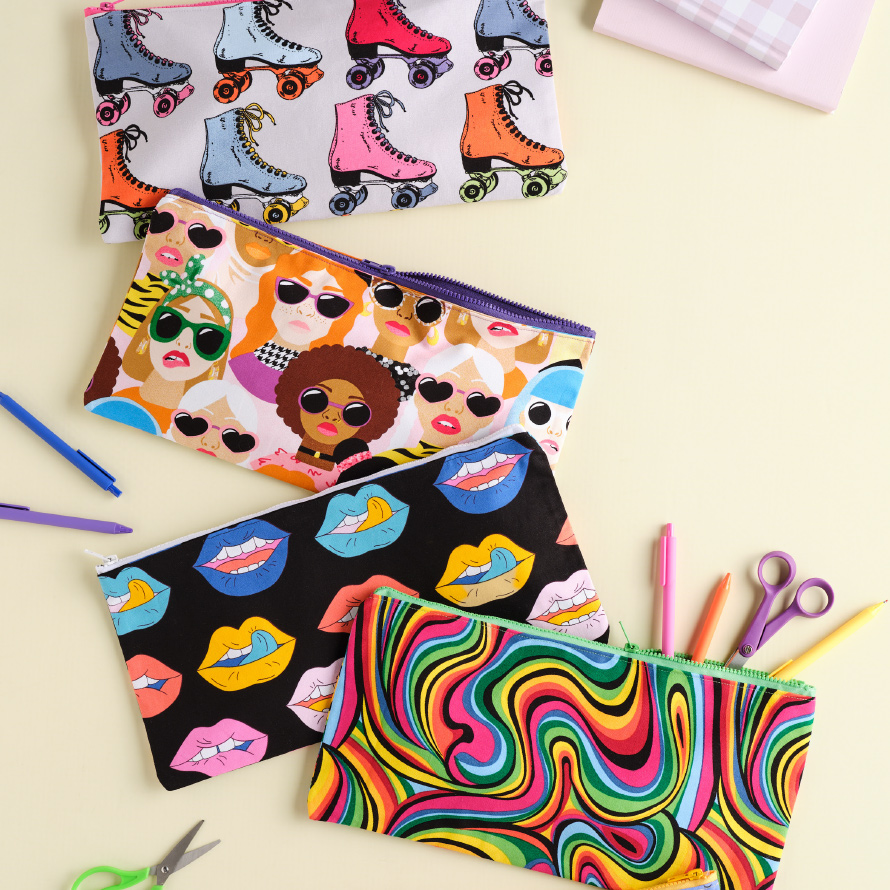
DUCK PENCIL CASE

Level: Easy
What you'll need:
- 112cm printed Cotton Duck fabric x .5m
- 40cm chunky open-end zipper
- Gutermann Sewing thread
- Sewing machine with zipper foot
- Scissors
- Pins
- Iron
- Ruler/Tape measure
Instructions:
fabric with no nap
Step 1 - Cut a piece of duck fabric measuring 43cm wide by 83cm high.
Step 2 - With right side facing, sew the two shorter ends together with a 1.5cm seam allowance to create a loop. Press open seam.
Step 3 - Turn fabric loop right way out. Lay fabric loop flat with the seam at one side, press flat on both sides. Pick up fabric loop and re position it flat with the seam in the middle of the face side up, lining up with the pressed fold on the underside of fabric. Press flat again on both sides.
Step 4 - With the seam on the inside, fold up the two side pressed edges together to meet at the top. The seam should be at the base on the inside of fabric.
Step 5 - Pin each of the top pressed edges to the top of either side of the chunky zipper, ensuring the side raw edges align.
Step 6 - Using a zipper foot, top stitch zipper to fabric 5mm in from pressed edges.
Step 7 - Turn fabric wrong way out with the zipper at the top and the seam at the base. Undo the zipper halfway for turning out later.
Step 8 - Pin and sew the side raw edges together. Overlock seam or encase with bias tape or ribbon to neaten.
Step 9 - Turn pencil case back out the right way and press all sides flat.
Instructions:
fabric with nap
Step 1 - Cut 4x pieces of duck fabric each measuring 43cm wide by 23cm high.
Step 2 - With right side facing, pin two pieces together then sew the base edges together with a 1.5cm seam allowance. Open out fabric and press open seam. Repeat with other two pieces of fabric.
Step 3 - Lay both pieces of fabric open (outer and inner) and with right sides facing, pin and sew the top and base edges together to create a fabric loop.
Step 4 - Turn fabric loop right way out, press flat on both sides.
Step 5 - Ensure the middle seam of the inner piece is to the inside at the base, then fold up the two side edges together to meet at the top.
Step 7 - Pin each of the top pressed edges to the top of either side of the chunky zipper, ensuring the side raw edges align.
Step 8 Using a zipper foot, top stitch zipper to fabric 5mm in from pressed edges.
Step 9 - Turn fabric wrong way out with the zipper at the top and the seam at the base. Undo the zipper halfway for turning out later.
Step 10 - Pin and sew the side raw edges together. Overlock seam or encase with bias tape or ribbon to neaten.
Step 11 - Turn pencil case back out the right way and press all sides flat.


