 | ||
| Your browser is not supported. | ||
|
Please browse our site using any of the following options:
| ||
5 Essential Skills To Make You An Icing Pro

You've done the hard part - you've baked a delicious cake, a tray of cupcakes or a pan of brownies. But now you need to dress them up - after all, we eat with our eyes before our mouths, and a decorated dessert will set mouths watering! But creating and successfully applying icing can be just as tricky as baking the cake itself - there's a lot that can go wrong, and many different types of icing to choose from.
We love all things dessert-related here at Spotlight, and we know that you want to make the perfect icing to finish off your hand-made dessert. So this guide will through everything you need to know in order to master the basics of icing, including how to make all the basic types of icing and five must-have skills in tweaking and applying icing to your creations.
Quick Links
- How To Make Your Basic Types of Icing
- How To Make Icing Hard And Shiny
- How To Thicken Icing
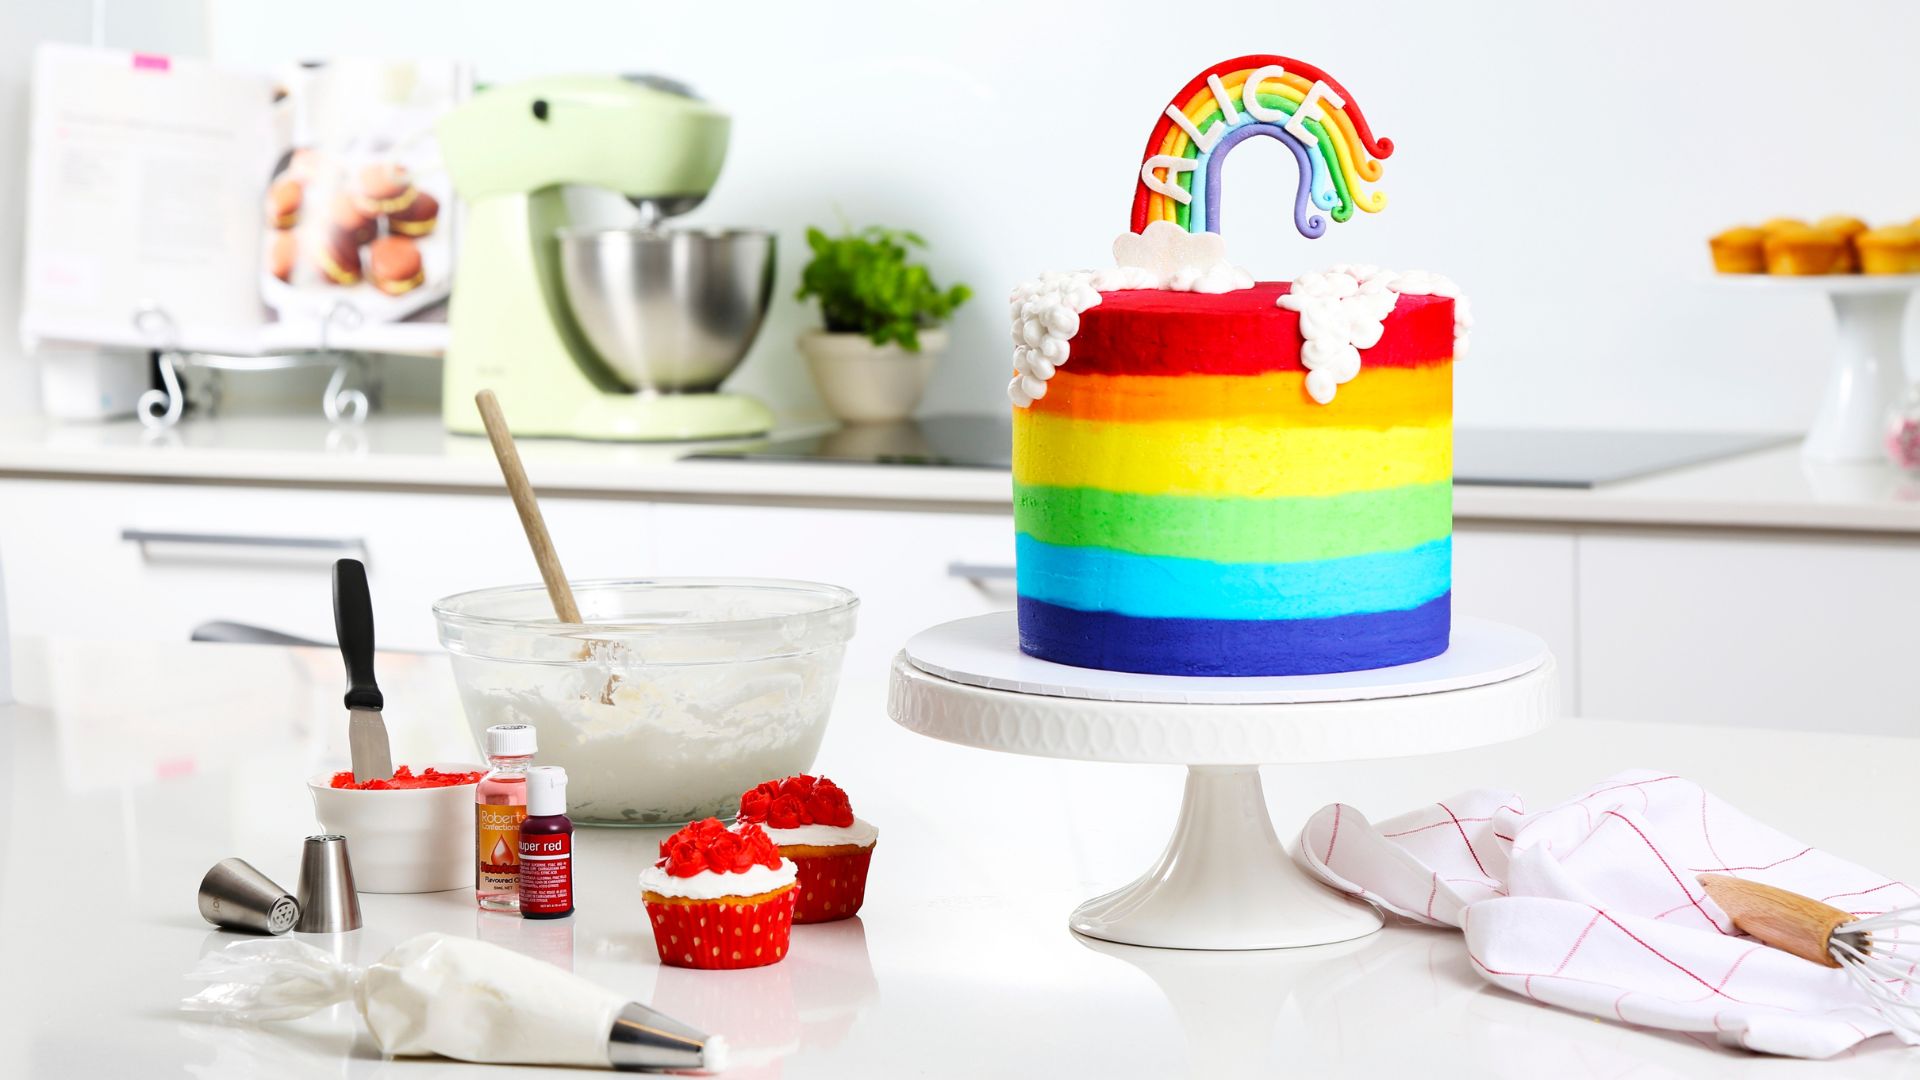
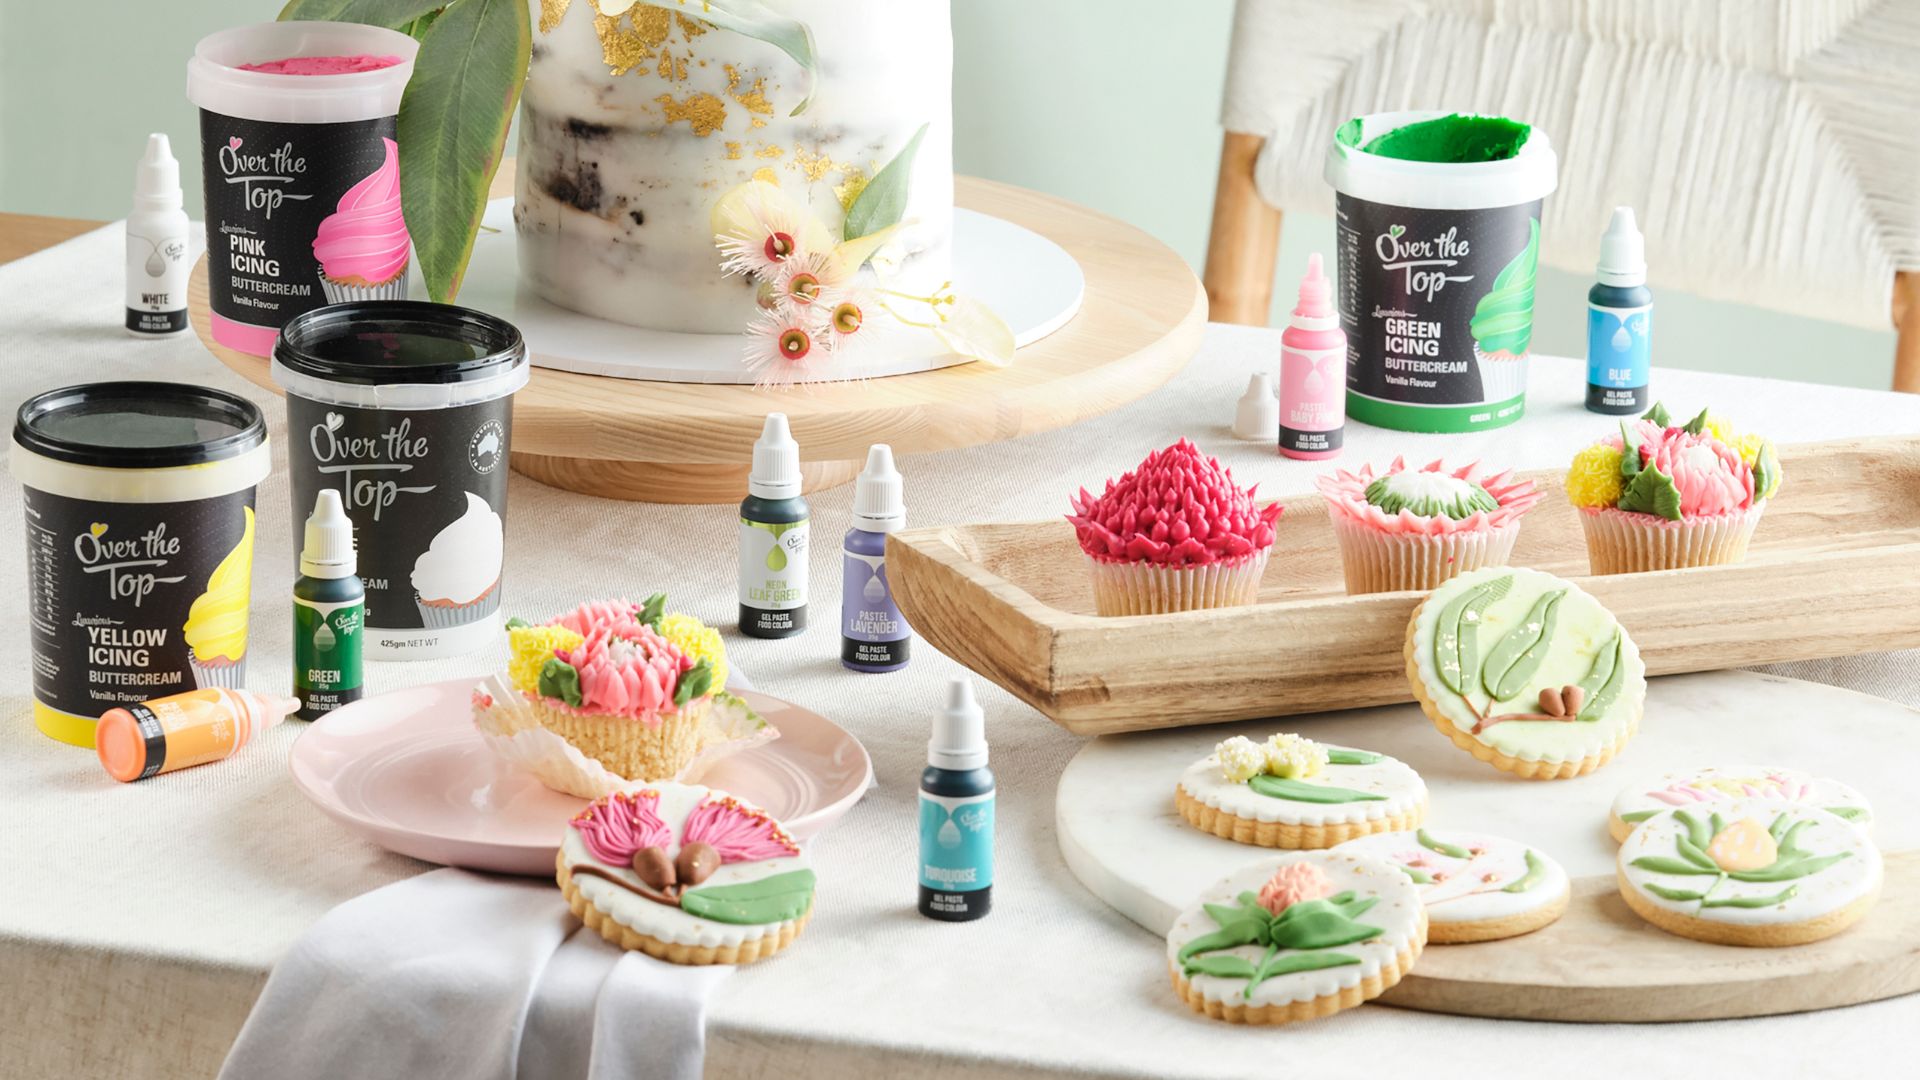
- How To Colour Icing
- How To Apply Icing With A Knife Or Spatula
- How To Use A Piping Bag
- Bonus Tip! What To Do With Leftover Icing
How To Make Your Basic Types Of Icing
Before we get into manipulating your icing, let's decide which kind we want to make! Basic icing is usually a mixture of water or milk plus powdered sugar, and this will create a thin, light layer that can be used as a glaze, or it can be thickened with extra sugar to become an opaque layer on your cake. But for more advanced types of icing, check out the categories below:
What is frosting?
This is the common term for the thick, fluffy icing you see that has been piped and swirled into amazing shapes on desserts. Frosting is made from powdered sugar mixed with a dairy base like whipped cream, butter or even cream cheese which gives it a lovely rich flavour and changeable shape.
What is buttercream?
Well-known for its ability to take cakes to the next level, buttercream is a basic term for frosting that has been made with butter. There are many kinds of buttercreams out there, with the most common American buttercream being made with creamed butter, powdered sugar, a little milk and some flavouring like vanilla. Swiss and French buttercreams use egg whites to create amazingly stiff peaks, similar to what you would get with a merengue.
What is fondant?
Often seen on wedding cakes, fondant is a little different than the other icings on this list… so what is fondant, and why do dessert decorating specialists love it so much? It is made from a mixture of sugar, water, shortening and corn syrup, with some gelatin or glycerin thrown in if it needs to be shaped or sculpted. It is often rolled out into a sheet and then placed over a cake in one thick layer, or cut out and sculpted into intricate shapes like birds, ribbons and flowers before being adhered to the finished cake. (Check out our guide on how to cut out fondant shapes in this project!)
What is royal icing?
This much-loved icing is used with you need a flat, hard and shiny layer of icing like you would on a cookie or a gingerbread house. It can also be used as a 'glue' to adhere small edible decorations to larger desserts. Royal icing is made from egg whites (you can use meringue powder if you prefer), powdered sugar and a liquid like water - lemon juice is a popular substitute. It can also be thinned and used to fill the top layer of a cookie by 'flooding' its surface.

How To Make Icing Hard And Shiny
Frosting is always going to be light and fluffy (if it turned hard you couldn't call it frosting anymore!), but there are ways to increase the shine of your royal icing and ensure it dries hard. Learning how to make hard icing is especially crucial if you will be stacking desserts together.
One way is to use cold water in your icing mixture, as it will create a clear and glossy result.
Another is to sift your sugar before mixing! Powdered sugar may not seem like it needs it, but even the tiniest clump will show up in an otherwise smooth and glossy royal icing coating once it has been poured.
Our last tip is to add some light corn syrup to your icing mixture, as it will help prevent the sugar from crystallising and add extra shine.
Now that you know how to make hard icing with some extra shine, try making this gorgeous heart cookies project!
How To Thicken Icing
There are a few ways you can help thicken up your icing if it seems too runny to work with. But keep in mind you must not ice a warm cake - even the thickest icing will melt and slide off a cake that is fresh out of the oven!
If you've made your dessert and are wondering how to thicken icing before you apply it, one of the easiest ways is to cover it and leave it in the fridge for a few hours, as this will help it settle and firm up.
If this doesn't work, adding some extra powdered sugar will definitely help - but keep in mind if you have coloured your icing then it may begin to pale.
Royal icing can also be thickened by adding a little cornstarch, while buttercream and frosting can be thickened by whipping in some softened butter.
As a last resort, flour or cornstarch can be added to thicken your icing without overtly changing the taste - but too much can give it a starchy flavour, so be careful!
Now that you know how to thicken icing, keep in mind you can always add water, thinned cream or milk to thin it out again.
How To Colour Icing & Frosting
Plain icing and frosting are often white or yellow, which will not always suit the vision you have for your cake. There are many different types of food colouring out there, including:
- Liquid food colouring - you'll find liquid food colouring at most supermarkets. It is made from water and synthetic colour, resulting in a watery colour when used. They're great for when you want a nice pastel colour, although for a strong colour you'll need to add lots of it, which can end up altering the consistency of your icing.
- Gel food colouring - this also contains water, but with added corn syrup and glycerin to give it a gel-like consistency. It is more concentrated than liquid food colouring and is a versatile choice for every kind of dessert except chocolate. Gel food colour often darkens after it is used, so let your mixture rest as you add colour to make sure you get the right hue.
- Oil-based food colouring - this type of colouring is perfect for use with desserts with oil-based products like candy melts and chocolate. It won't mix with water, so keep gel food colouring for fat-based desserts only.
- Powdered food colouring - this food colouring contains no liquid, so it's perfect for desserts that would react poorly if any were added, like chocolate or macarons. If it needs to be made into a liquid add a few drops of alcohol, as powdered food colouring won't mix well with water.
Whenever you are adding food colouring to icing, always add in small increments to avoid creating too strong a colour. This is especially important for gel and powdered food colouring - add these using a toothpick to be safe!
For step-by-step instructions on colouring fondant, check out this project here. And for a similar guide for buttercream, follow this project here!
How To Apply Icing With A Knife Or Spatula
Once you have made up your icing, it's time to apply it to your cake! If you need to apply thickened icing or frosting to a cake, the best way to do it is with an angled cake spatula or smooth rubber spatula.
First, apply a light 'crumb coat' - this is a thin coating of icing along the surface of the cake to create a smooth base and trap any loose crumbs. When that has dried, add the rest of your icing in generous amounts, smoothing the flat side of the spatula across your cake in gentle waves until the entire surface is covered.
If you want to smooth the slides of your cake you can use an icing scraper. Place the cake on a cake turntable and hold the scraper against the edge of the cake, then spin the cake so the scraper flattens the icing on the sides of the cake evenly.
If you have made a sheet of fondant, lay a fondant rolling pin in the centre of it and then flip one side of the fondant over it. Use the pin to pick up the fondant, then drape it over one side of the cake so the bottom of the sheet lines up with the bottom of the cake. 'Unroll' the fondant by pulling back the pin so the rest of the fondant drapes over the other side of the cake. Use a fondant smoother and then your hands to press the sheet down on the top and then down the sides of your cake until it is completely covered in one smooth layer. Then use a knife or fondant cutter to cut away any excess.
How To Pipe Icing Using A Piping Bag
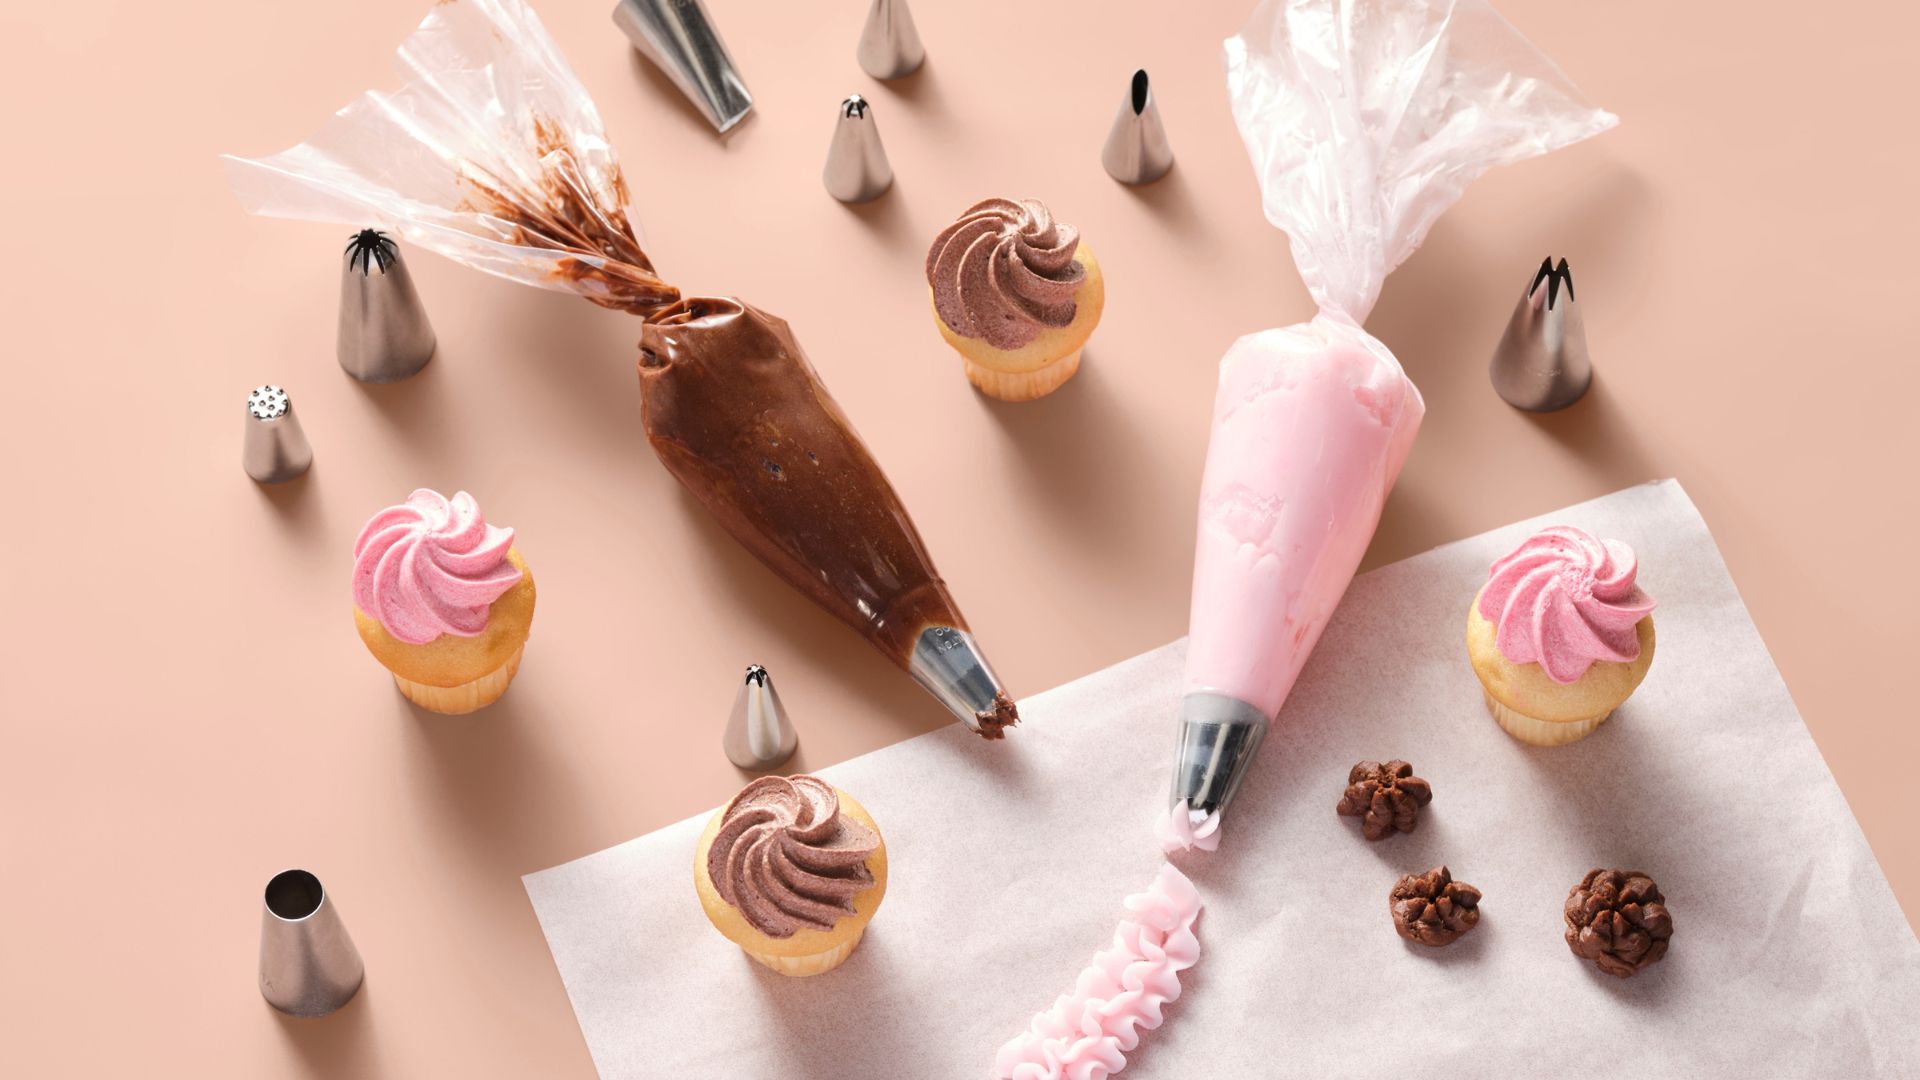
If you want to create flowers, stars, swirls and other beautiful shapes and patterns with your icing, you'll need a piping bag and the right piping tips.
Add your tip by placing it into the bag and pushing it down as far as you can. Make a mark on the bag about two-thirds of the way down the tip, then push the tip up a little and cut the bag where you made the line. Then push the tip back down so it pokes out of the bottom of the bag.
The easiest way to fill a piping bag is to place the bag tip-down into a large drinking glass. Roll the edges of the bag over the sides of the glass, then use a spoon or cup to fill the bag with your icing mixture up to halfway. Then lift the edges of your bag off the glass and bring them together. Spin the bag around so no air is left in the chamber with the icing and use a band or clip to keep the twist in place.
Hold the bag by placing the twist into the space between your thumb and pointer finger, then wrapping your whole hand around the bag. Use your other hand to steady the bag as you squeeze out your icing.
Now that you know how to pipe icing, check out this project for steps on how to pipe a classic cupcake swirl!

Bonus Tip! What To Do With Leftover Icing
It's always better to make too much icing than not enough, but what to do with leftover icing when you're done decorating your dessert (and you don't feel like eating it all yourself)?
Here are some fun ways to use your leftover icing:
- Keep it in the fridge and dip cookies and biscuits into it when you need an extra sweet treat.
- Hollow out some strawberries or doughnut balls and then pipe the icing inside.
- Spread the icing over an unbaked brownie or blondie slice and then bake it into the dessert.
- Stir the icing into a bowl of berries to add some creamy sweetness.
- Let someone else lick the bowl! If you don't want to, hold off on washing your dishes - family members with a sweet tooth will happily take care of any extra icing for you.
Create Professional-Level Icing With Spotlight
Take your desserts to new heights by adding a layer (or two) of delicious icing from Spotlight! You can find all kinds of pre-made icing at Spotlight, as well as all the tools you need, right here! Browse online, pay your way and have your order home delivered, or visit your nearest Spotlight store to view the range in person.
Practice your icing skills with one of our many dessert projects, like this Royal Icing Cookie project. And make sure you're buying the right decorating accessories with our cake decorating tools buying guide.


