 | ||
| Your browser is not supported. | ||
|
Please browse our site using any of the following options:
| ||
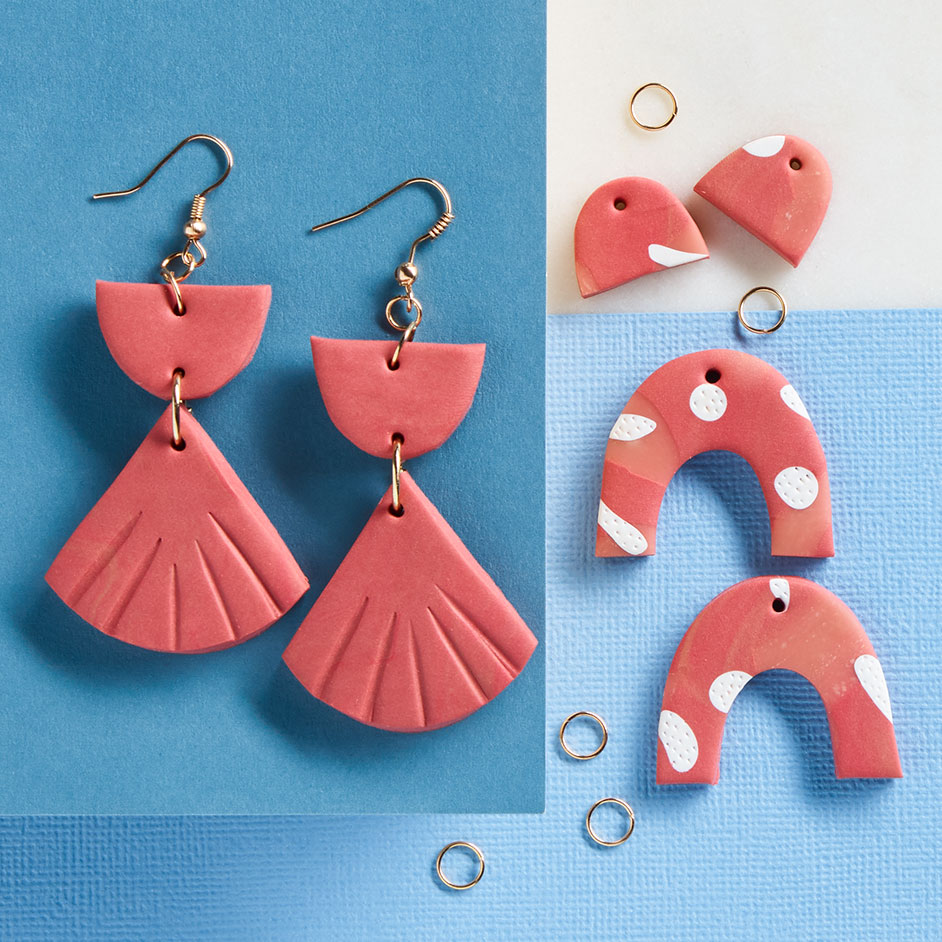
MOTHER'S DAY SCULPEY EARRINGS

Level: Easy
WHAT YOU'LL NEED:
- Sculpey (White, Mai Tai and Latte)
- Sculpey tool kit
- Oven
- Baking paper
- Jewellery pliers
- Earring hooks
- Crimp beads
- Gold rings
INSTRUCTIONS
Step 1 - Think about the design you want to create and draw a rough design out to help you figure out how many pieces/what shapes you will need to create. You need to think through your design so that you make sure you have holes in the right places to ensemble your pieces together once they are complete.
Step 2 - To create the pink colour mix 2-parts Mai Tai with 1-part Latte and blend in your hands until the colours are completely mixed together.
Step 3 - To create the pattern effect roll out the base colour of Sculpey to about 5mm thick. Place smaller bits of other colours of Sculpey over the top and again use the rolling pin to blend the colours together.
Step 4 - You can either use the sculpey shape cutters to cut out your different earring shapes or you can cut things out free hand using the Sculpey cutting tools.
Step 5 - Once you have your shapes created and cut out of Sculpey you can lay them onto baking paper and use a toothpick to put holes into your shapes for assembling later. Some pieces will need 2 holes in each shape, refer to your design to determine where and how many holes are needed. You can also use the toothpick here to create patterns in the Sculpey, small dots or long straight lines creating interesting details for your designs.
Step 6 - Bake your Sculpey in the oven between 2 sheets of baking paper for 15mins at 130C. Let cool before handling.
Step 7 - Now using the pliers and jewellery accessories you can assemble your earrings. The possibilities are endless so let your creativity go wild and see what creations you come up with!
FINISHING
DO NOT PRESS. Using remaining yarn, attach a fringe through eyelet holes at cast-off edge as pictured.


