 | ||
| Your browser is not supported. | ||
|
Please browse our site using any of the following options:
| ||
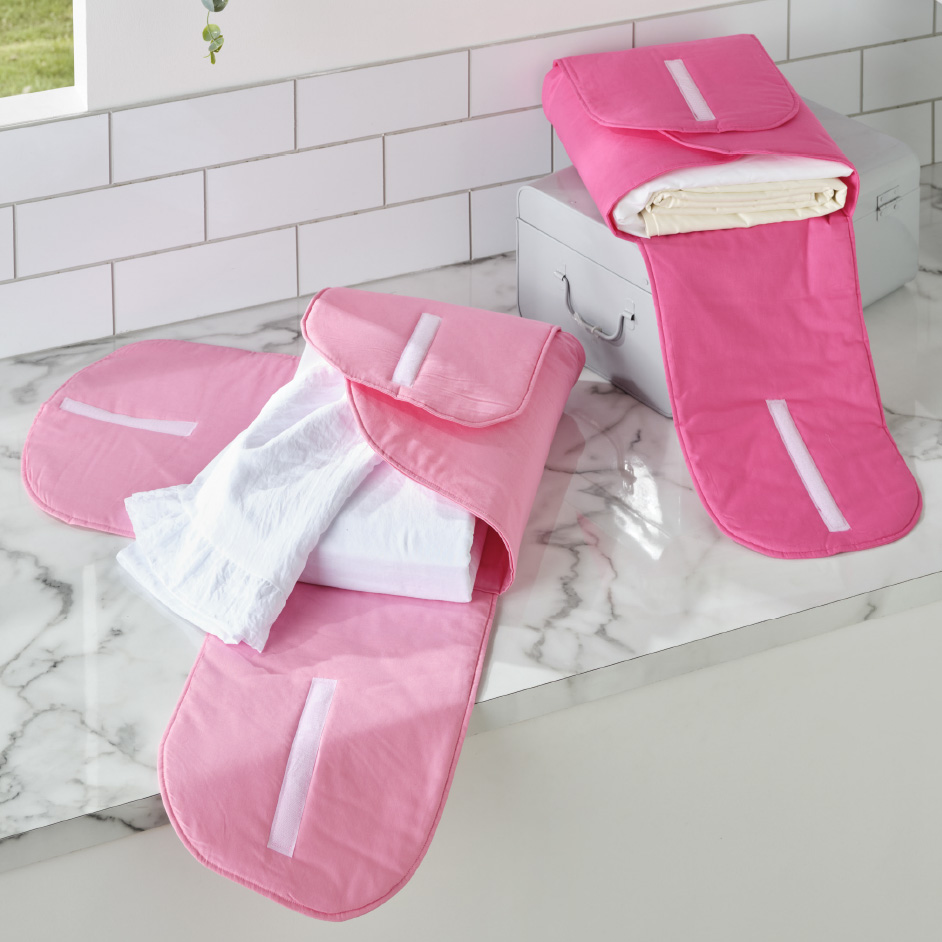
BED SHEET ORGANISER

Level: Intermediate
What You'll Need:
- 2m Broadcloth
- Legacy L-FF78F1 Flex Foam Stabilizer Fusible Wadding Multicoloured 50 cm
- Birch Hook & Loop Sew White
- Foam padding
- Threads, machine, scissors, etc
- Template provided
INSTRUCTIONS
Step 1 - Using the template provided, cut 2 x selected fabric 1 x out of Wadding (when cutting the wadding, ensure it is cut slightly smaller (0.5mm smaller all around) to allow for turning over).
Closing flap
Step 2 - Open the two pieces of the main body and lay them with right sides facing. Lay the wadding on top and pin together. The wadding should be slightly smaller and needs to be cantered. Sew all three layers together. Turn out the body piece and press.
Tip: Before turning out use scissors to make small slits around the curved edged to help create a smooth edge and remove some of the bulk of the seam allowance.
Step 3 - Repeat step 2 with closing flap. Once turned out, top stitch around the curved edge leaving the straight edge open.
Step 4 -Fold over opening hem on main body piece and insert closing flap edge approx. 2 cm into the opening. Pin in place.
Step 5 - Top stitch all around every edge of the bed sheet organiser, ensuring the closing flap is being attached to the main body.
Step 6 - Fold over the short side flaps so that they overlap and mark where the Velcro needs to be attached, cut and pin Velcro. Sew Velcro to the flaps.
Step 7 - Repeat step 6 with the long flaps.


