 | ||
| Your browser is not supported. | ||
|
Please browse our site using any of the following options:
| ||


Mini Crafts: How to Do Miniature Clay Modelling

There are many crafty hobbies out there that you can choose to express your creativity while reducing stress. Clay making is one of many activities you can enjoy that simultaneously improves your emotional well-being. Clay making involves shaping clay into practical or decorative pieces and then "curing" the clay to harden it so that it remains in a permanently hardened shape.
Whether you're starting a new hobby or looking for a modelling clay refresh, we'll take you through everything you need to learn how to use modelling clay, including the tools and supplies you need and a range of incredible miniature clay ideas to inspire your next clay-making project.
Quick Links
- Everything You Need To Start Clay Modelling
- Conditioning Your Clay
- Shaping Your Clay
- Finishing Your Clay Creations
- Miniature Clay Ideas That You Can Create
Everything You Need To Start Clay Modelling
There are a few essentials you'll need for your clay modelling projects. At Spotlight, you can shop from a great range of modelling clay supplies in-store or online. We'll take you through a few of the most important supplies you should make sure you're prepared with before beginning this new hobby.
Modelling Clay
Modelling clay is a soft, flexible material that's easy to shape and sculpt. This clay is used for a range of projects including making figurines and decorative pieces. You can find modelling clay in a range of different colours, or you can paint your clay once cured to your desired tone. You'll often find two types of modelling clay - air dry and polymer clay - each requiring separate curing methods.
Air Dry Clay
As the name suggests, air dry clay is a type of clay that requires no baking to cure, simply leave it out to "air-dry". Air dry clay from brands such as Elements of Art is flexible and versatile, easy to mould into different shapes. Check out our informative blog article on How to Use Air Dry Clay for more helpful tips and tricks on working with this modelling clay.

Oven Dry Clay
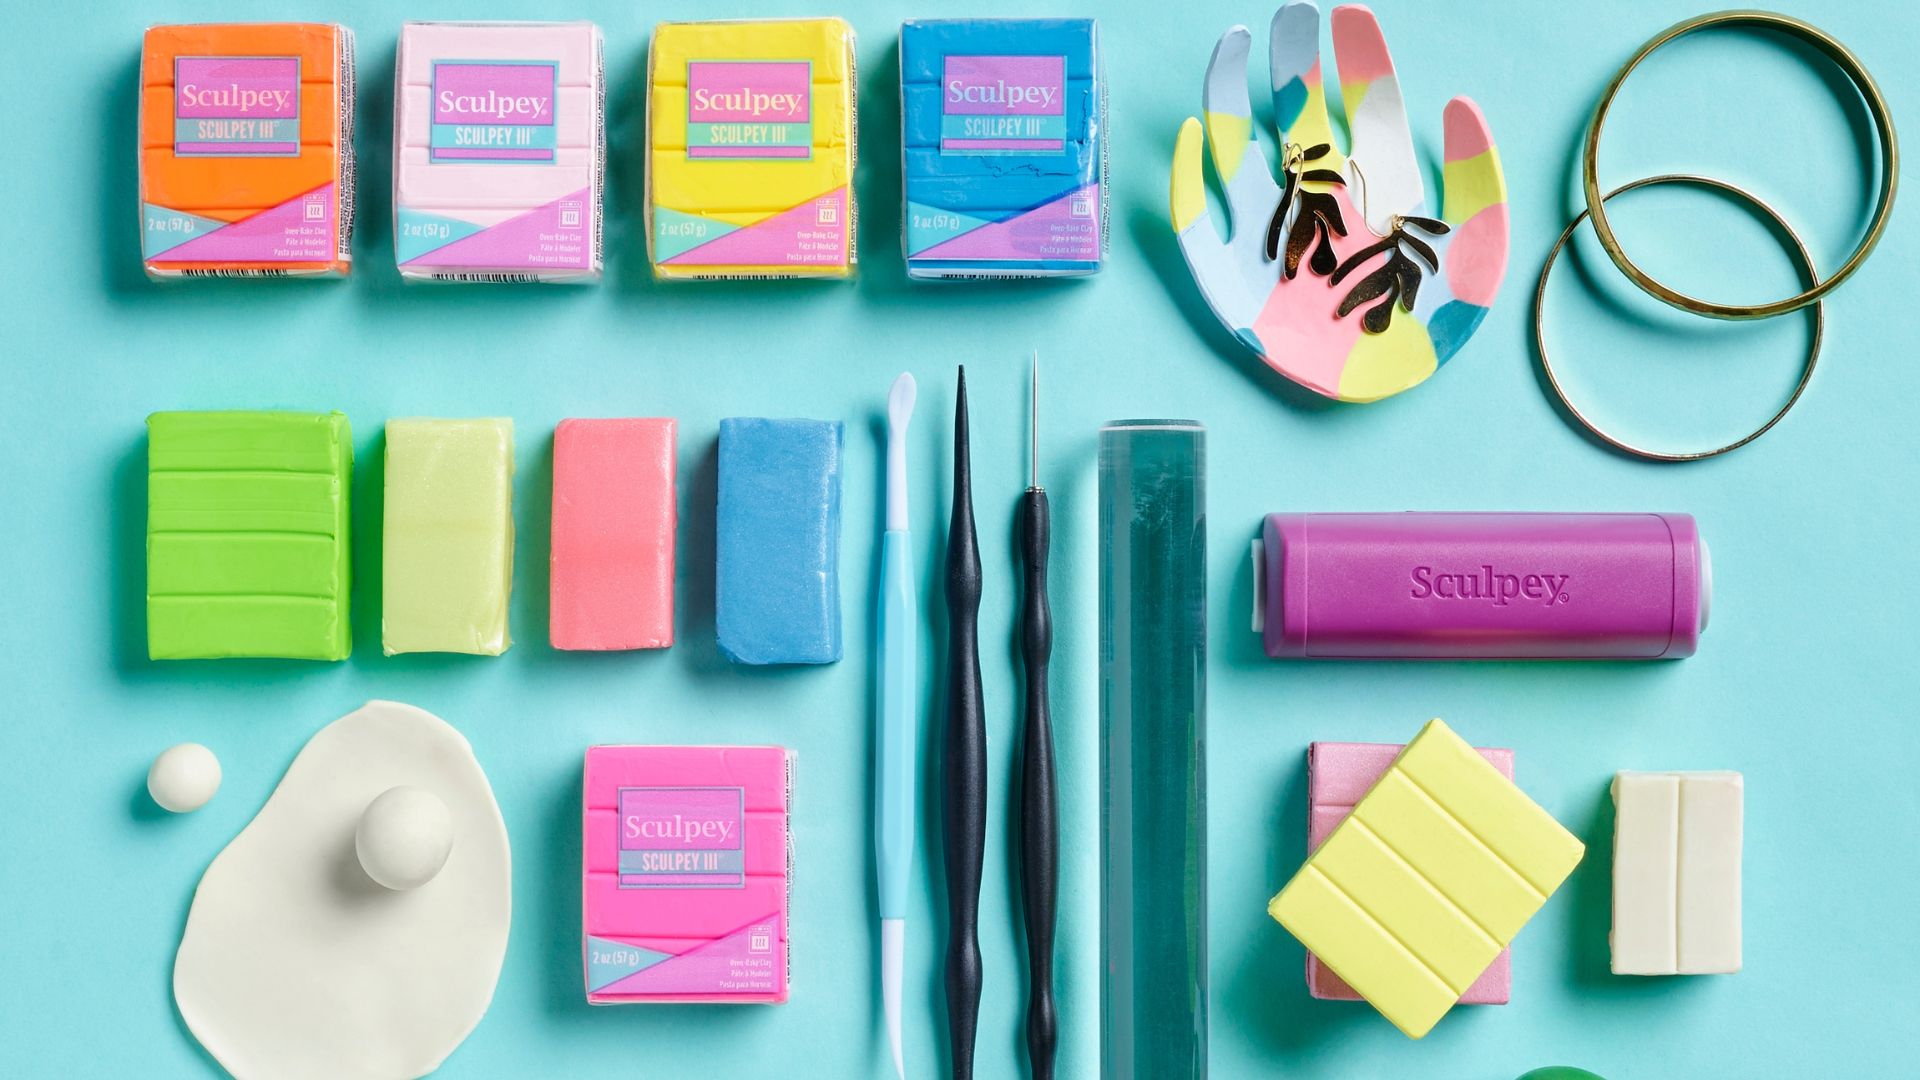
A versatile material, oven dry clay is a type of clay that is baked in the oven to cure, setting it in its final shape. Also known as polymer clay, oven dry clay from trusted brands such as Sculpey are available in a range of colours and is great for a range of projects. Find out more about polymer clay by reading through our Beginner's Guide To Polymer Modelling Clay.
Modelling Tools & Accessories
In order to shape your clay into specific designs, you'll need a few modelling tools. While you can shape clay using your hands, modelling tools make it easier to cut your clay and add finer details to your designs. A few handy modelling tools to have on hand include:
- Cutting tools - Such as knives help to section off your clay.
- Smoothing tools - Designed to blend your clay and smooth your surfaces
- Surface tools - Think of sharp points, rounded tips or even tools designed to create. patterns, these modelling tools are used to add detail to your clay.
- Rolling pins - Designed to flatten your clay, making it easy to cut out your required shapes.
Shop Modelling Tools & Accessories
Modelling Moulds
Modelling moulds make it easy to create distinct, intricate shapes. Most moulds are made from flexible materials such as silicone that make it easy to remove your designs. They allow for consistency in your work, perfect if you're making flowers where you want all the petals to be the same size or if you're making the same design in various colours.
Conditioning Your Clay
Before starting to shape your clay, you want to make sure it's ready to work with. Conditioning your clay by warming it in your hands ensures your clay is soft and ready to be shaped. This prevents your clay from crumbling and helps to enable mixing of your colours if your project requires.
How to Use Modelling Clay: Making Shapes With Clay
There are a few techniques to master that will help you shape the clay into your designs.
- Pinching - By pinching you can hollow out balls of clay or thin edges of your shapes with ease.
- Rolling - You can create snake-like forms or balls of clay by simply rolling your clay in the palms of your hand.
- Carving details - Using modelling tools you can carve additional details into your clay such as lines and indentations.
- Smoothing - Enhances the appearance of your clay with an even, neat surface free from fingerprints and smudges while strengthening your clay by filling in gaps.
Finishing Your Clay Creations
To set your clay into a permanent, solid piece, you'll need to cure it. Different types of clay will have varying curing methods. For instance, air dry clay will need to be left to sit in a well-ventilated area for 1-3 days to harden. You can then seal your clay with a varnish and paint with acrylic paint to add colour and detail to your work.
On the other hand, oven bake or polymer clay will need to be baked in an oven for approximately 15 minutes to harden. For the perfect finishing touch to your clay, you can add finer details with acrylic paint or apply a gloss or varnish to add an extra shine to your clay.

Magnets
Making clay magnets is a great hobby for people looking to make practical and decorative pieces that reflect their personality. All you need to do is once your clay is cured and has been hardened, superglue a small magnet to the back of your clay and leave it to set. This use of modelling clay is a simple craft that both kids and adults will enjoy making. It allows for endless creativity while crafting functional pieces for your home. Here are some of our favourite clay magnet ideas:
- Favourite foods - Think fruits, desserts and other favourite snacks
- Animals - Can be as simple as the face of a puppy or as intricate as a dinosaur
- Nature-inspired designs - Colourful flowers or magnets inspired by plants
- Letters - A classic choice for fridge magnets
Keyrings
Clay can be used to make a number of decorative pieces, including miniature keyrings. To turn your clay models into keyrings, before curing make sure to add a small hole for your keyring hardware and then cure your clay. Once your clay has been cured and you've added all the finishing touches be it paint or varnish, you can then add your keyring hardware. Homemade keyrings can also be used to accessorise your other belongings such as your work bags, belt loops, backpacks or even phone cases.
Try the Miniature Charms Clay Project
You can create adorable charms that elevate accessories with the power of Sculpey clay. For instance, this Sculpey Valentine's Charms project is sure to bring a heartwarming accent to your bags, shoes or keys. Great for beginner clay artists, this project guides you through not only how to shape a heart and bear out of clay but also how to add the finer details including how to assemble your charms with an O-Ring.

Decorative Figurines
Your miniature clay models don't have to be practical pieces, they can simply be decorative figurines created to bring a personal flair to your space. Create miniature decorative pieces to display on your bookshelf, console table or even for your desk at work. Make miniature models of your favourite animals, cartoon characters or even favourite foods or simply pieces that reflect your hobbies and interests.
Learn How to Use Modelling Clay and Create Adorable Miniatures
Creating miniature designs from modelling clay is a great therapeutic and crafty hobby that offers a creative outlet for your artistic expressions. You can learn how to use modelling clay to create a range of miniature clay ideas to make both decorative and practical pieces that showcase your creativity. Find everything you need for your next clay-making project right here at Spotlight. Shop our range of clay modelling supplies, including modelling clay and modelling tools, online or at a Spotlight store near you.

