 | ||
| Your browser is not supported. | ||
|
Please browse our site using any of the following options:
| ||
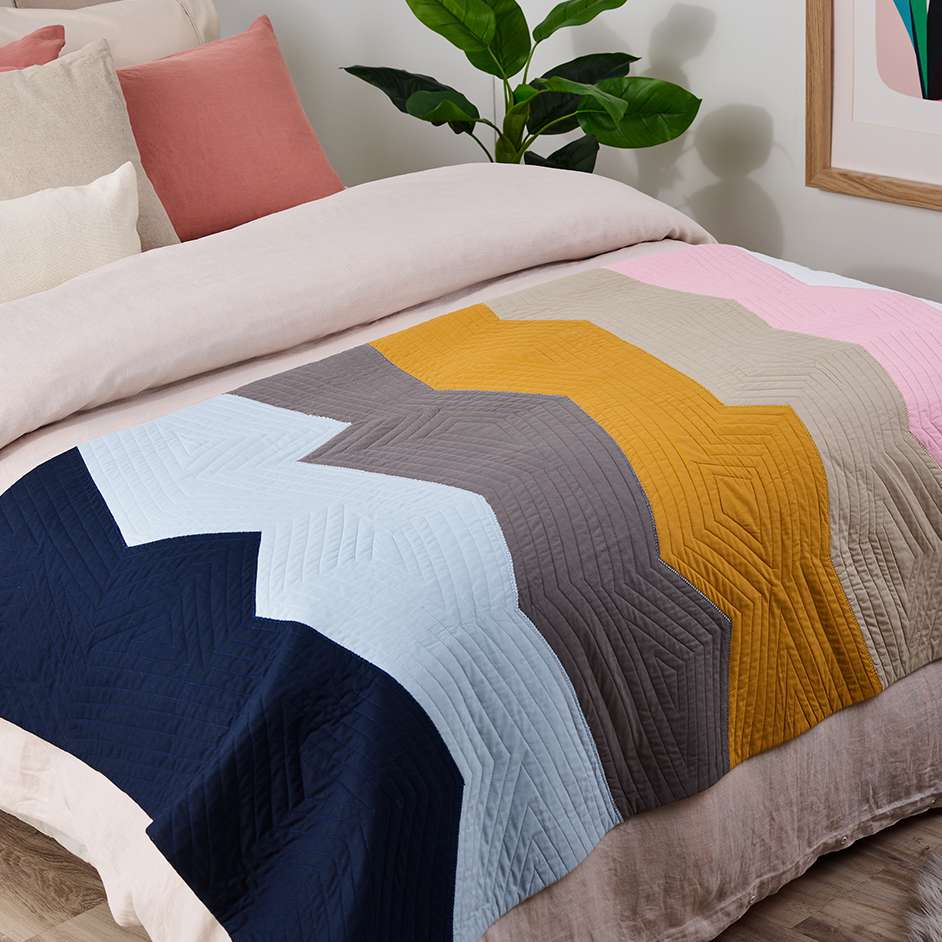
PRIMA MOUNTAIN GRADIENT QUILT

Level: Easy
WHAT YOU'LL NEED
- 150 x 190cm - White Prima
- 7 x 40cm - 7 colors of Prima.
- Sewing machine
- Thread
- Scissors
- Quilting Tools
MEASUREMENTS | ||
Finished size | cm | 130 x 170 |
INSTRUCTIONS
Step 1 - Begin from the bottom. With a fabric pencil and ruler trace your jagged lines across the first color of fabric. Cut along the lines.
Step 2 - Pin the bottom half of the fabric securely and flat to the white fabric. It would help to baste spray the fabric to help hold it in place.
Step 3 - With the next fabric lay over the cut fabric making sure it reaches all edges. Trace over the lines with your fabric pencil and ruler that are already cut with the first fabric. When cutting the bottom layer of the fabric of each color allow a generous 1/4 of an inch so that it will layer underneath the top fabric edge and secure in place. Repeat the tracing and cutting out of the top layer of the second fabric and start the process all over again until all colors are placed.
Step 4 - The key is to secure all pieces of fabric very well. A tack or large stitch on the machine would help to hold fabric in place.
Step 5 - One all colors are in place sew the zig zage edges to firmly place.
Sandwich and quilt to your desire.
Step 6 - A bit of hand quilting and machine quilting can add to the overall finish of the quilt for texture and interest.


