 | ||
| Your browser is not supported. | ||
|
Please browse our site using any of the following options:
| ||
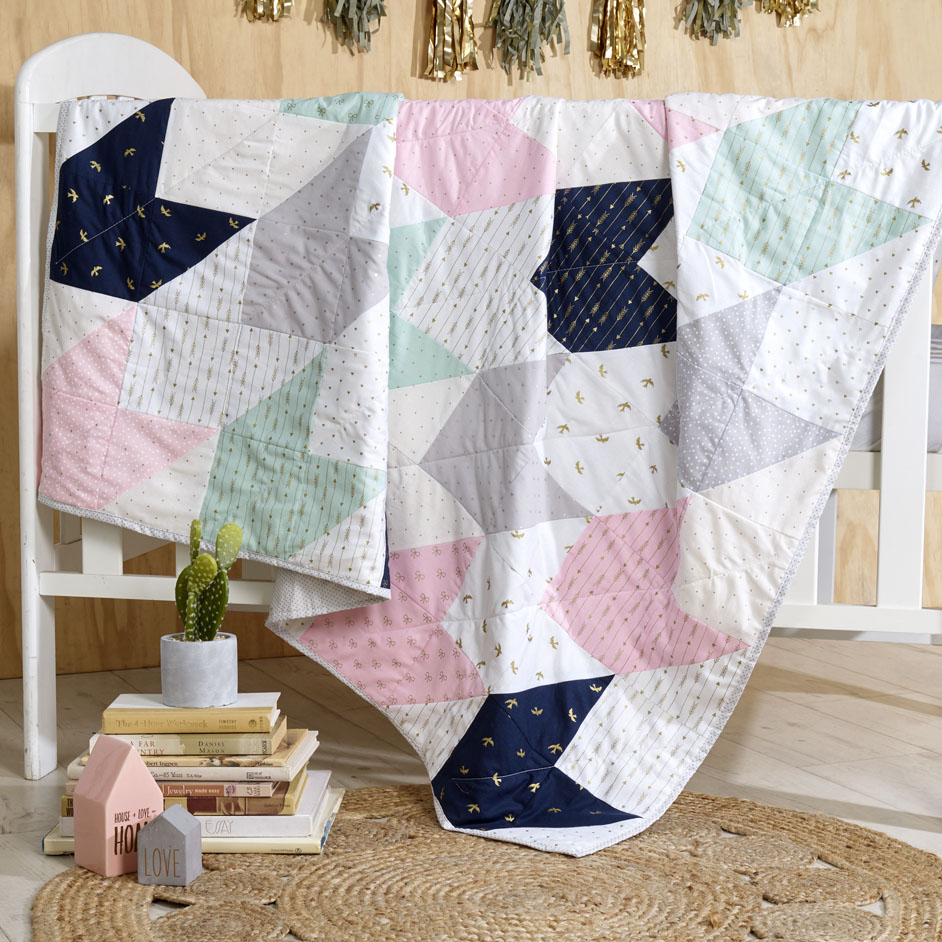
METALLICUS QUILT

LEVEL: EASY
WHAT YOU'LL NEED
- 20cm of 4 different navy quilting fabrics
- 20cm of 4 different pink quilting fabrics
- 20cm of 4 different grey quilting fabrics
- 20cm of 4 different mint quilting fabrics
- 60cm of 4 different white quilting fabrics
- 35cm of 3 different chevron quilting fabrics (for back panel)
- 1.8m of a White Prima Homespun (for the back and trim)
- 1.8m Soft & Bright Batting 90inch
- White thread
- Birch quilting basting spray
INSTRUCTIONS
Step 1: To create the patchwork front you will need to cut:
- Five 17x17cm navy squares and five matching 18x18cm squares
- Five 17x17cm pink squares and five matching 18x18cm squares
- Five 17x17cm grey squares and five matching 18x18cm squares
- Five 17x17cm mint squares and five matching 18x18cm squares
- 25 17x17cm assorted white squares and 25 matching 18x18cm squares
Step 2: Start by cutting the 18x18cm squares diagonally in half for a pair of matching triangles.
Step 3: To make your first corner arrow square you will need a coloured square with matching triangles, a white square and two white triangles (all of the white being different).
Step 4: Sew your triangles together to create squares and press, using approx. 1cm for your allowance, followed by sewing all four squares together and pressing.
Step 5: Now that you have created your first corner arrow square, repeat to create the next one, mindful that your coloured arrow needs to be different to the one next to it but that your whites need to match up when sewn together.
Step 6: Continue steps 3-4 until you have a row of 5 corner arrows across. Repeat the process until you have 5 rows which can be sewn together to create your patchwork front.
Step 7: To create the quilt backing panel, you will need to cut three 41x41cm squares from each of your chevron quilting fabrics which need to be sewn together in a 9x9 panel which should be approximately 120x120cm in size.
Step 8: Next we need to sew on a boarder to the backing panel which will make our back larger than the patchwork front. With your 1.8m of white cut two 26x120cm strips (if your panel is larger than 120x120cm you will also need to cut this strip longer to match), and two 26x175cm strips. Once these have been sewn to your back panel, your quilt backing should be about 5cm wider on each side than your patchwork front.
Step 9: Baste your patchwork front to your cotton batting and trim the batting to match the patchwork size, also pinning into place.
Step 10: Next turn you batting and patchwork over and baste down your backing, careful to centre the backing and mindful that the backing will be deliberately larger than the patchwork front and batting.
Step 11: Sew all three layers together.
Step 12: To trim your quilt all you need to do is fold your excess backing in half and half again, folding it onto the patchwork front and pin into place along the edge, creating a neat slimline finished edge. Sew and press.
Step 13: To create clean corners you will need to fold along the trim line of one edge and then fold this excess into the corner and pin before your sew down. Sew slowly as there are multiple layers of fabric in the corner.


