 | ||
| Your browser is not supported. | ||
|
Please browse our site using any of the following options:
| ||
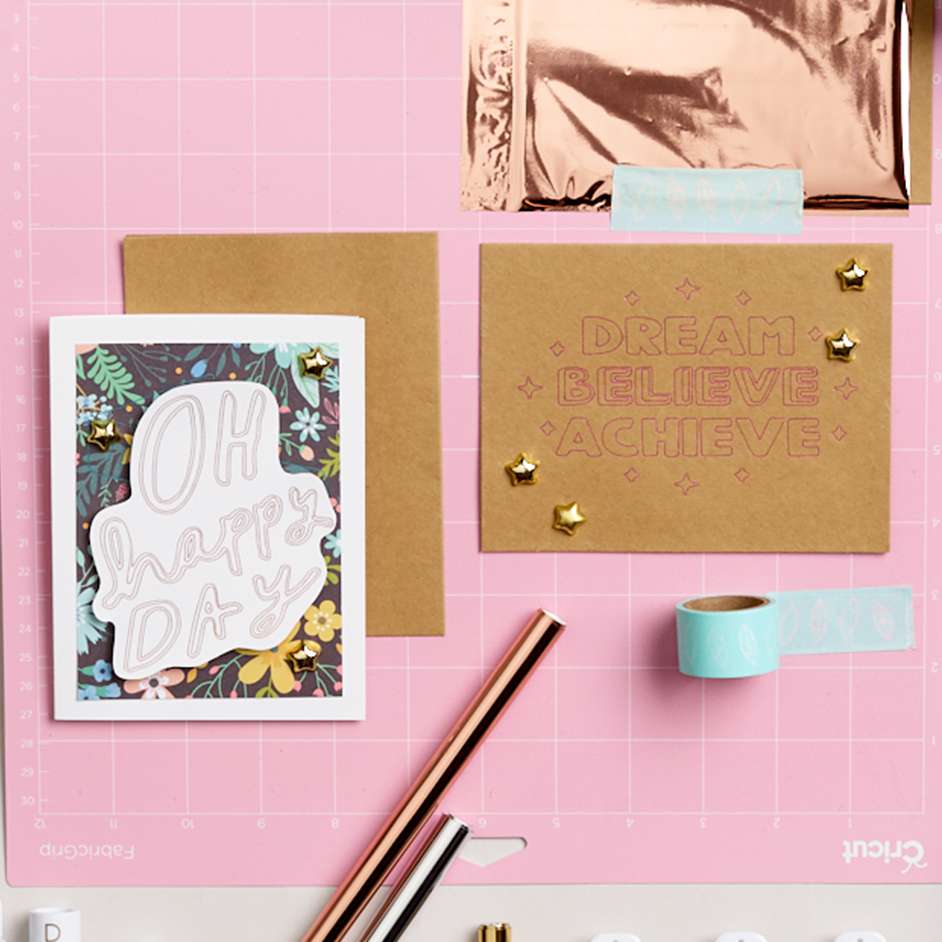
WE R MEMORY KEEPERS FOIL QUILL CARDS

Level: Easy
WHAT YOU'LL NEED
- 'Cricut' Machine
- 'We R Memory Keepers' Foil Quill All in One Kit
- 'We R Memory Keepers' Assorted paper and cards
- Laptop or phone with the 'Cricut' app
- 'We R Memory Keepers' Foil Quill 'Heidi Swapp' Design Drive
- Scissors
- Double sided tape
- 'We R Memory Keepers' Foil Quill Foil Sheets 30pk in Golden Finch
INSTRUCTIONS
Step 1 - Connect the heat pen to a power outlet through the USB cord, and place the pen into your Cricut machine ensuring the cord has room to move with the machine once it's in use. Leave the pen to warm up while you work on your design.
Step 2 - Choose or create the design you are wishing to use either on the Cricut app or desktop design space. We used the Heidi Swapp Design drive and chose some designs from the large range on there. Once you have chosen your designs, ensure the setting is set to draw and not cut.
Step 3 -Now that your design is ready to go it's time to prepare your mat. Place your card or paper onto the Cricut mat right side up and press firmly to secure it to the mat. Then take your chosen foil colour and cut to the same size as your paper/card. Place right side up on top of the paper/card and use the washi tape from the kit to stick the foil to the mat. This will ensure the foil doesn't move during the drawing process.
Step 4 - Load your mat into the machine and follow all the prompts. And watch the Cricut work its magic! Once it is finished unload the mat and peel off the foil to reveal your beautiful design.
Step 5 - Repeat this process to create other designs. To finish use scissors and double sided tape along with other embellishments to create your own unique gift cards and tags.


