 | ||
| Your browser is not supported. | ||
|
Please browse our site using any of the following options:
| ||
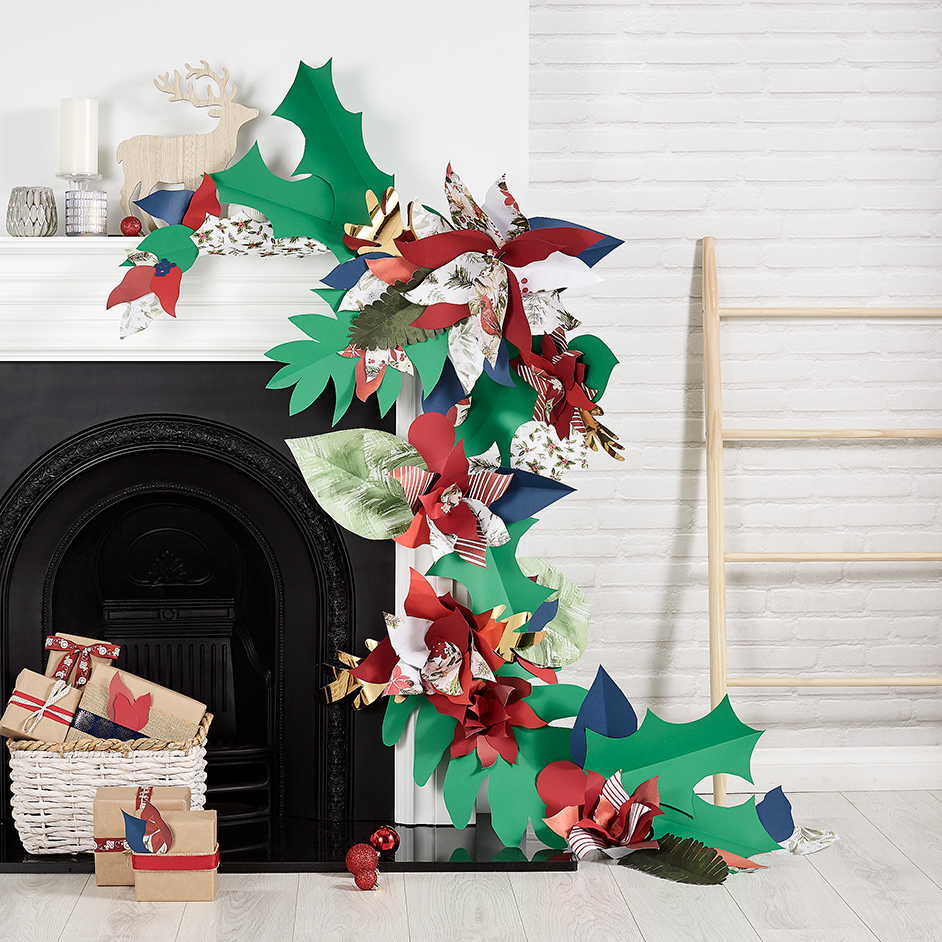
KAISERCRAFT PAPER GARLAND

LEVEL: EASY
WHAT YOU'LL NEED:
- Assorted Kaisercraft Christmas paper ranges
- Assorted plain/solid coloured paper sheets (A4-A3)
- A2 Sheet of plain paper or card (any colour as you will not see this)
- Scissors
- Cricut Machine
- Double sided tape or stapler
- Hot glue gun and glue sticks
INSTRUCTIONS
Step 1 - Start by cutting strips of the A2 card or paper into 5cm wide strips.
Step 2 - Stick or staple the strips together to create 1 long piece of paper to the desired length of the finished garland. Ours was 2.5m. You can always cut back the excess or add more strips later if you want to make it longer or shorter.
Step 3 - Now that you have the base for the garland it is time to cut out your shapes! Pick the patterned papers from the Kaiser pads that you wish to use and add some plain colours into the mix. Use scissors to cut out different shaped leaves in different sizes. If you don't want to cut out shapes freehand, you can find templates online you can copy from.
Step 4 - To make the flowers we used the Cricut machine to cut out Poinsettias. We downloaded the Poinsettias design and
pattern from the cricut design space. You can find lots of projects here for your cricut. Once all the pieces are cut, assemble the flowers using the hot glue gun to stick them together. Again if you do not own a cricut machine, you can find similar patterns online.
Step 5 - Once you have all your leaves and flowers ready to go you can begin to assemble your garland! Use tape to stick the
long strip you made in steps 1 and 2 along the mantel place and down onto the floor.
Step 6 - Then use double sided tape, the hot glue gun or a stapler to attach your paper pieces. Layer the pieces over one another to build a full looking garland. Stand back occasionally to see how it is coming together and add more flowers or leaves where you can see gaps!


