 | ||
| Your browser is not supported. | ||
|
Please browse our site using any of the following options:
| ||
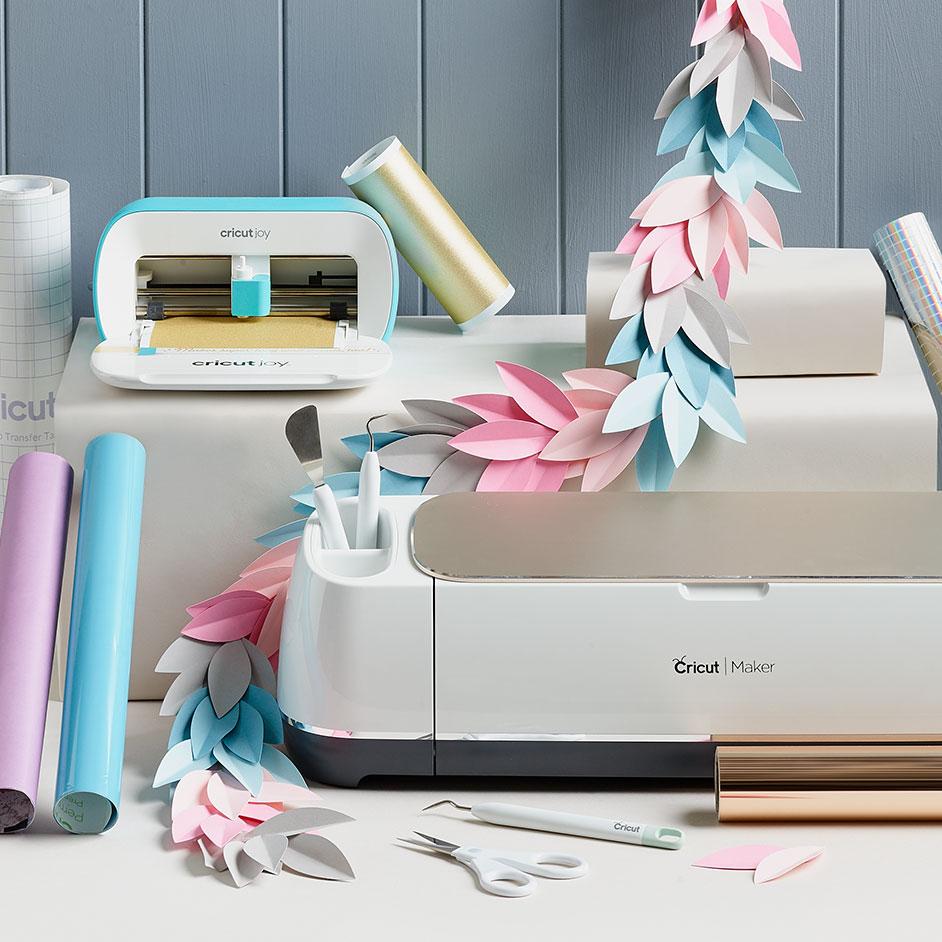
CRICUT LEAF GARLAND

Level: Easy
WHAT YOU'LL NEED
- Cricut machine and accessorises
- Card pack
- Cord
- Hot glue gun and glue sticks
INSTRUCTIONS
Step 1 - Log onto the Cricut design space app and find a leaf template you are happy to use. Copy and paste the shape to cover the area of the mat that your card covers so you can cut out multiple leave shapes.
Step 2 - Pick the coloured papers you wish to use, and load onto the mat ready to cut out. Follow the prompts in design space and cut out leaf shapes. Repeat this process with all the different colour papers until you have a heap of leaves to work with. And remember you can always cut out more later if you need.
Step 3 - Fold or score your leaves down the centre to give them a 3D shape. You can do this step by using a scoring tool in the cricut machine also. Once you have all your leaves ready to go you can begin to assemble your garland!
Step 4 - Use the hot glue gun to attach the leaves to the rope in a layered pattern. The placement of each leaf should cover the rope below. Continue adding leaves in different colours and positions to build a full looking garland. Stand back occasionally to see how it is coming together and add more leaves where you can see any gaps!
Step 5 - Hang on display to finish!


