 | ||
| Your browser is not supported. | ||
|
Please browse our site using any of the following options:
| ||
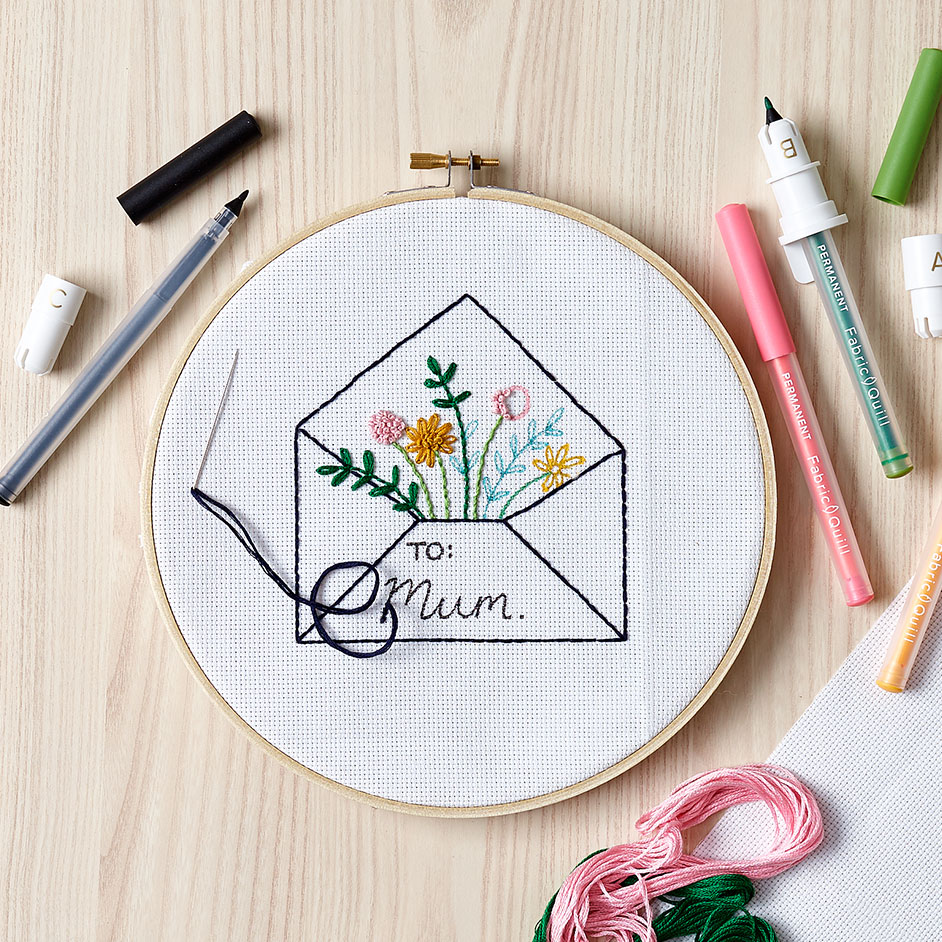
FABRIC QUILL MOTHER'S DAY EMBROIDERY

Level: Intermediate
WHAT YOU'LL NEED:
- Memory Keepers Fabric Quill Kit
- Electronic cutting machine
- Embroidery thread
- Hand sewing needle
- Scissors, Embroidery Hoop & Material for your project
INSTRUCTIONS
Step 1 - Select the appropriate adapter (A-Silhouette, B-Brother, C-Cricut, D-Sizzix) for your electronic cutting machine.
Step 2 - Insert the Fabric Quill into the machine carriage and follow your machine's instructions for fastening it. If your machine has blade and pen carriages, use the pen carriage. Ensure the pen is fully inserted into the carriage.
Step 3 - Import your design and select desired material.
Step 4 - Be sure to place your material on the mat in an area that is clear from the machine's roller wheels/mechanisms.
Step 5 - Follow your machine's individual instructions for using the drawing pen.
Step 6 - After the drawing is complete, remove your material from the mat. Repeat for other colours.
Step 7 - Use different types of embroidery stitches to fill in your design!
Tips and safety reminders for using your Fabric Quill:
- Works best with cotton fabrics but can also be used with cardstock and other materials in accordance with your electronic die cutting machine's compatibility.
- Results of the Bleach Marker may vary according to your material of choice. Test on a scrap piece of material before using on your final project.
- Washable pens can be used to make guiding marks for sewing patterns and embroidery. Wash off with warm water if desired.
- Do not use high pressure settings with the Fabric Quill.


