 | ||
| Your browser is not supported. | ||
|
Please browse our site using any of the following options:
| ||
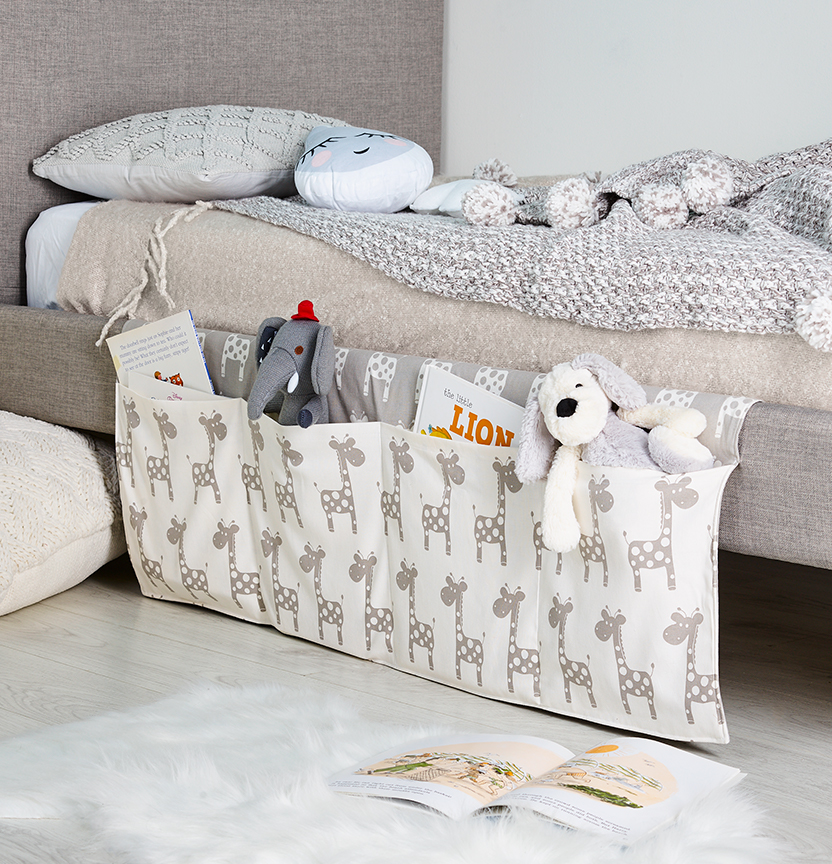
KIDS BED

LEVEL: INTERMEDIATE
WHAT YOU'LL NEED:
- GIRAFFE, CREAM/ TAUPE, 120CM
- GIRAFFE, TAUPE/ CREAM, 120CM
- Sewing Machine
- Scissors
- Pins
- Thread
- Tape measure
- Velcro
- Iron and ironing board
INSTRUCTIONS
CUTTING INSTRUCTIONS
Finished Measurements = 120cm x 50cm
Pockets = 35cm high x 30cm wide
For the front panel (pockets) - 1 piece x 122cm by 72cm in Giraffe Cream fabric
For the back panel - 2 pieces x 122cm by 52cm in Giraffe Taupe fabric
Straps x 4 - 30cm by 10cm strips in Giraffe Cream Fabric
Cut 4 x 5cm squares of Velcro for each strap
Step 1 - Fold the front panel (122cm x 72cm) piece in half-length ways and press along the folded edge with an iron. Ensure the giraffe pattern is facing the right way up, top stitch along the folded edge with a 1cm seam allowance this will be the finished edge of your pockets.
Step 2-Create straps by folding the 30cm strips of fabric in half-length ways and pressing with an iron. Pin and sew around 1 end of the strip and the long edge with a 1cm seam allowance, ensure you leave 1 end open to turn the piece inside out. Repeat this with all 4 pieces. Turn each strap inside out using a ruler or safety pin to pull through. Press with an iron so corners are neat.
Step 3 - Top stitch along the edges of each strap with a 0.5cm seam allowance. Then sew 1 side of the 4 x Velcro squares to the end of each strap.
Step 4 - Measure along the top edge of one of the back panels and evenly position and pin the straps in place on the right side of the fabric. Stitch each strap into place with a 0.5cm seam allowance.
Step 5 - Now that you know the position of the straps pin the opposite side of Velcro squares onto the right side of the same back panel. The positioning of the Velcro will depend on the size of the bed you are attaching the organiser too. You can test the length at this point by placing the back panel with straps over the side of the bed and mark with a pencil where the Velcro strap needs to finish to secure the organizer to the bed. Once you have marked the position, pin the opposite side of the Velcro on the back panel and sew in place with a 0.5cm seam allowance.
Step 6 - Now that the straps and Velcro are in place it's time to assemble the organiser. Place the 2 panels (122cm x 52cm) of Taupe fabric right sides together, again ensuring the giraffe pattern is facing the right way up and that the straps are at the top edge with the straps laying inwards. Position the piece from step 1 in between the 2 layers along the bottom edge. Pin together all layers.
Step 7 - Sew with a 1cm seam allowance around the entire edge of the pinned pieces and leave a 15cm gap to turn the fabrics right side out. Once the stitching is complete, cut the corners of seam allowance off to create a neat point when turned through.
Step 8 - Turn the fabrics right way side out through the opening and press flat with an iron. You should have 1 long pocket in the front and the Velcro on the back.
Step 9 - Measure and pin the pocket widths (30cm) along the front panel. This will create 4 individual pockets across. Top stitch the pockets in place up to the top edge of the front panel.
Step 10 - Press the 1cm seam allowance of the 15cm opening inwards and pin together. Then top stitch around the entire organizer with a 1cm seam allowance. Place straps through and around bed base and secure with Velcro. Fill with toys and books to finish!


