 | ||
| Your browser is not supported. | ||
|
Please browse our site using any of the following options:
| ||
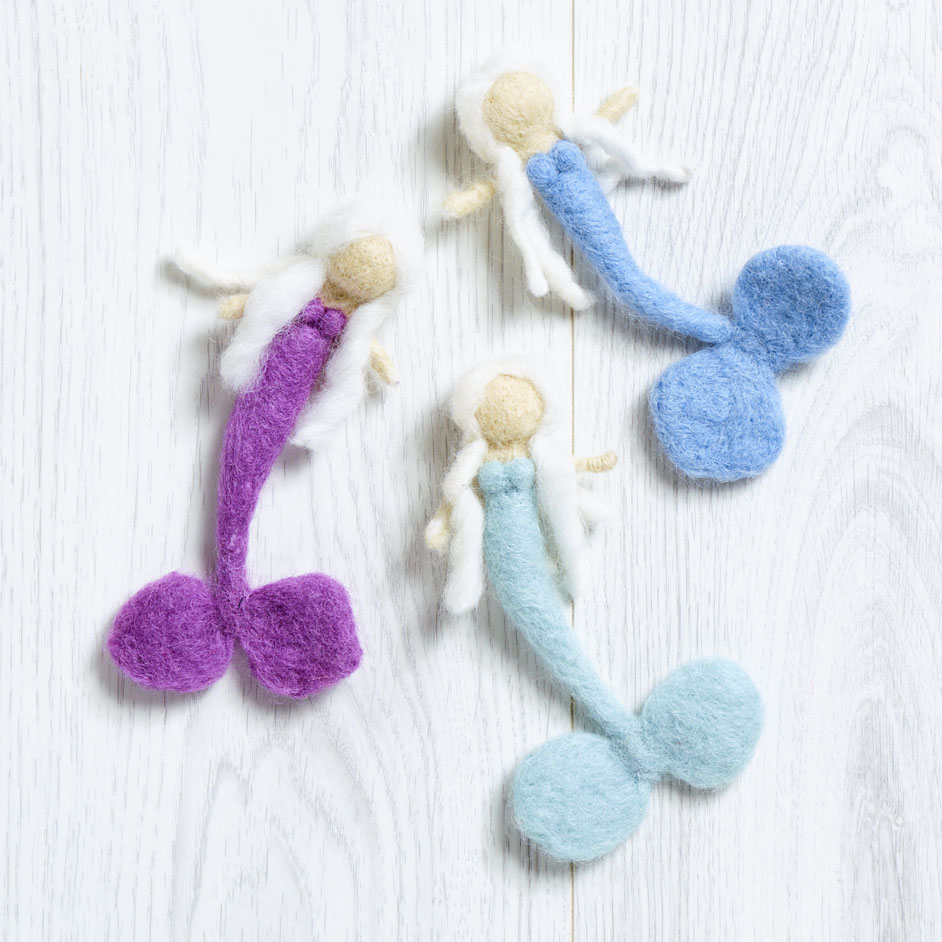
ARBEE FELTED MERMAIDS

LEVEL: EASY
WHAT YOU'LL NEED:
- 'Arbee' wool for Crafting or other Felting wool.
- Clover felting needle.
- Clover needle felting mat or foam block.
- Ball of unspun wool yarn for hair
- Chenille stick
- Plastic or Cane hoop
- Strong thread - like Gutermann upholstery thread
- Doll needle
- Large pearl beads
INSTRUCTIONS
HINTS & TIPS
- Felting needles are sharp and because they are made of hardened steel brittle, use care when handling them.
- Work away from yourself when felting to avoid stabbing injuries.
- Insert the needle into the wool fibres in a straight up and down motion, if the needle is twisted as it is pushed in it will snap.
- Use a felting mat or foam block as your work surface, it will also protect your table from being scratched by the sharp felting needles.
- Lift your work every few minutes, to prevent it from felting onto the felting mat or foam block. Rotate your project as you work to keep the felting evan.
- To prevent rust store felting needles in a dry place and keep out of reach of children & pets.
- Dispose of broken needles in the same way as other sharps.
Step 1. Form the frame & start to felt the flesh. Cut a 9cm length of Chenille stick for the mermaids arms. Cut a 11cm length of Chenille stick for the mermaids body. Lay the arms diagonally across the body and twist the Chenille sticks together to create a wire frame or skeleton. Wrap the arms with felting wool & lightly needle in place. Wrap wool around the join in the chenille sticks to form the shoulders.
Step 2. Create spheres for the head & the bubbles. Pick up the wool and tease out some fibres, lay them on the felting mat in a crisscross fashion, this will make the finished piece stronger. Push the needle into the fibres in a straight up and down action, if you twist the needle when pushing it into the fibres it will snap as hardened steel is brittle. Lift up the matted fibres and move them on the felting mat after every few stabs with the needle or the fibres will become imbedded in the mat. Put the felting needle down, pick up the fibres in your hand and start to roll a ball shape by rolling the fibres in the palm of your hand.
Note: Keep alternating between needling the fibres and rolling in your hands until the bead is the right size and firmness.
Step 3. Finish the Mermaid & assemble the mobile. Push the head onto the top of the chenille stick and attach to the shoulders by needling in place. Now wrap lengths of the body colour around the base of the chenille stick & needle in place. Continue wrapping & needling until the body is formed. Pull a small amount of coloured wool & roll into a small ball needle onto the chest to form one side of the bra, repeat for the other side. Make two flippers by Picking up the wool and tease out some fibres, lay them on the felting mat in a crisscross fashion , pick up the fibres in your hand and start to roll a flipper shape by rolling the fibres in the palm of your hand. Flatten the flippers by needling them flat & attach to the body, by needling then onto the body. Cut lengths of the yarn to form the hair & needle to the head. Finish by threading one pearl bead at the base of each length of strong thread, then thread the Mermaid & Bubble onto each string and attach to the hoop.


