 | ||
| Your browser is not supported. | ||
|
Please browse our site using any of the following options:
| ||
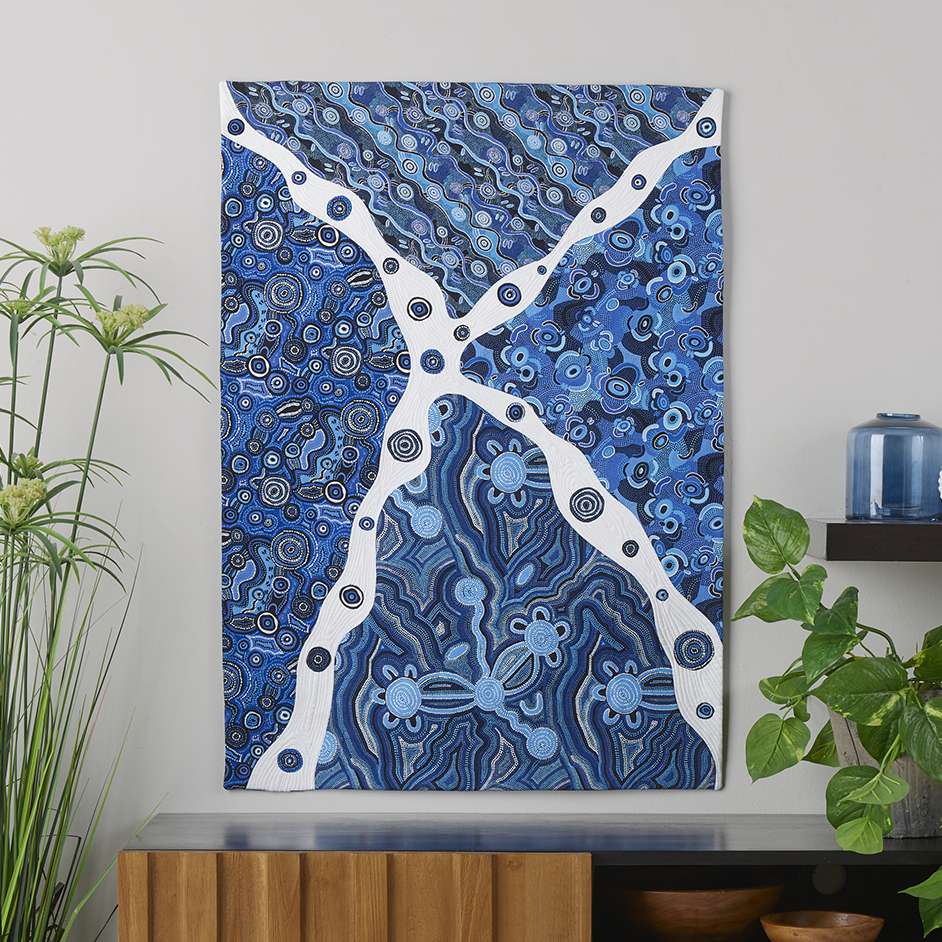
JIJAKA WALL HANGING

LEVEL: EASY
WHAT YOU'LL NEED
- 50cm of a selection of 4 'Jijaka' Fabrics
- 1 metre of plain cotton fabric
- 2-2.5 metres of vlisofix or equivalent
FINISHED SIZE
MEASUREMENTS | ||
Finished Size (Wall Hanging) | cm | 75 x 100 |
INSTRUCTIONS
Step 1 - Tape together a few large A3 or A4 sheets of paper to a slightly larger size of your wall hanging (85 x 110cms)
Step 2 - With a grey lead trace some squiggly lines from near the corners of the paper to form 4 triangles coming in from each edge of the paper leaving a 5-10cm gap in between each triangle.
Step 3 - Cut the pieces out and remember to mark each piece writing on them TOP on each section before cutting up.
Step 4 - With your roll of vlisofix, be careful to double check place the top of the cut out shape facing downwards as the image needs to be traced back to front onto the paper. Trace around the edge of each of these pieces and roughly cut them out (do no cut right on the line of the traced image)
Step 5 - Iron your chosen fabric and very carefully place each piece of the fabric one by one in place on the white cotton and iron flat onto the white cotton. Making sure that it is completely adhered to the white fabric as you go. It's important to iron carefully and keep it completely flat.
Step 6 - Once the fabric in in place move to iron on the next piece until all four fabrics are in place.
Step 7- With your other piece of fabric iron on some vlisofix over an area that encompasses the circles and interesting fabric artwork and then fussy cut out the circles and images to arrange and place on the white pieces of fabric that have been left blank.
Step 8 - Again iron carefully into place laying the pieces out in the arrangement that you are happy with. Once all in place sandwich with batting and backing fabric and free motion quilt to compliment and decorate the image. Once complete bind and hang.


