 | ||
| Your browser is not supported. | ||
|
Please browse our site using any of the following options:
| ||
FLORAL WALL HANGING

LEVEL: BEGINNERS
What you'll need:
- Silhouette Cutting Machine
- Cutting Mat
- A4 Cardstock in Pinks & Oranges
- A4 Cardstock in White
- Glue Stick
- A2 Foam Board White
INSTRUCTIONS
Cutting the Flowers
Step 1 - Open Silhouette Design Store Application and create a new project. Open cut file 'Flower Petal Left'. Scale to fit your paper, cut design out on 1 page of A4 white paper and repeat once more, so you have two white pages cut out. Make sure you set aside the background and cut pieces of the shape, don't discard any cut pieces, you'll need these for later.
Step 2 - Open cut file 'Flower Petal Right'. Scale to fit your paper, cut design out on 1 page of A4 white paper and repeat once more, so you have two white pages cut out. Make sure you set aside the background and cut pieces of the shape, don't discard any cut pieces, you'll need these for later.
Gluing your Cut Shapes
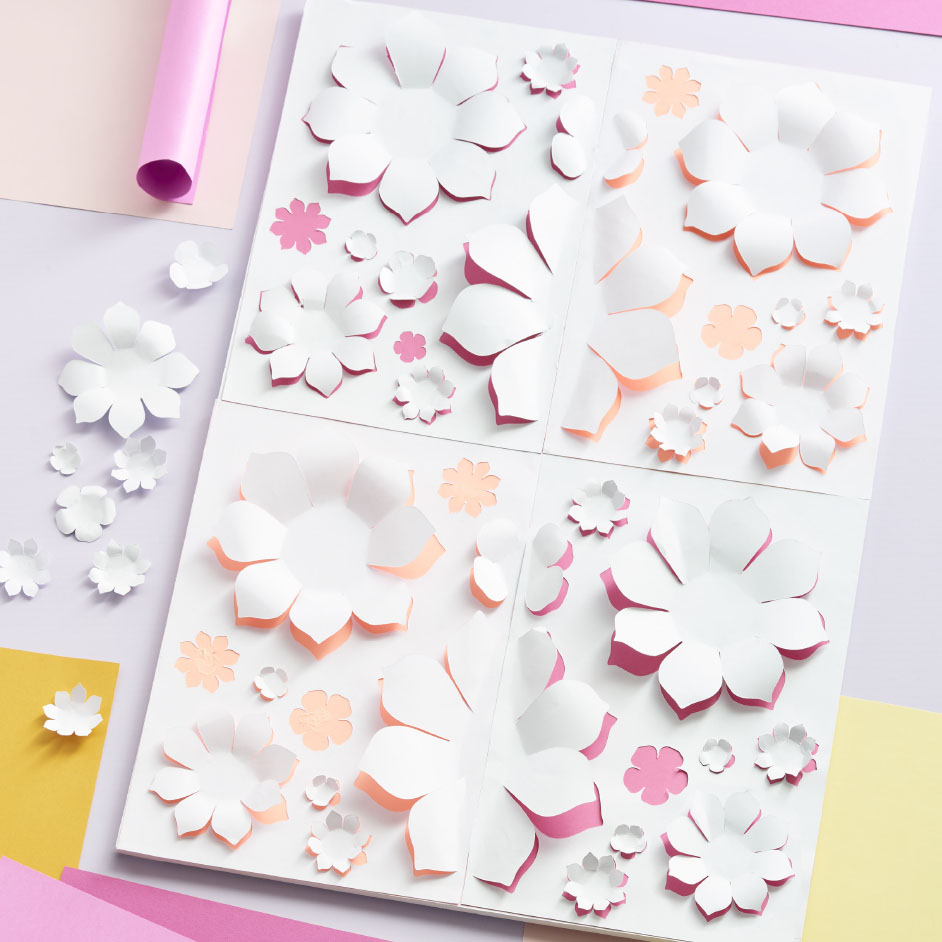
Step 1 - Glue down the coloured papers you have selected using the glue stick onto the A2 foam board. We have glued the pink papers in opposite position and the orange paper in opposite, to balance the colours.
Step 2 - Glue down the Flower Petal Left White Page into the top left corner of your foam core, then glue the Flower Petal Right White Page onto the top right corner of your foam core. Repeat this step again below the already pasted cut pages. Make sure you align the edge of the white paper neatly.
Step 3 - Once you have glued down the background pages, you can go back over your design and glue down the flower cut shapes to create a 3D floral effect. Only glue the center of the flower, leaving the petals without glue, then gently curl the petals so they look 3D. You can leave some flower spaces empty so the bright coloured paper can show through.
Step 4 - When you are happy with your design, you can hang or lean against a wall for decoration.


