 | ||
| Your browser is not supported. | ||
|
Please browse our site using any of the following options:
| ||
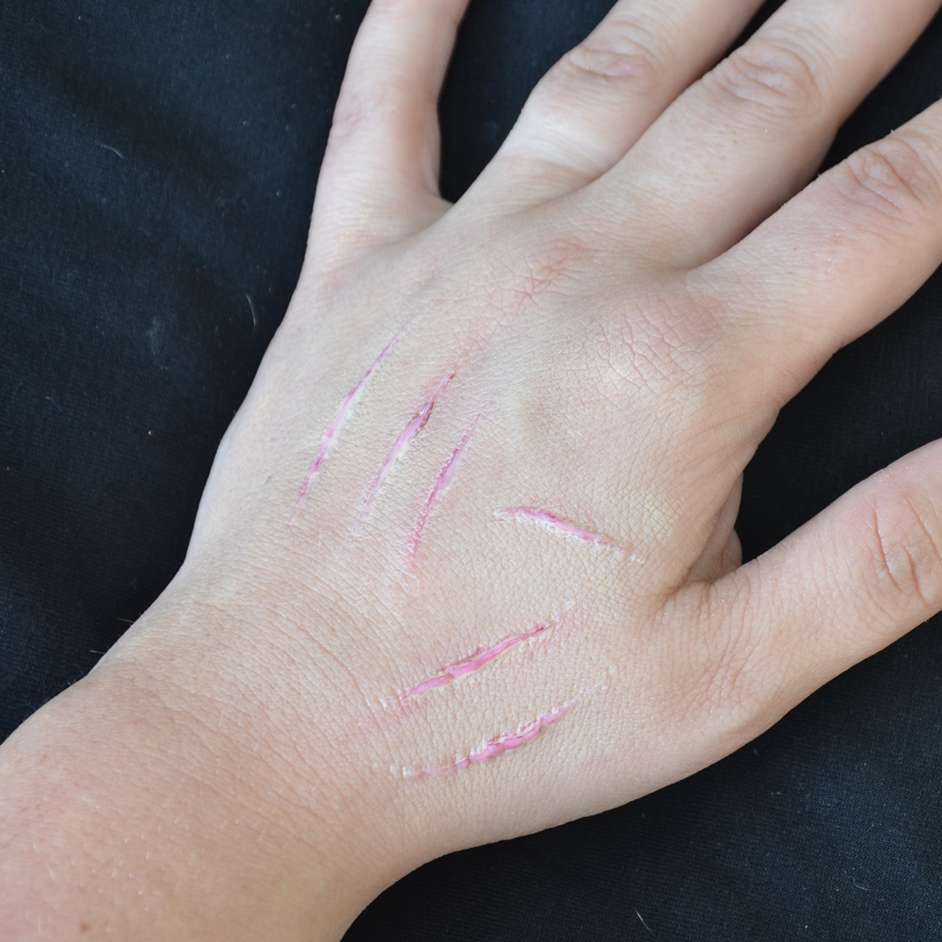
HEALED SCAR EFFECT

Level: Easy
WHAT YOU'LL NEED
- 'BYS' Liquid Latex
- Disposable applicators or toothpicks
- Hairdryer
- Concealer
- 'BYS' Cuts Colour Wheel
INSTRUCTIONS
Step 1 - Using BYS Liquid Latex on a toothpick, apply in small lines where you want your scars. Make the latex thicker in the middle and taper out thinner on the ends for a realistic look. Handy hint - Don't use brushes with liquid latex as it ruins the brush. Disposable applicators or toothpicks work well.
Step 2 - Use a hairdryer to dry the liquid latex.
Step 3 - Repeat the above steps 2 to 3 times until you get the thickness you want for your scars. Handy hint - When layering liquid latex, be sure to let it dry all the way through before applying the next layer.
Step 4 - Apply a small amount of concealer over the liquid latex to blend into your skin tone.
Step 5 - Use the dark red shade from the BYS Cuts Colour Wheel on a thin brush and apply along the liquid latex. Use your finger to blend the colour in. Handy hint - The heat in your fingers makes them a great tool for blending cream paints.
Step 6 - Use the bright red shade from the BYS Cuts Colour Wheel around the edge of the liquid latex and blend with your fingers for a red, irritated look.


