 | ||
| Your browser is not supported. | ||
|
Please browse our site using any of the following options:
| ||
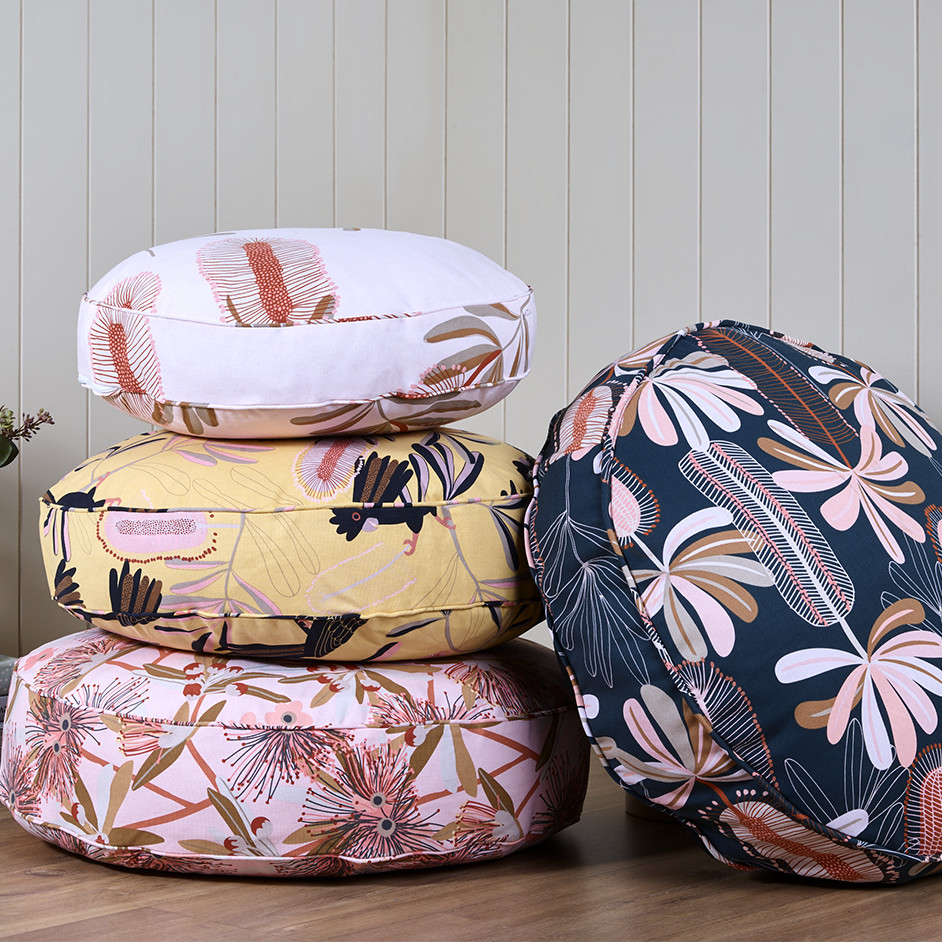
JOCELYN PROUST FLOOR CUSHIONS

LEVEL: EASY
WHAT YOU'LL NEED:
- Jocelyn Proust's Australian Flora Collection Decorator Fabric in 150cm width. (Callistemon, Black Cockatoo, Little Penda & Banksia)
- Small size - 70cm
- Medium size - 80cm
- Large size - 90cm
- Matching colour of Gutermann 100% cotton thread
- Hand sewing needle
- Pins
- Tape measure
- Scissors
- Seam ripper
- Sewing machine
- 1 to 2 Large bags Crafters Choice Stuffing
INSTRUCTIONS
Note - 1cm seam allowance used throughout unless otherwise indicated.
Read all instructions carefully before commencing the project.
CUTTING
Small size - Cut two 47cm diameter circles and one strip 14cm wide x 150cm long.
Medium size- cut two 54cm diameter circles and one strip 14cm wide x 170cm long, to get the length cut two strips and join together pressing seam open.
Large size - cut two 60cm diameter circles and one strip 14cm wide x 195cm long, to get the length cut two strips and join together pressing seam open.
PIPING STRIPS
Same as the gusset measurements x 4cm wide. Cutting your piping pieces on the bias of the fabric does provide an overall cleaner look as the piping will take curves better. When cutting on the bias you may need to break the amount up into smaller measurements, remembering to add 1cm to each piece for your seam allowance of where the pieces will join.
CONSTRUCTION
- Once all your pieces are cut out, start by creating the piping. Pin and sew the bias strips of fabric together to create one long circular piece that measures the gusset strip/circumference of the circle cushion you are working on.
- Wrap the piping fabric around the piping cord and pin every 5cm or so to hold in place. Use a zipper foot or a cording foot on your machine as it allows you to stitch right next to the cording, encasing it tightly in the bias strip. Continue stitching staying very close to the cording and overlap the ends of the cords to encase them inside the piping. Repeat this process for the other side of the cushions piping.
- Pin gusset pieces right sides together and sew roughly 1cm in from the edges. Leave an opening (roughly 6cm wide) in the middle of the seam for turning through later.
- Place and pin the piping around the edge of the gusset piece and stitch along the line stitching next to the cording. Repeat this process on the other edge of the gusset with the second piping piece.
- Once the piping and gusset are prepared it’s time to sew your cushion together. With right sides together, pin and sew the gusset and 1 of the circle pieces together with a 1cm seam allowance. Repeat on the other side.
- Snip into the seam allowance around the edges every 5cm or so to create a clean edge when turning right side out.
- Turn the pillowcase right side out through the opening left in the gusset in Step 3. Fill with hobby fill and hand stitch the seam closed using a needle and thread. Repeat the process to create more cushions, play with different print combinations to create a range of beautiful floor cushions


