 | ||
| Your browser is not supported. | ||
|
Please browse our site using any of the following options:
| ||
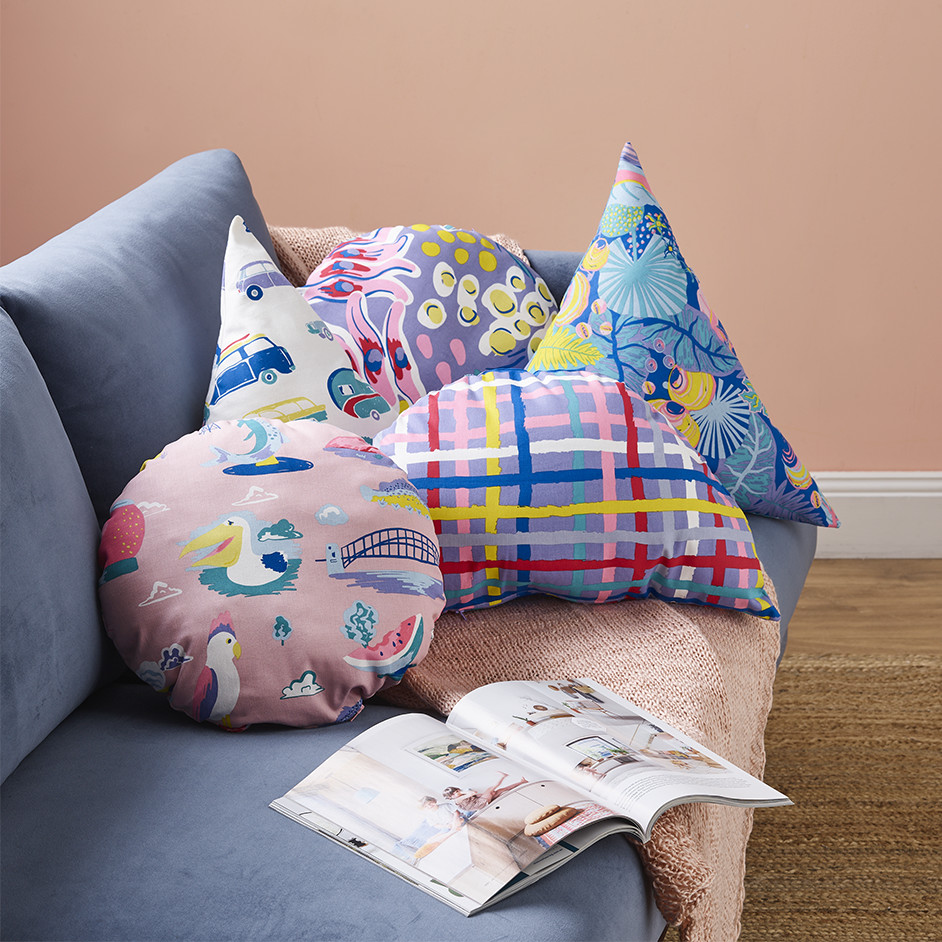
ELLIE WHITTAKER CUSHIONS

LEVEL: EASY
WHAT YOU'LL NEED:
- 'Ellie Whittaker' quilting fabrics (50cm of each)
- Invisible zips x 5
- Paper for pattern
- Pencil and ruler
- Measuring tape
- Pins
- Sewing Machine and matching thread
- Hobby fill
If you need inspiration for this project, check out the Ellie Whittaker quilting fabrics range available at Spotlight:
- Ellie Whittaker Harbour Printed Fabric Pink 150 cm
- Ellie Whittaker Check Fabric Multicoloured 150 cm
- Ellie Whittaker Campervans Printed Fabric Multicoloured 150 cm
- Ellie Whittaker Rainforest Printed Fabric Multicoloured 150 cm
- Ellie Whittaker Bold Floral Printed Fabric Lilac 150 cm
INSTRUCTIONS
Step 1 - Start by creating your cushion templates. On a large piece of paper draw out the shapes you want for your cushions using a ruler and pencil. We chose a triangle, circle and semi-circle as below the finished shapes of our cushions were all roughly around 40 to 50cm wide.
Step 2 - Once you are happy with the shape of your cushion design add a 1cm seam allowance around the outside of the entire shape and cut out of paper using scissors.
Step 3 - Pin or trace off pattern onto fabrics, you will need 2 x each design to create your cushions. Cut your pattern pieces out of your chosen fabrics.
Step 4 - Pin the invisible zip onto the right side of 1 of your pieces - sew down using a zipper foot. Repeat on the other side to finish inserting your invisible zip.
Step 5 - Once your invisible zip is in, open the zip a small amount so you can turn cushion the right way out once sewn. Pin together the remainder of the cushion sides and with a 1cm seam allowance sew pieces together.
Step 6 - When you can finished sewing, use scissors to snip into side seam on curved edges and snip across any points in the seams of the triangle cushion. This will help for cleaner lines once the cushion is turned through.
Step 7 - To finish turn cushion right side out through the zip opening and fill with hobby fill or cushion inserts and zip up to close!


