 | ||
| Your browser is not supported. | ||
|
Please browse our site using any of the following options:
| ||
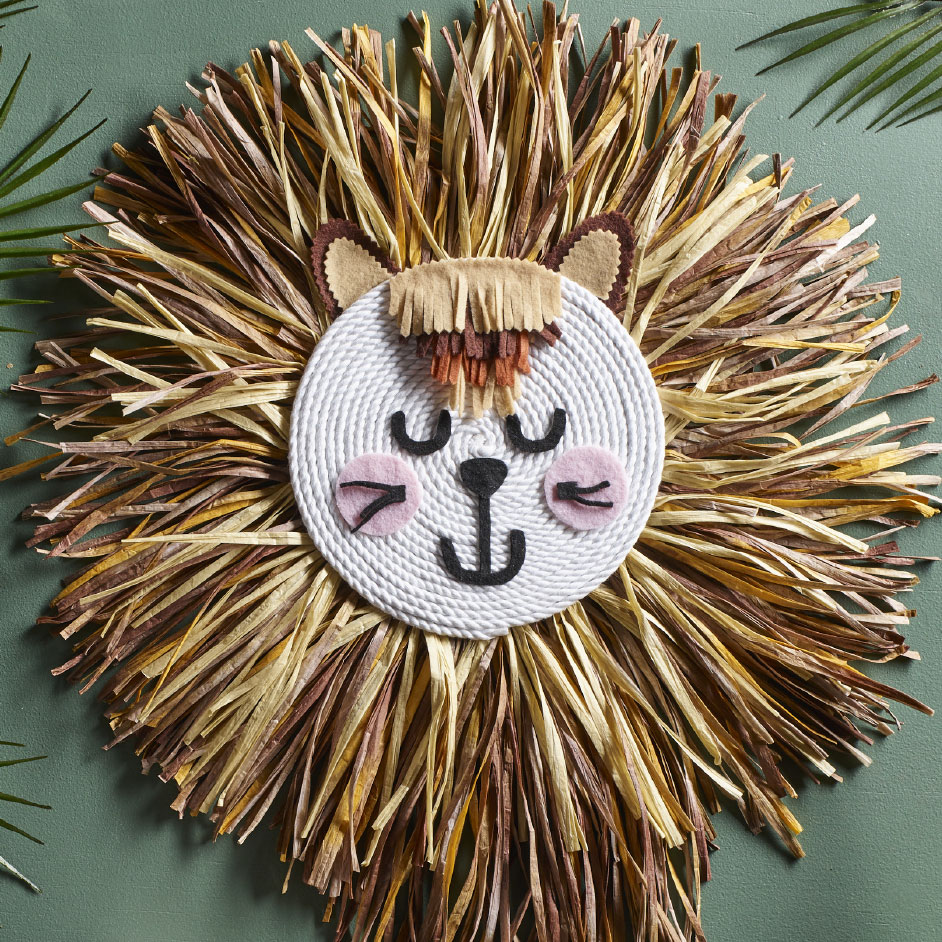
RAFFIA LION HEAD

Level: Easy
WHAT YOU'LL NEED
- CRAFTERS CHOICE Cotton Twist Macrame Cord 50M (White)
- 2 x FIBRA NATURA Raffia (Natural & Brown Mix)
- 20mm Galvanised Ring
- Thick piece of cardboard
- Scissors
- Felt sheets
- Hot glue gun and glue sticks
INSTRUCTIONS
Step 1 - Draw a circle onto the cardboard and cut out with scissors. This will be the base of your lion's head.
Step 2 - Beginning in the centre of the circle, start gluing the macrame cord onto the cardboard using the hot glue gun. Continue to glue as you coil the cord around itself until the whole circle is covered. Cut the cord where it finished and neatly glue it in place.
Step 3 - Now you can work on the lion's mane. Cut strands of the (colour) Raffia roughly 40cm long - cut a bunch so then you can work continuously. Take 2 strands and fold in half to create a loop, place the loop over the galvanised ring and pull the raffia tails through the loop and tighten to secure in place. Repeat with raffia until the entire galvanised ring is covered.
Step 4 - Repeat with the smaller galvanised ring and the (colour) Raffia instead. This will be layered over the larger ring to create a nice thick mane.
Step 5 - Use hot glue to carefully attach the manes to the back of the lion's head. You can also create a loop out of the raffia in this step that the lion's head can hang from when finished.
Step 6 - Now it's time to make the lion's face! Draw your design onto the felt and cut out with scissors. Use the hot glue gun to attach the felt pieces to finish. Your lion is now ready to hang!


