 | ||
| Your browser is not supported. | ||
|
Please browse our site using any of the following options:
| ||
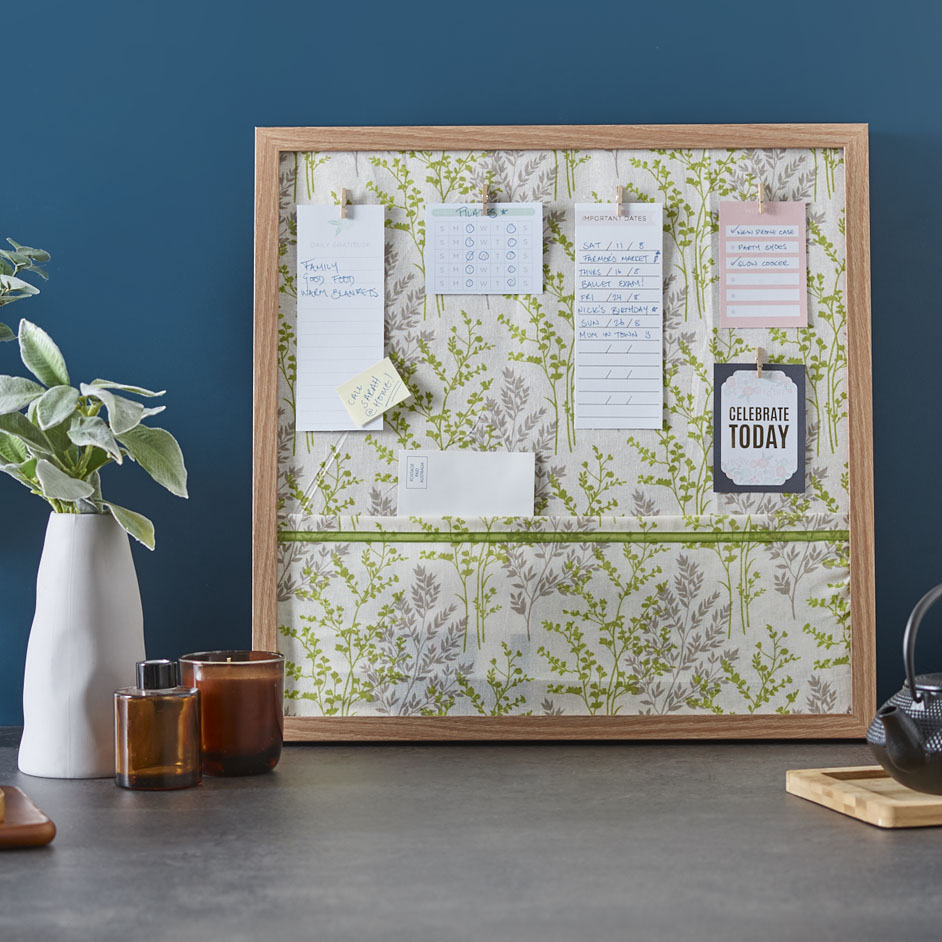
DIY PIN BOARD

INSTRUCTIONS
Step 1 - Cut out fabric into 1 square measuring 55cm x 55cm. This allows for the fabric to fold around the back of the mount. For the pocket cut a piece of fabric 55cm long x 27cm high.
Step 2 - Once fabric is cut, remove the back boards from the frame and lay flat.
Step 3 - Lay the larger fabric face down and center the back board on top. Fold the fabric over the back board and use the hot glue gun to hold in place.
Step 4 - To create the pocket fold down the 2cm seam allowance along the 55cm edge and press with an iron. Place ribbon on the right side of fabric and pin together with the hem then top stitch in place.
Place the pocket piece face down and put the back board on top so the pocket is at the base of board, fold the excess fabric around the sides and base and glue in place with hot glue gun.
Step 5 - Place the fabric covered back board back into the frame ensuring the fabric print/pocket is facing the right way up.
Step 6 -To finish use hot glue gun to glue small wooden pegs onto the board. Allow to dry before hanging papers from them.
Step 7 - Hang frame onto wall and fill with all your bits and pieces!


