 | ||
| Your browser is not supported. | ||
|
Please browse our site using any of the following options:
| ||
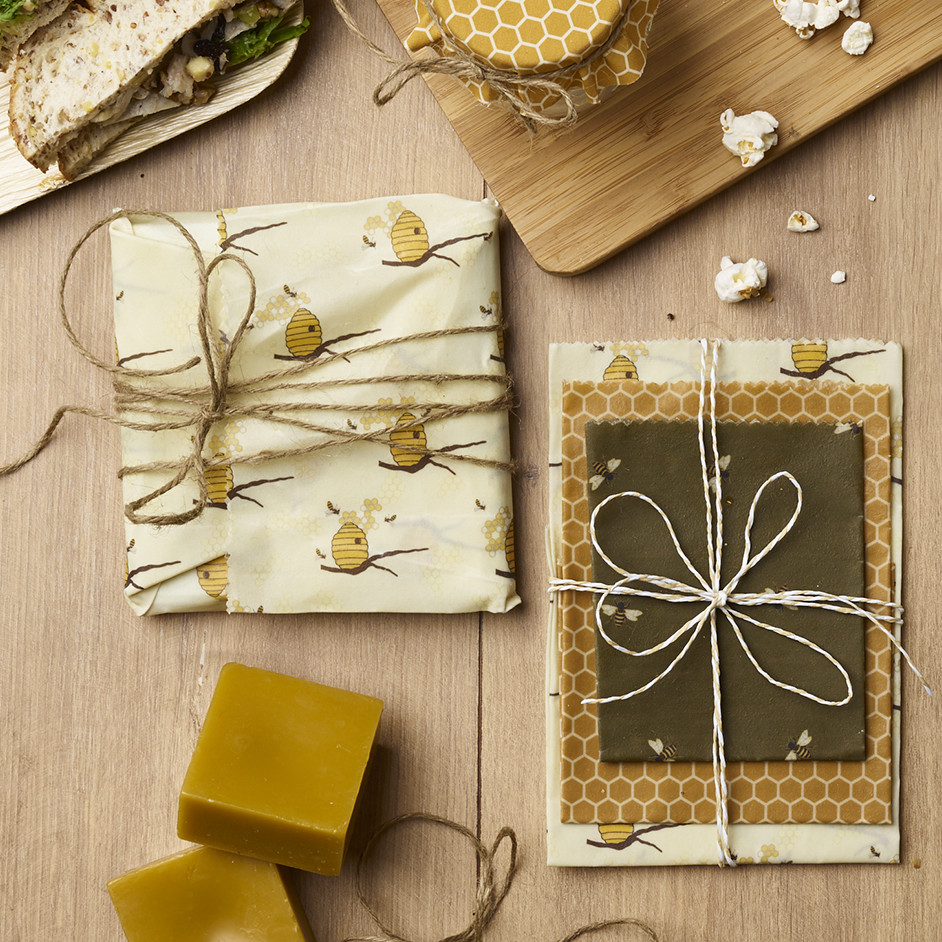
BEESWAX FOOD WRAP

LEVEL: EASY
WHAT YOU'LL NEED
- 40cm Naturally Organic Bees Fabric in various designs (We have used Beehive, Honeycomb and What a Buzz designs)
- Zig Zag Pinking Shears
- 1 Cup Grated Beeswax
- An Iron
- An Old Towel
- Baking Paper
- A wire rack for cooling
- Joijoba Oil or Coconut Oil (1 - 2 teaspoons)
Note - Read all instructions carefully before commencing the project.
INSTRUCTIONS
Step 1 - Measure and cut squares of fabric using the pinking shears in various sizes, for example What a Buzz: 20x20cm, Beehive: 30x30cm, Honeycomb: 40x40cm.
Step 2 - Lay out towel on an ironing board or flat surface and heat the iron.
Step 3 - Place some sheets of baking paper over the towel and then place your fabric squares on top, with the right side facing up.
Step 4 - Sprinkle the grated beeswax over the fabric squares - you will need to ensure the beeswax is sprinkled evenly over the fabric and right to the edges.
Step 5 - Add a couple of drops of Jojoba or coconut oil to the grated beeswax.
Step 6- Place some more baking paper over the top of the beeswax and fabric squares and carefully iron over the top of it.
Step 7 - Peel the baking paper back. Check to ensure the wax has evenly melted. If more coverage is required in any areas, you can sprinkle some more wax on the fabric, re-cover with baking paper and iron again.
Step 8 - Once the wax has been evenly melted over the fabric squares, carefully peel the fabric squares off the baking paper, holding the fabric by the corners. Lay the fabric squares flat on a wire rack to cool for a few minutes.
Step 9 - Your beeswax wraps are now ready to use.


