 | ||
| Your browser is not supported. | ||
|
Please browse our site using any of the following options:
| ||
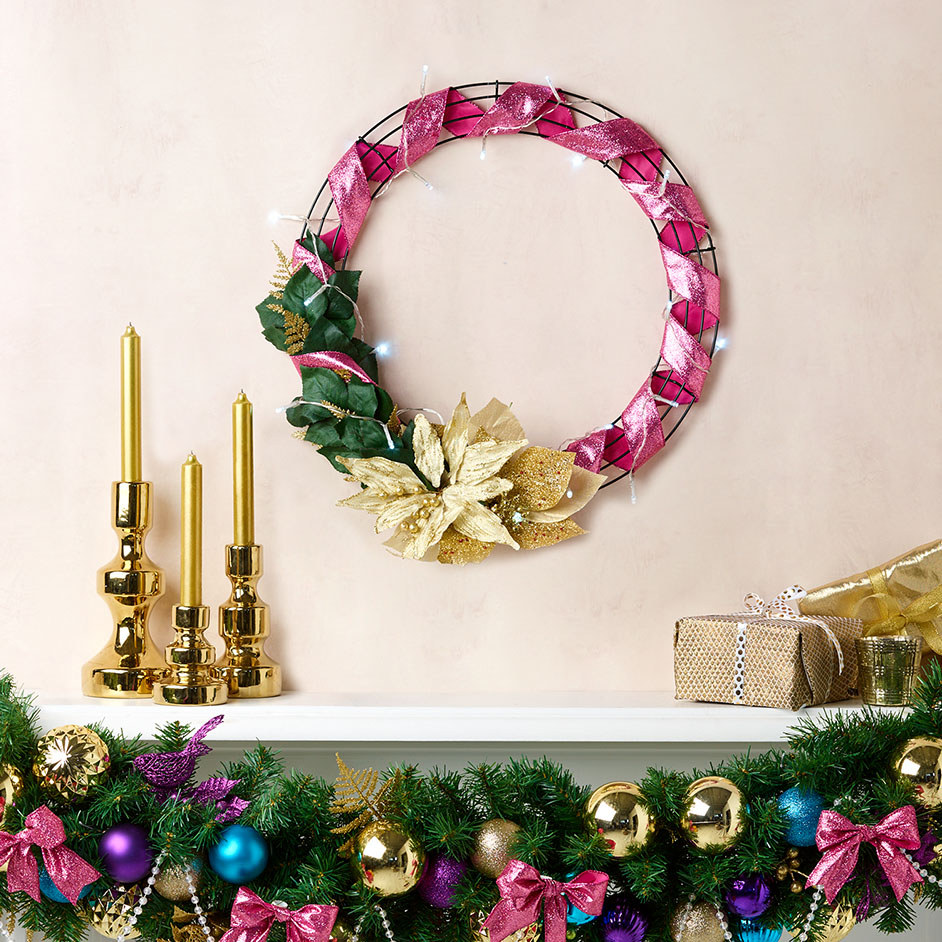
MERRY & BRIGHT CHRISTMAS WREATH & GARLAND

LEVEL: EASY
WHAT YOU'LL NEED:
WREATH
- Jolly & Joy DIY Metal Wreath
- Jolly & Joy' Picks (we used long leaf and poinsettia picks in Gold)
- Jolly & Joy Wire Edge Ribbon Bright
- Jolly & Joy Battery Operated LED Lights 20pk - White
- Vivaldi Blossoms Velvet Rose Leaves Green
GARLAND
- Jolly & Joy Pine Garland 2.7M, 200 Tip
- Jolly & Joy Baubles 8cm, 12pack - Gold
- Jolly & Joy Baubles 6cm, 9pack - Purple & Blue
- Jolly & Joy Wire Edge Ribbon Bright
- Jolly & Joy Picks (we used an assortment of picks which suited our colour theme)
- Jolly & Joy Bead Garland 6M - Pearl
INSTRUCTIONS
WREATH
Step 1. Wrap Vivaldi blossoms wire stems around the metal wreath in a layered pattern, securing tightly.
Step 2. Cut the Gold Long Leaf into smaller pieces and using a hot glue gun
arrange each piece between the leaves.
Step 3. Place the poinsettia picks together at the base of the wreath and attach using the hot glue gun, hot in place until firm.
Step 4. Starting at the base of wreath behind the picks, wrap the wire edge
ribbon around the outside of the wreath in a diagonal pattern. Glue in place,
hiding the join behind the picks.
Step 5. To finish, place the lights battery pack behind the picks and attach
using wire to securely hold in place. Wrap the lights around the wreath evenly.
GARLAND
Step 1. For this length mantel we folded the pine garland in half and wraped each strand around the other to create a very full looking garland.
Step 2. Hang garland on mantel so you can decorate knowing exactly how the end result will look.
Step 3. Start decorating with the baubles first, spacing them randomly across entire garland. Ensure you place some baubles deep in the garland and some on the surface, this will give it depth and create a fuller looking garland.
Step 4. Fill in gaps with assorted picks, remembering to stand back and look at where the garland is lacking decoration.
Step 5. Loop the beaded garland evenly across the front.
Step 6. Cut 4 even pieces of the wire edge ribbon and tie into bows.
Step 7. To finish use wire to secure each bow to the front of the garland.


