 | ||
| Your browser is not supported. | ||
|
Please browse our site using any of the following options:
| ||
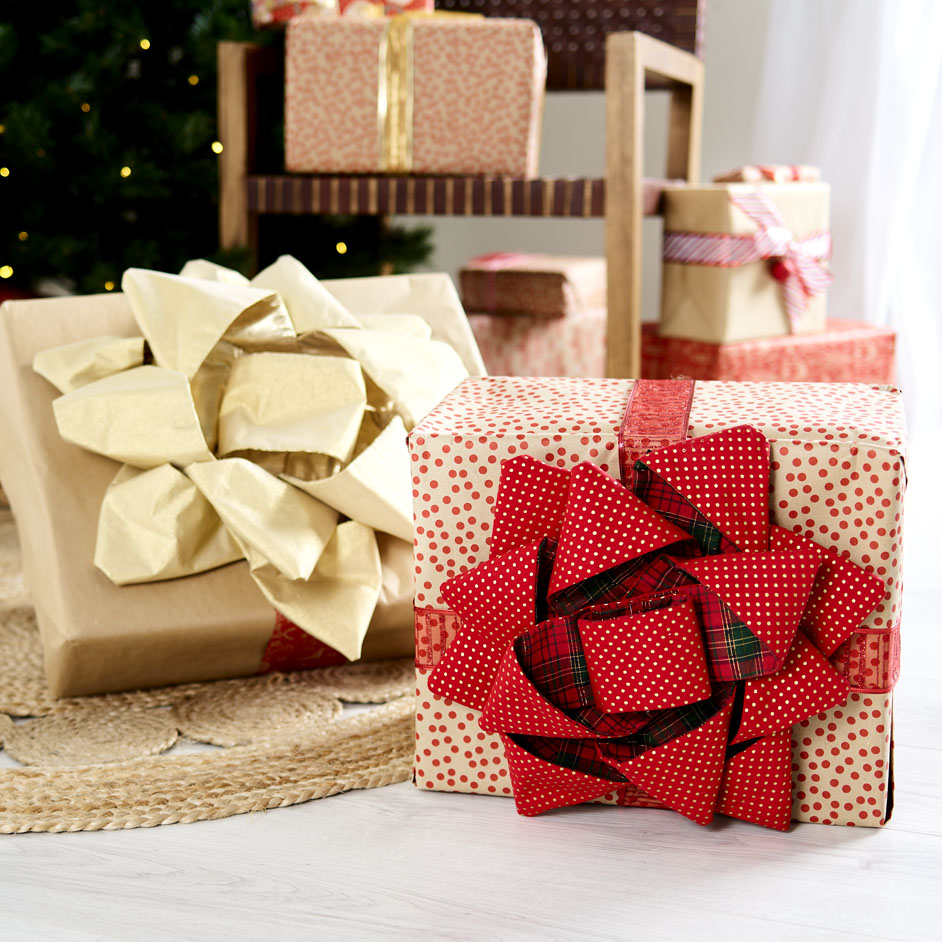
CHRISTMAS BOW & PRESENT BAG

LEVEL: EASY
WHAT YOU'LL NEED:
Christmas Bow
- 1 meter X17 Christmas Checks YD5, Red Green, 110cm
- 1 meter X17 Metallic Dot, Red Gold, 110cm
- 1 meter fusing
Present Bag
- Sewing Machine
- Matching tape
- Scissors
- Ruler/tape measure
- Pins
- Iron
INSTRUCTIONS
Christmas Bow
Step 1. The bow is made out of 6 figure of eight pieces of fabric and 1 small loop for the centre. To make each figure of eight you need 2 pieces of fabric, with one side of the fabric fused to give it structure. This is the same process for the centre loop.
Step 2. To start cut 3 strips of fabric 90cm long x 12cm wide, out of both fabrics. These 6 strips will make the larger outside circle of figure of eights.
Step 3. Cut another 3 strips of fabric this time 70cm long x 12cm wide, out of both fabrics. These 6 strips will make the smaller inner circle of figure of eights.
Step 4. To make the centre loop cut a strip of fabric 25cm long x 12 cm wide, out of both fabrics and fusing.
Step 5. Cut 3 strips of the larger size and 3 of the smaller size strips out of fusing. You will only need to fuse 1 side of each figure of eight so you should only have 6 strips of fusing cut.
Step 6. Use iron to fuse fabric to fusing. We fused the fabric that will be on the outside edge of the bow, so it looks crisp.
Step 7. Once all fabric is fused it's ready to sew. Matching the dot fabric to the check fabric, pin all strips together along the long edges and sew together with a 1cm seam allowance.
Step 8. Repeat this process with all strips and turn inside out using a safety pin to pull the fabric through itself.
Step 9. Press all strips of fabric flat using iron.
Step 10. You can now assemble your bow. Start with the bigger strips of fabric and create a figure of eight shape, pinning the ends in the centre. Once all 3 strips are in shape, lay them on top of one another to create the out circle of the bow. Sew in place using large hand stitches ensuring all layers are sewn together.
Step 11. Repeat this process with the smaller strips. Again lay these out on top of the larger circle and sew in place. Your bow shape should be starting to form.
Step 12. To finish, loop the small centre strip on itself and hand stitch in the centre of the bow to cover the ends of all the figure of eight strips. Your bow is now complete! Attach to presents or hang on a wall or door by simply sewinga loop of ribbon to the back side.
Present Bag
This is a super quick and easy bag to make. Note the finished bag will be 70cm x 55cm x 25cm deep.
Step 1. Start by cutting out your pieces, these measurements include your seam allowance:
- 2 x 102 cm x 141 cm piece. 1 for the main fabric and 1 for the lining of the bag.
- 2 x 10cm x 75cm pieces for the handles.
Step 2. Trifold the 10x75cm panels along the length. Using a double stitch, sew along the length of the handle. Put aside until ready to attach to finished bag.
Step 3. Fold the main body in half and pin along both sides with right sides facing together. Sew a 1 cm seam along each side. Repeat this process with the lining piece.
Step 4. To make the square corners of the bag, flatten the base of the bag out and measure in 12.5cm from the corner tip and pin through both layers of fabric. Sew a straight line across the corner at the 12.5cm mark, you should create a triangle shape in that corner. The sewn line should be 15cm in length. Repeat on the other side. This will create a 25cm base/gusset to your bag. Repeat this same process on the lining.
Step 5. Once both the main and lining corners have been sewn, turn your main fabric inside out. Fold in 1 cm hem on your main body piece, and press using an iron, then fold a further 2cm down and press. This will be the finished edge of the opening of your bag.
Step 6. Place lining fabric inside the main bag and position it neatly into the corners. Pin the lining fabric under the 2cm hem the entire way around the opening of the bag. The lining will be a little bigger than the main fabric.
Step 7. Once pinned in place, top stitch hem down in place, catching the lining in the process. Use your hands to push out the corners neatly through both layers so the lining sits neatly inside the bag.
Step 8. Measure in 34cm from the side seams and pin the handles in place on the outside of the bag. Fold under 1cm at the ends of each handle to finish neatly. Top stitch to secure in place.
Step 9. Your bag is now ready to fill with presents!


