 | ||
| Your browser is not supported. | ||
|
Please browse our site using any of the following options:
| ||
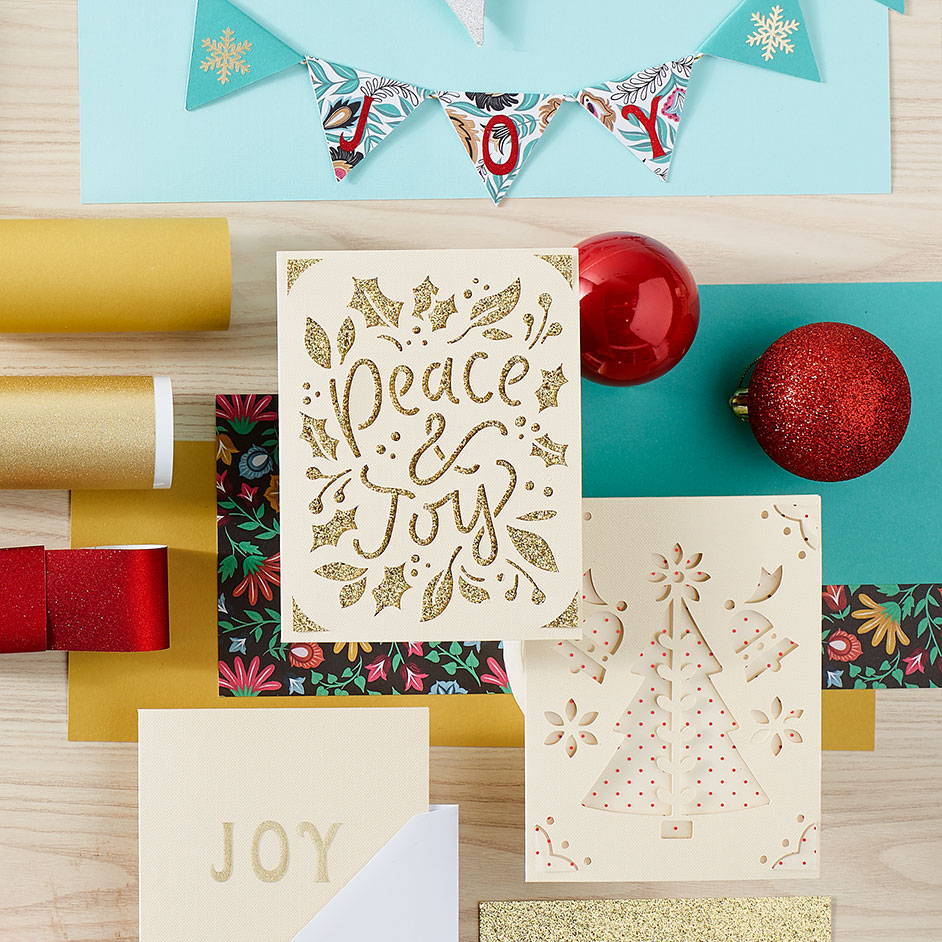
JOY CARDS & MINI BUNTING

Level: Easy
What You'll Need:
fees might apply for cricut design space project and or images
Machine & Tools:
- Scraper
- Cricut Joy
- Cricut Design application
Christmas Cards
- Cricut Insert Card Creme Gold
- Cricut Insert Card Charmed
- Cricut Joy Insert Cards, Creme Gold
- Cricut Joy Card Mat
Mini Bunting
INSTRUCTIONS
Christmas Tree with Bells Cards
Step 1 - Go to Cricut Design Space and search project Christmas Tree with Bells Cards
Step 2 - Insert your Cricut Joy Blade when prompted to cut the images from the card. We used CRICUT INSRT CARD \ CREME GOLD (80513710)
Step 3 - Insert the coordinating card insert into the corner cuts one at a time until all corners are aligned and the insert lays flat inside the card.
Peace and Joy Card
Step 1 - Go to Cricut Design Space and search project Peace and Joy Card
Step 2 - Insert your Cricut Joy Blade when prompted to cut the images from the card. We used CRICUT INSRT CARD \ CHARMED SMPLR (80513735)
Step 3 - Insert the coordinating card insert into the corner cuts one at a time until all corners are aligned and the insert lays flat inside the card.
Mini Bunting
Step 1 - Go to Cricut Design Space and search project MINI JOY BUNTING
Note: If you want to alter the project, select Customize, then use the tools in the Edit panel to make changes before you cut.
Step 2 - Insert your Cricut Joy Blade when prompted to cut the images from the Adhesive-Backed Deluxe Paper.
Step 3 - When prompted to cut the images and font from Cricut permanent adhesive.
Step 4- Carefully peel the backer away from your cut design.
Step 5 - Fold each shape over the thread so that the sticky sides are together.
Step 5 - Adhere the cut out vinyl font and snowflake on the bunting. Hang and enjoy!


