 | ||
| Your browser is not supported. | ||
|
Please browse our site using any of the following options:
| ||
Everything A Beginner Needs To Know On How To Make Candles At Home

Candle making is an art that has been around since the times of the ancient Greeks, and while the exact process and candle making materials have been greatly refined over time, it remains a popular creative hobby to this day! Candles provide light, warmth and scent when lit, and can be made in all sorts of colours, shapes and sizes to suit your home's personal style, or suit match the tastes of the lucky person you are gifting one to. With the enormous amount of wax types, colours and scents available, there's never been a better time to get into candle making! Have you always wondered how to make candles at home? This guide will show you how to make homemade candles easily!
Quick Links
- What Kinds Of Candles Can I Make?
- How Should I Set Up My Workspace For Candle Making At Home?
- What Do I Need To Make Candles At Home?
- How To Make A Container Candle
- Candle Making Tips And Tricks
What Kinds Of Candles Can I Make?
Candles come in a lot of varieties, but all can be made at home with enough time and patience. If you're not sure about what kinds of candles are out there, here is a basic rundown:
Candle wax types
The wax type you choose to make your candle out of can impact its colour, burn time, smokiness and smell. Common wax types include paraffin (derived from petroleum), soy, beeswax and coconut.
- Paraffin wax is cheap and can hold a lot of colour and fragrance. However, if they are not cared for properly, paraffin candles can create soot when they burn. Due to how it is created, it is also the least environmentally-friendly option.
- Soy wax is made from soybeans and burns slowly, meaning candles made from it will last longer. It is a softer wax compared to others and doesn't produce any nasty fumes.
- Beeswax is made by bees and has a slightly sweet smell when burning. Because of the labour required to harvest and create it, this wax can be a bit pricey, but it creates a hard candle that burns cleanly. Any good beekeeper will harvest wax without any harm or anxiety coming to their bees, but because it comes from living creatures beeswax is not technically vegan.
- Coconut wax is harvested from coconuts and is quite sustainable, plus it produces a clean burn and holds fragrance well. Unfortunately it is the priciest of waxes to buy, and because it is so soft it often has to be combined with other waxes for ease of use.
You can also buy wax blends that contain a mixture of wax types. These blends are a more economical choice and can contain the benefits and drawbacks of multiple wax types. When you are just starting to learn how to make your own candles, a wax blend is a safe choice to begin with!
Candle form - what style candles are there?
Candles come in a few distinct styles and have different purposes.
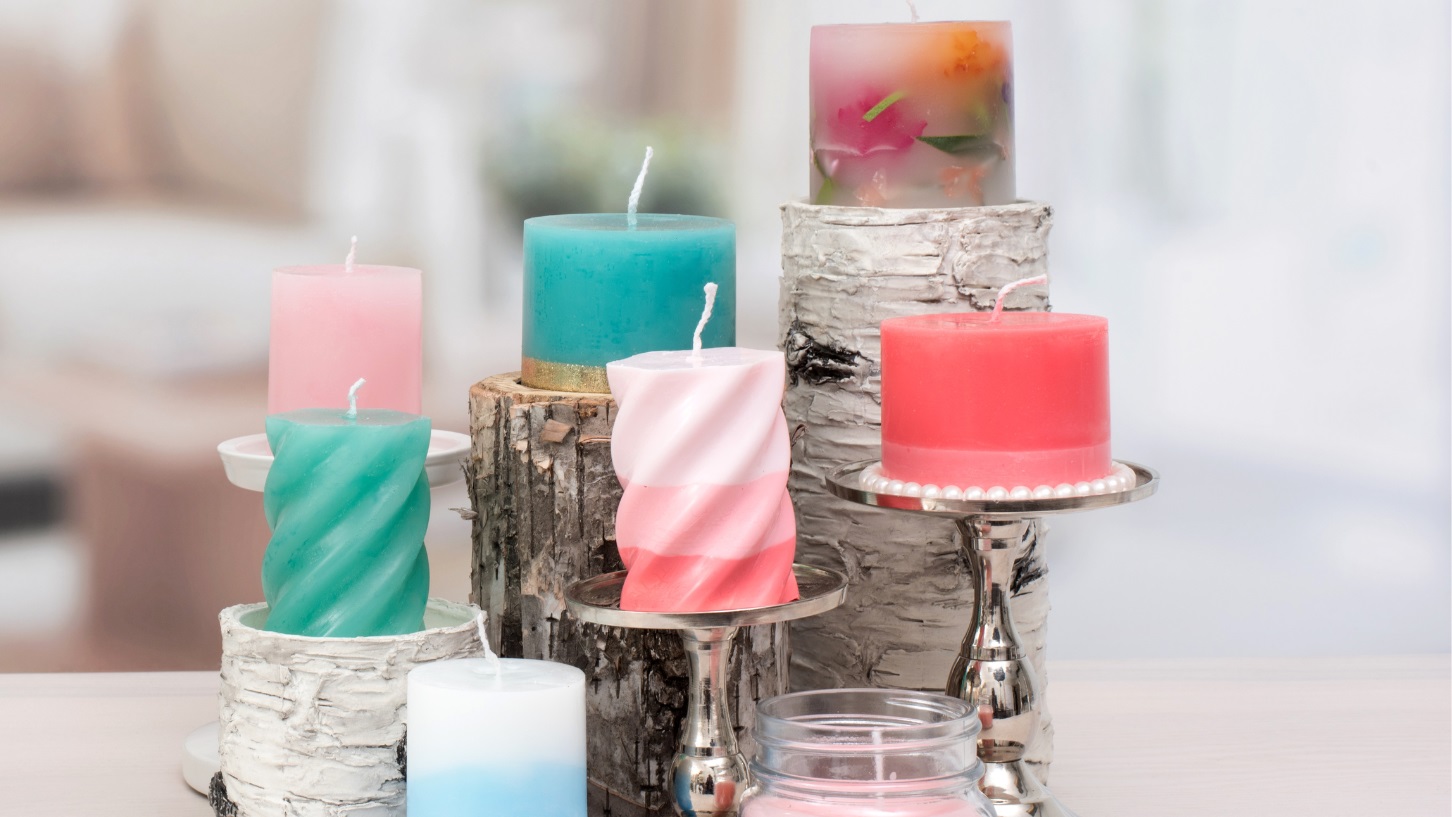
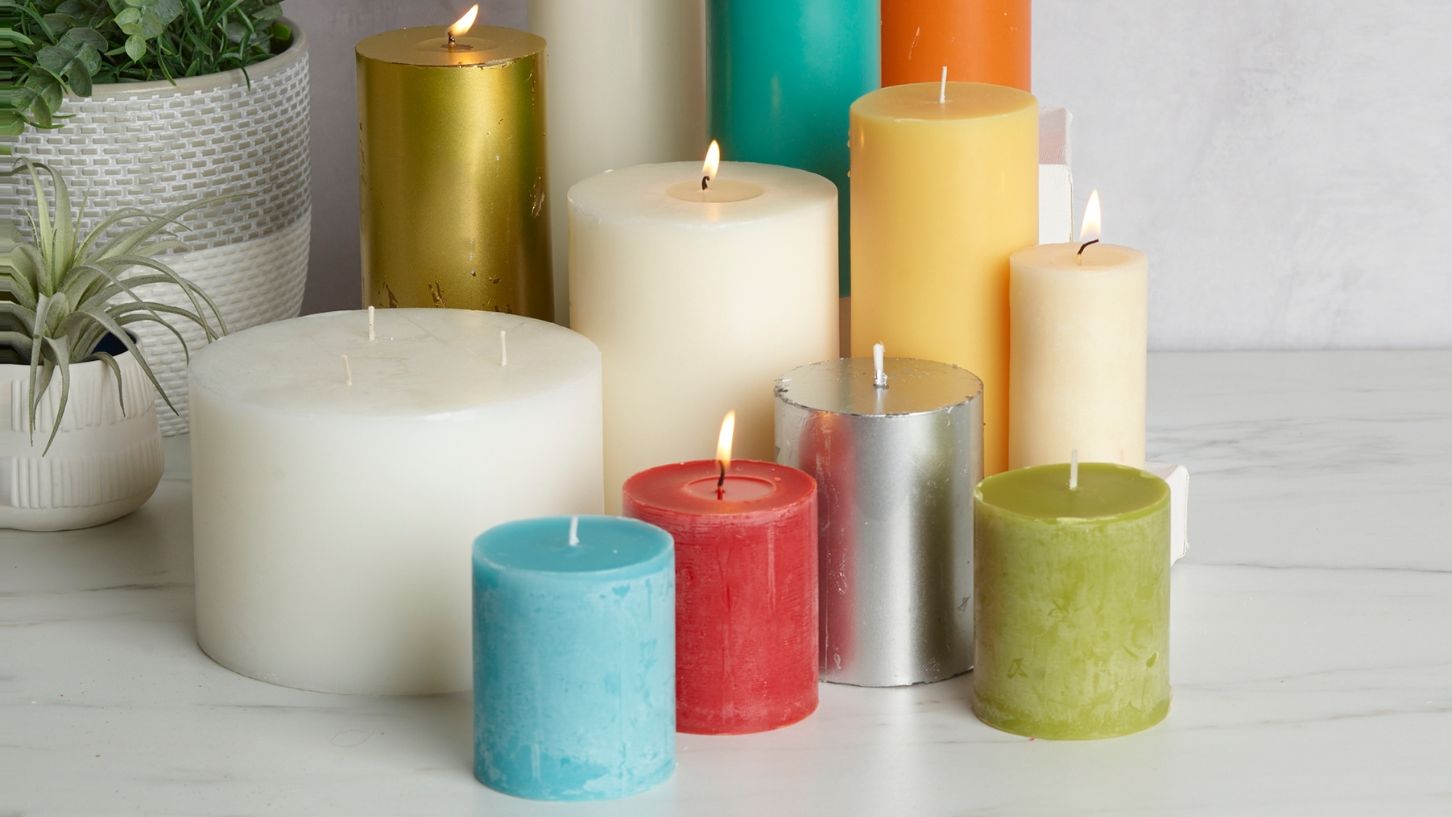
- Pillar candles are the tall, thick candles you see burning at churches, weddings and other formal occasions. They are usually white for these occasions, but they are just as easy to colour as any other candle variety.
- Taper candles are tall, thin and held in place with a special candle holder. You will usually see them at a formal dinner table.
- Container candles are wax that has been poured into a vessel. You can use old jam or sauce glass jars if you don't want to buy a new container. Metal is also suitable, but it must be wide and deep enough that the sides will not get too hot from the burning candle wick.
You can find all sorts of moulds to make interestingly-shaped candles, like flowers, shells and even geometric shapes that are suitable for candle making. These will usually be made of silicone, allowing you to 'pop' out the candle when finished.

How Should I Set Up My Workspace For Candle Making At Home?
Because you are working with hot wax, it is important to set up your workspace correctly to prevent burns and damage when candle making at home. You will be boiling water to melt your wax, so make sure the bench space near your stove is clean and flat before you start. Have all of your candle making supplies nearby, as once you start melting and pouring it becomes a fast process!
When candle making at home you want to be working on a flat, stable surface. If your candles are shaking or if they are setting at an angle, your wax will suffer for it.
Dried wax is easy to scrape off surfaces, but if you don't want that hassle then line your workspace with scrap paper.
Make sure you have either a range hood fan or an open window to keep air circulating, as breathing too much of your fragrance can use respiratory problems and headaches. When you are allowing your candles to set, keep them away from any stray draughts so they can cool down at a consistent rate.
Finally, make sure you dispose of any extra melted wax into the bin, not down the drain. Liquid wax will cool and harden in drains and will clog your pipes.
What Do I Need To Make Candles At Home?
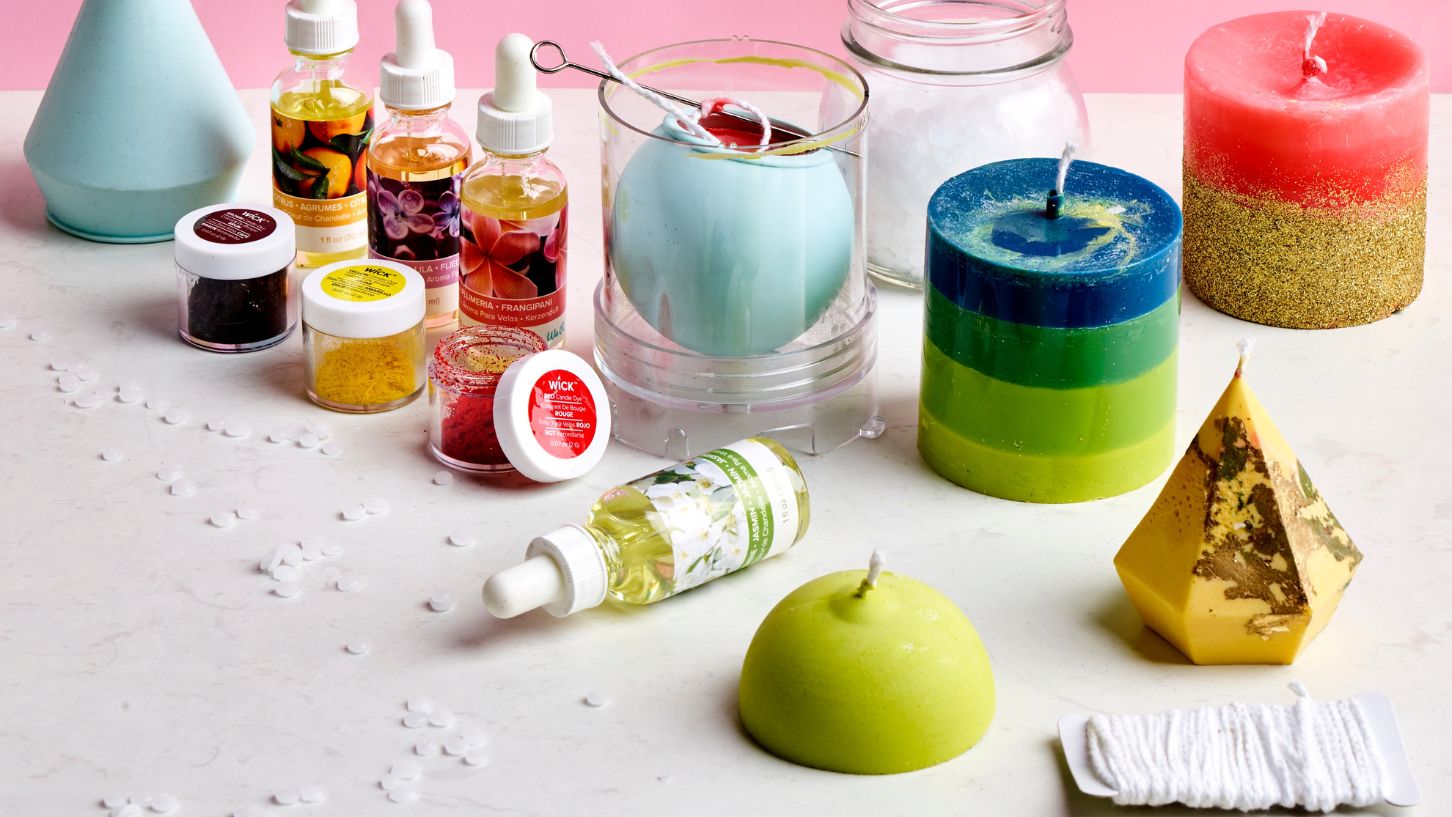
If you've decided you want to make your own candles at home, there are some tools and specific candle supplies you'll want to have on hand. We will guide you on how to make a basic container candle - here's what candle making supplies you'll need:
- Wax chips.
- Glass heat-resistant container. (Make sure it is clean and dry before use).
- Braided wick (some waxes prefer certain kinds of wick - check the recommended type on your wax packaging).
- Wick centring tool or craft sticks.
- Wooden stirrer.
- Double boiler (or metal bowl and saucepan).
- Fragrance oil.
- Thermometer.
- Kitchen scales.
Adding Scents and Colour to Your Candle
Wondering how to make candles smell good when wax doesn't smell like much at all? The key is to insert fragrance! It's not compulsory, but it's easy to add and makes your candle more than just a source of light.
When choosing a fragrance, you may be wondering if you can use essential oils in candle making for a strong, delightful scent like the one you get from a diffuser. Unfortunately, most essential oils have a low 'flash point' - this means they evaporate at hot temperatures. So adding an essential oil to your hot candle wax will cause most of it to vanish into the air, leaving you with a very weak scent that won't go far.
Instead of using essential oils in candle making, look for specialised fragrance oils designed for use with candles. You will only need to add a little for a noticeable scent, plus you can combine them to create unique aromas for your home.
You can also choose to add colour, but make sure you are using dyes created for use with candles and not food dye. Food dye is water-based, so mixing it with wax is a bad idea - rather than mix with the wax, it will separate and you will end up with a hot layer of watery colour in your boiler!
How To Make A Container Candle
Now that you're set up, let's make a candle! Follow these steps to make a simple, beautiful container candle. We are using soy wax and vanilla fragrance oil candle supplies, but you can choose to use a different wax if you like. Please take note of your supplier's instructions on your wax for their recommended temperatures and amounts of fragrance and colour.
Step One - measure your wax and fragrance
To measure how much wax you'll need, fill your container almost to the brim with wax chips, then double that amount. Because the wax melts, we'll need more than it looks like it takes to fill your container! If you want to be specific, use your kitchen scales and follow the instructions that come with your wax on how much to use.
For your fragrance, measure out no more than 10% of your total amount of wax - 6% is a good place to start. Too much fragrance oil can mess with the stability of your wax, so don't be tempted to go overboard - more scent does not equal a better scent throw!
Step Two - melt your wax
Melt your wax by adding it to your double boiler or metal bowl/saucepan setup. Bring your stove to medium-high heat so the water is gently boiling - not at a rolling boil. Stir and melt the wax until it is totally liquid. Insert your thermometer and monitor the temperature until it reaches 85°C, then take it off the heat.
Step Three - adhere your wick
Dab a bit of your wax onto the bottom of your wick and adhere it to the bottom of your glass jar in the middle. Hold it until the wax hardens and use either a wick holder or sticks to keep the wick upright and straight in your candle. If you are using a very wide container, you may need to add more than one wick. If this is the case, make sure they are evenly spaced but also not too close to the edges of your container.
Step Four - add your fragrance
Once the wax has cooled to 70°C, you can add your fragrance. Stir the oil in slowly for 1-2 minutes until totally combined.
Step Five - pour your wax
When the wax cools to between 50°C and 70°C, you can pour your wax into your glass container. Pour steadily, as this will help prevent cracking and tunnelling later on in your candles (again, remember to check the notes on your particular wax for the exact recommended temperatures).
Step Six - set your candle
Leave your candle to set for a day or two somewhere dry and mildly warm (between 21°C and 23°C) - do not move them while they are setting. Trim the wick so there is around 5mm exposed above the wax.
Once your candle has set you can light it and enjoy your very first handmade candle! And now that you know how to make your own candles, you can go about making many more, in your favourite colour and scent combinations.

Candle Making Tips And Tricks
When it comes to making candles, there are so many extra little tips and tricks you can use that it can be hard to keep track of! Whether you are making, burning or storing your candles, here are our eight candle making at home tips we swear by:
- You can slightly warm your glass container before you pour in your wax. Pouring warm wax into a cold glass can cause cracking, so if you're worried, heat up your container beforehand - don't make it so hot you can't grab it though! You can use an oven set to 'keep warm' or a heat gun/hair dryer for this.
- Never melt your wax in a container that is touching your stove directly. Overheating wax can cause it to catch fire, which is why it is so important to use a double boiler method to heat your wax.
- Always keep your wick trimmed to around 5mm. A wick that is too long can smoke and cause soot, while a wick that is too short can drown in your wax and not burn properly.
- Don't try to cool your candle down while it's setting. Anything from a fan to a mild breeze from outside can cause your candle wax to form cracks as it sets, so don't be tempted to speed up the process.
- Save a little wax from your batch - if your candle does dry and forms cracks over its surface, you can warm and pour another small layer over the top to help.
- When you first burn your candle, burn it until the wax has melted across the entire surface of the candle. This will help prevent tunnelling in subsequent burns.
- Store your candles out of sunlight, as it can cause discolouration.
- 'Frosting' is a reaction that can cause discoloured patches to form in a soy candle. It won't affect the quality of how your candle burns but can be prevented by playing with your temperature, colour and fragrance amounts and initial container temperature.
- Keep notes! If you make the perfect candle but can't remember what temperature the room was, when you poured the wax or what your wax to fragrance ratio was, it's going to be hard to recreate. Notes can also help keep you from making the same mistake twice.
Make Beautiful Homemade Candles With Spotlight
Welcome to the wonderful world of candle making! Now that you know how to make homemade candles you've joined generations of artisans, and now it's time to make your own mark on the craft. Wondering where to buy candle making supplies locally? You can find all the candle making supplies you need online at Spotlight, or you can head to your nearest Spotlight store to choose your supplies in person! At Spotlight, you can find ready to use candle making products that are super convenient including pre-waxed wicks, moulds and scent packs.
In the mood for more crafting? Check out our crafting projects page, where you'll find detailed guides on how to make all sorts of beautiful clothes, toys and decorations.
And if you need some assistance in buying the right crafting tools, our buying guides will help you find what you need.


