 | ||
| Your browser is not supported. | ||
|
Please browse our site using any of the following options:
| ||
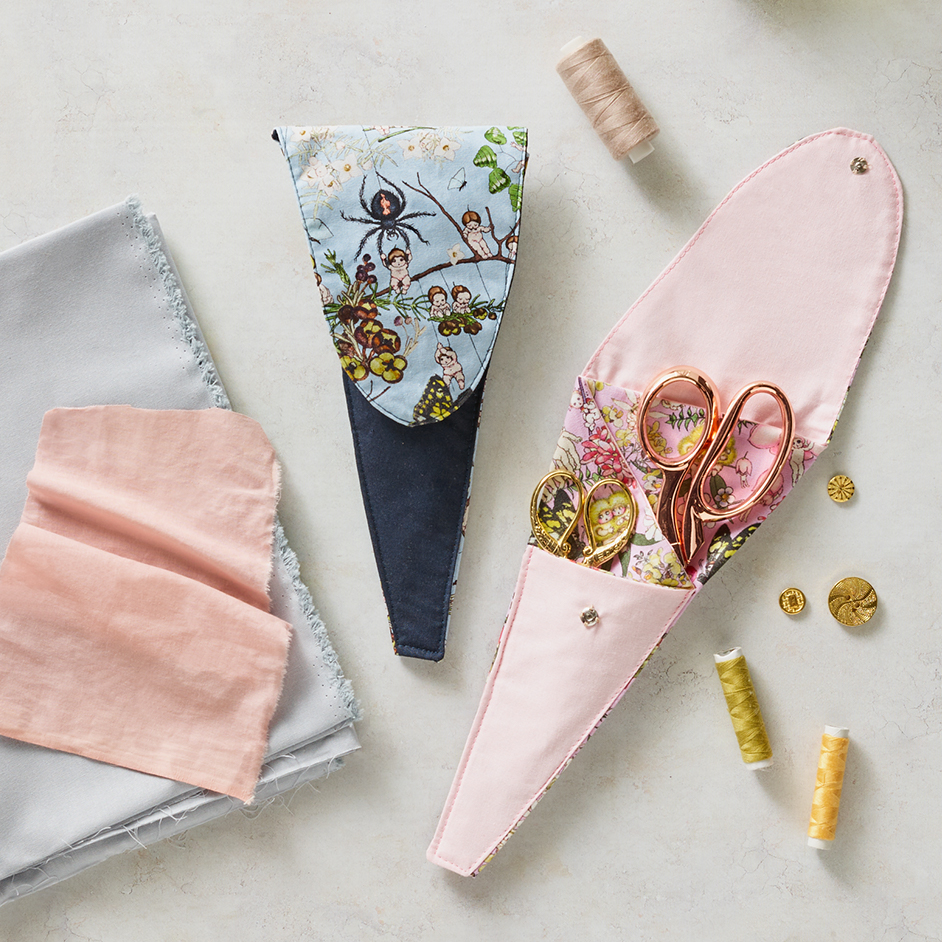
SCISSOR HOLDER

LEVEL: INTERMEDIATE
What you'll need:
- 40cm of 2 different fabrics
- 40cm of iron on light weight interfacing
- Press stud
- Washable marker
- Iron
- Pins
- Sewing machine
INSTRUCTIONS
Step 1 - Cut out both template pieces out of lightweight iron on interfacing.
Step 2 - Iron the interfacing to the wrong side of your main fabric print. Lay your two fabrics right sides together and pin. Carefully cut out around the interfacing, leaving a 1cm seam allowance.
Step 3 - Sew template piece one to template piece two where indicated on the pattern. Press seams towards the larger piece of fabric.
Step 4 - With both fabric pieces right sides together, stitch around the outside along the edge of the interfacing. Be sure to leave a 5-10cm turning hole (indicated on template piece).
Step 5 - Clip corners and turn the scissor holder right sides out.
Step 6 - Press flat, turning the opening under 1cm.
Step 7 - Using the dotted lines on the template as a guide, fold each section and press each fold as you go. Section 1 folds over onto section 2. Section 3 folds over the top of section 1 and 2, and then section 4 folds back onto section 3. Press to ensure all folds are creased well, and that the bottom edge is lined up. Use pins to hold in place.
Step 8 - Sewing 3-5mm from the edge, stitch around the entire scissor holder. Stitch carefully and slowly as there are a lot of layers. If your machine is having trouble sewing through the layers, you can hand stitch the edges closed.
Step 9 - Fill your scissor holder with your scissors (it can hold up to three pairs in varying sizes) fold the top flap down and mark a point with a washable marker to sew on a press stud.


