 | ||
| Your browser is not supported. | ||
|
Please browse our site using any of the following options:
| ||
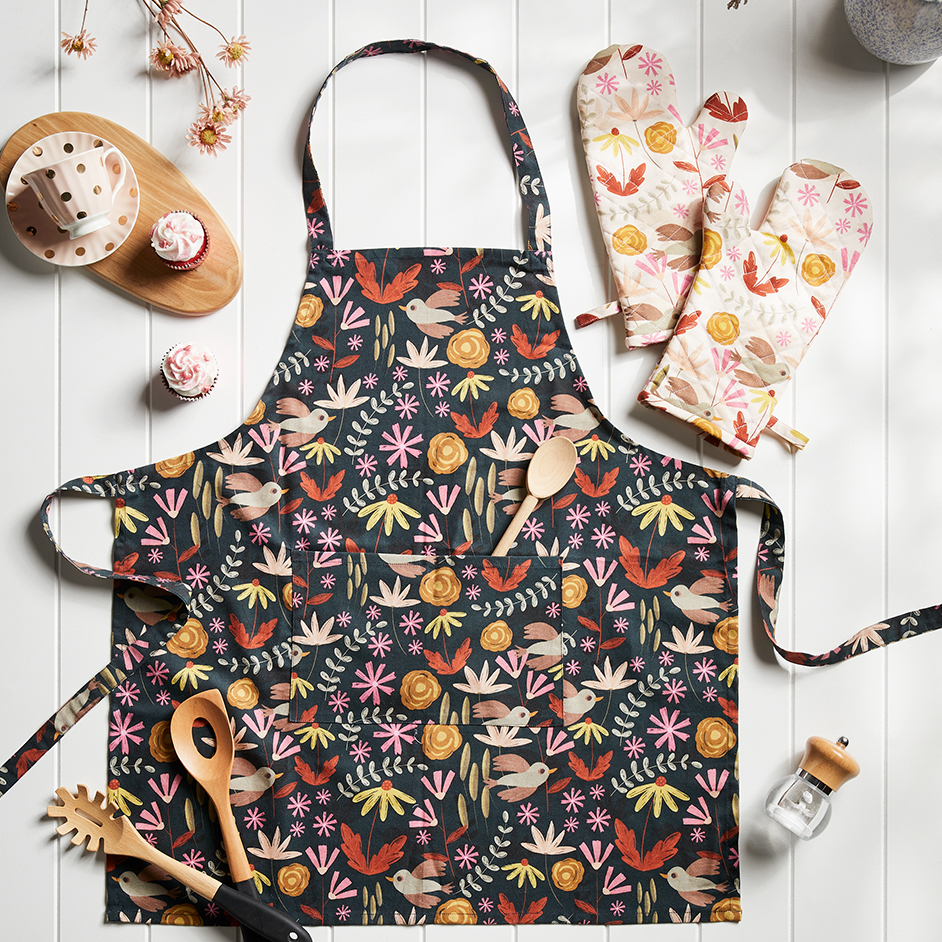
MAY GIBBS TAKING FLIGHT APRON

Level: Easy
WHAT YOU'LL NEED
- 1m May Gibbs taking flight decorator fabric
- 1m lining fabric
- Matching 'Gutermann' 100% cotton thread
- Pins
- Tape measure
- Scissors
- Seam ripper
- Sewing machine and matching thread
INSTRUCTIONS
Step 1 - Fold the May Gibbs fabric over lengthways into the centre until one selvedge edge is 40cm from the fold with right sides together and press.
Step 2 - Refer to the diagram and with A being the folded edge, use the following measurements - A = 80cm, B = 12cm, C = 55cm, D = 35cm to draw the pattern on the wrong side of the fabric. Carefully cut out the apron. Cut out one 25cm x 19cm rectangle for the pocket.
Step 3 - For the straps, cut 2 x 8cm wide strips across the width of the fabric and cut off selvedges. Fold each strip in half lengthways with right sides facing and press. Sew together lengthways using a 1cm seam allowance. Turn right side out and press with seam along one long edge. Topstitch down each long edge 3mm in from edge.
Step 4 - Cut each strap into one 88cm length for waist ties and one 55cm length for neck ties. Zigzag or overlock one end of each tie to neaten.
Step 5 - With the lining fabric out flat fold the top edge down 40cm matching the selvedge edges and press. Repeat step two to cut out the lining. Cut out one 25cm x 19cm rectangle for the pocket.
Step 6 - Pin together fabric pocket and pocket lining with right sides facing. Sew together around the edge using 1cm seam allowance leaving a 6cm opening in one side for turning through. Press, clip corners, turn right side out and press in seam allowance.
Step 7 - Topstitch along top edge of pocket 3mm from edge. Centre pocket on apron front pocket 22cm up from the bottom edge of apron and pin on three sides with topstitched edge at the top. Pin in place then sew to apron across bottom and sides leaving top edge open. Press.
Step 8 - Pin the raw edge of each waist tie to the side edge of the apron 1.5cm down from the top, with raw edges aligned and tie facing into the centre of the apron. Baste 5mm from the edge.
Step 9 - Pin the raw edge of each necktie to the top edge of the apron 1.5cm in from the side edge, with raw edges aligned and tie facing into the centre of the apron. Baste 5mm from the edge.
Step 10 - With right side of apron facing up and ties sitting on top with ends into the centre, place lining on top, right sides together and pin around the edges. Sew apron and lining together using 12mm seam allowance leaving a 15cm opening in the bottom edge for turning through. Press and clip corners.
Step 11 - Turn right side out through the opening carefully pulling out ties and pushing out corners. Press in seam allowance of opening and hand sew opening closed. Topstitch around apron 6mm in from the edge. Press well.


