 | ||
| Your browser is not supported. | ||
|
Please browse our site using any of the following options:
| ||
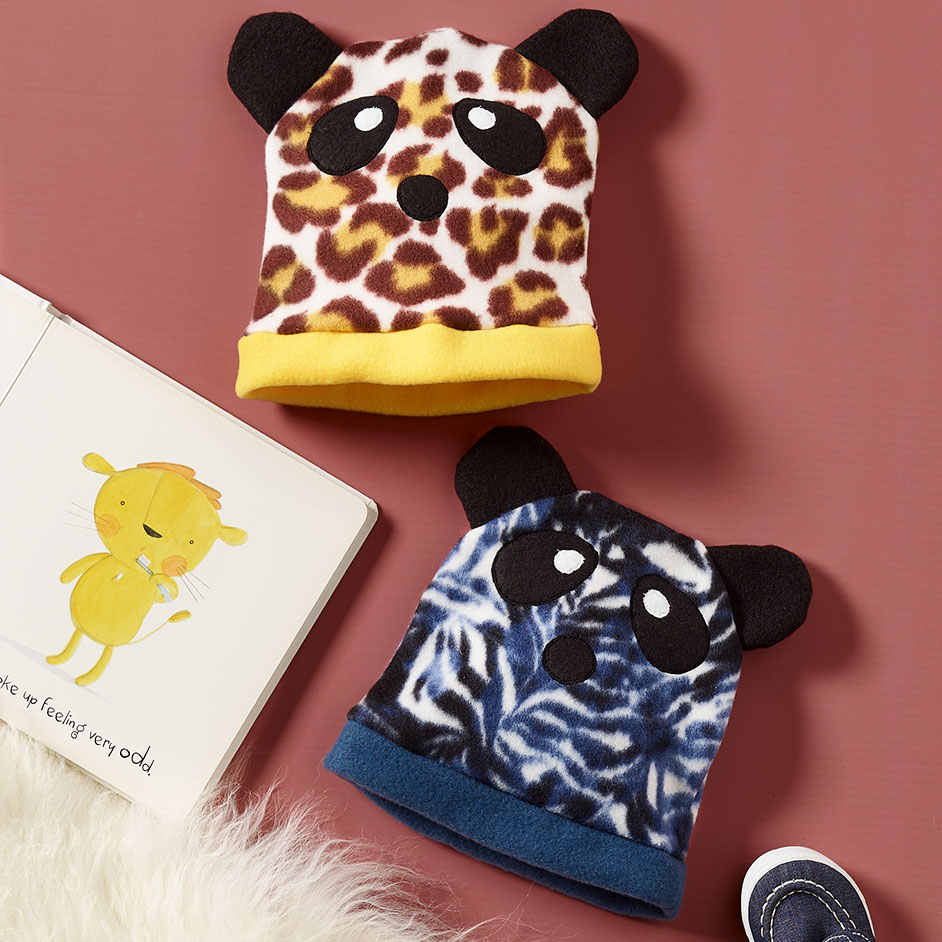
FLEECY TODDLER BEANIE

LEVEL: EASY
WHAT YOU'LL NEED:
- Printed Polar Fleece - 20cm
- Plain Polar Fleece - 10cm
- Black Polar Fleece - craft square
- White Polar Fleece - craft square &bull
INSTRUCTIONS
Step 1 - Using the beanie stencil, cut 2 pieces of printed fleece.
Step 2 - Cut the band 7cm x 42cm from plain polar fleece.
Step 3 - Using the ear stencil, cut out 4 x ears from the black craft square. Place 2 x pieces right sides together, stitch around the curved edge, securing the ends. Turn right side out and zig zag stitch across the opening. Repeat for the other ear.
Step 4 - Iron a 10cm square piece of Heat n Bond to the back of the black craft square; iron a 5cm square of Heat n Bond to the back of the white craft square. Use the stencils to draw the eyes and nose pieces onto the paper side of the Heat n Bond. Cut out the pieces. Remove the paper from the back of each piece and iron in place on the beanie front. Place a 20cm square piece of tearaway stabilizer underneath the beanie front and satin stitch the eyes and nose in place with matching thread.
Step 5 - Pin the 2 x ears in the appropriate place on the beanie with the bottom edge flush with the outside edge of the beanie, and stitch in place.
Step 6 - Place beanie back face down on top of beanie front, pin around curved edge, then stitch, leaving the bottom straight edge open. Turn right side out.
Step 7 - Stitch the short ends of the band together, making a circle. Fold the band in half lengthwise and pin the raw edges to the outside lower edge of the beanie. Flip the band down.
Note - This template has been scaled. You will need to print this template at actual size and blow it up by 285% to make it full size.


