 | ||
| Your browser is not supported. | ||
|
Please browse our site using any of the following options:
| ||
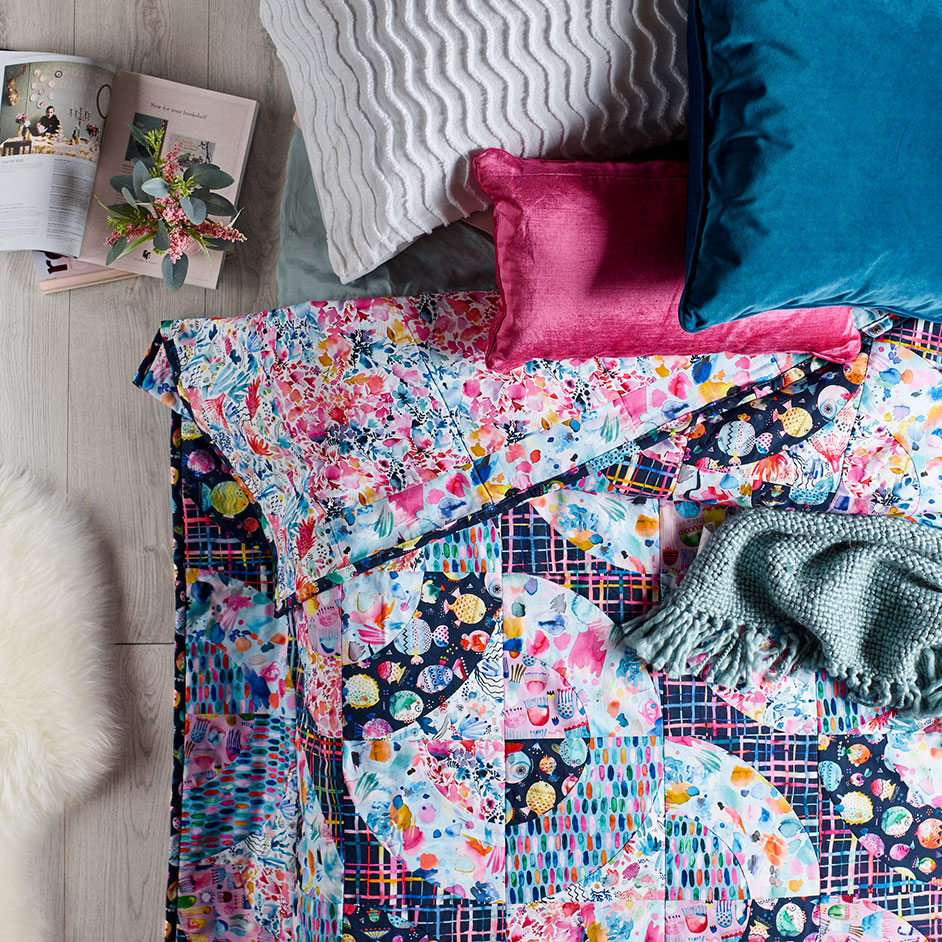
NINOLA CORAL DREAMS QUILT

Level: Advanced
WHAT YOU'LL NEED:
- 7 x Coral Dreams fabrics:
- Ninola Grid - 1.5m
- Ninola Coral Reef - 1.5m
- Ninola Artist Palette - 1.5m
- Ninola Dashes - 1.5m
- Ninola Jellyfishes - 1.5m
- Ninola Magic Flowers - 1.5m
- Ninola Pufferfish - 2m
- Backing fabric - 240 x 170cm
- Cotton wadding - 240 x 170cm
INSTRUCTIONS
Step 1 - To make this quilt you will need to refer to the grid provided. You will need to make 70 blocks altogether - 7 blocks across and 10 blocks down.
Step 2 - Each block is made up of 3 shapes. To make a stencil, draw a 23cm square. From 1 corner measure 11cm on each side and place a mark. Draw an arc from mark to mark, making sure you are 11cm from the corner at all times. Measure 12cm further on each side of the square and repeat the process. Cut along curved lines. You should now have your 3 stencils. When cutting your fabric, you will need to add 6mm to each side of stencil.
Step 3 - Using Ninola Grid, cut 46 of Shape 1, and using Ninola Coral Reef, cut 24.
Remember to add 6mm seam allowance on all sides.
Step 4 - Using the 5 remaining Ninola fabrics, cut 14 of Shape 2 out of each fabric.
Remember to add 6mm seam allowance on all sides.
Step 5 - Using the 5 remaining Ninola fabrics, cut 14 of Shape 3 out of each fabric.
Remember to add 6mm seam allowance on all sides.
Step 6 - To make your blocks, pick different fabrics and sew Shape 2 (small curve side) to Shape 3 along curved edge. Press seam away from starting point. Sew Shape 1 (curved side) to Shape 2 and press seam. Mix the fabrics up as you go. Make 70 blocks.
Step 7 - Trim blocks to 23cm (9") square.
Step 8 - Arrange blocks as per diagram, making sure your colours are balanced. The shaded corners represent Ninola Coral Reef fabric. Label every block using the alphabet across (A - G) and numbers downwards (1 - 10). For example: the first row of blocks across the top will read A1, B1, C1, D1, E1, F1, G1, the second row across will read A2, B2, C2 etc.
Step 9 - Next you are going to make 7 panels going downwards: Start with Panel A. Sew the top of A2 to the bottom of A1. Sew the top of A3 to the bottom of A2. Sew the top of A4 to the bottom of A3. Repeat the process, finishing with attaching A10 to A9. Press all seams open.
Step 10 - Repeat Step 9 to make 7 Panels in total, A-G.
Step 11 - Lay backing on table, smooth wadding on top of backing and centre panel D right side up on top of wadding.
Step 12 - Place panel E face down on top of panel D, align edges on the right-hand side and pin through all thicknesses. Make sure all joins are aligned before and while you sew these panels together. Open panel and press seam.
Step 13 - Place the panel C face down on top of panel D, align edges on the left-hand side and pin through all thicknesses. Make sure all joins are aligned before and while you sew these panels together. Open panel and press seam.
Step 14 - Place panel F face down on top of panel E, align edges on the right-hand side and pin through all thicknesses. Attach as before, open panel and press seam. Repeat with panel G on top of panel F.
Step 15 - Place panel B face down on top of panel C, align edges on the left-hand side and pin through all thicknesses. Attach as before, open panel and press seam. Repeat with panel A on top of panel B.
Step 16 - Using Ninola Pufferfish fabric, cut 7 binding strips across WOF 9cm wide. Join these strips end to end. Press joins open and iron strip in half lengthwise. Pin binding around the quilt, mitring the corners as you go. Sew through all thicknesses. Trim backing and wadding to edge of binding. Fold binding over to back of quilt so that folded edge sits past the stitching line. Pin. Either hand sew binding in place on the back of quilt or 'ditch stitch' from the front of the quilt making sure the binding is caught at the back. Finished!


