 | ||
| Your browser is not supported. | ||
|
Please browse our site using any of the following options:
| ||
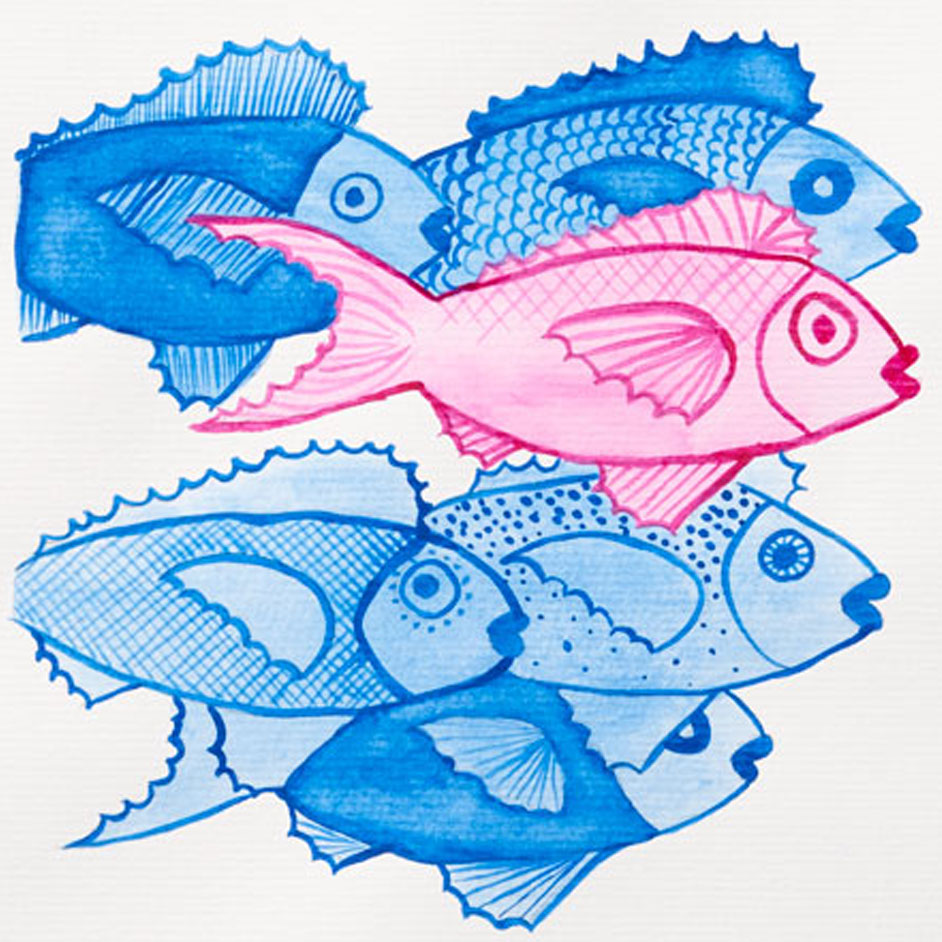
WATERCOLOUR SCHOOL OF FISH

LEVEL: EASY
WHAT YOU'LL NEED
- Downloadable artwork templat
- 1 Sheet of watercolour paper from Canson Watercolour Pad A4
- 1 x container for clean water
- Watercolour paint palette (an ice cube tray is ideal)
- 1 x HB Pencil
- Derivan Artist Watercolour Paint in Magenta and Cobalt Blue Hue
- Round brushes in sizes No.2 and No.6 from Princeton SupaValue Synthetic Brushe
INSTRUCTIONS
STEP 1
Using the template and HB pencil, trace the fish design onto the watercolour paper. Alternatively, you can also photocopy or scan/print the design onto the paper if preferred. Place small amounts of the watercolour paint into separate compartments in the palette. Mix with water. The aim is to have one dark shade and one lighter shade of each colour.
STEP 2
The No. 6 brush is for painting larger parts of the fish and the No.2 brush for adding details. Using the No. 6 brush, wet the top two fish with clean water only. Dip the brush into the lighter Cobalt Blue Hue blend and apply to the whole fish.
STEP 3
Repeat this process with the bottom three fish. Allow to dry.
STEP 4
Repeat the step 2 with Magenta watercolour for the centre fish.
STEP 5
Using the No.2 brush, paint over the outlines of the fish design with the darker shade of the base colour. You can also fill in specific areas if desired.
STEP 6
When all fish are dry use the No.2 brush to paint on the details for each fish
using the same darker version of the base colour. How you do this is up to you, but you may want to consider detailing different parts of each fish to add variety. Repeat this process for the Magenta fish. Allow to dry. Sign and frame if desired.
TIP: To trace the design onto watercolour paper place the template image at the back of the watercolour paper, then press it press it lightly against a window and trace the image that shows through using the HB pencil.


