 | ||
| Your browser is not supported. | ||
|
Please browse our site using any of the following options:
| ||
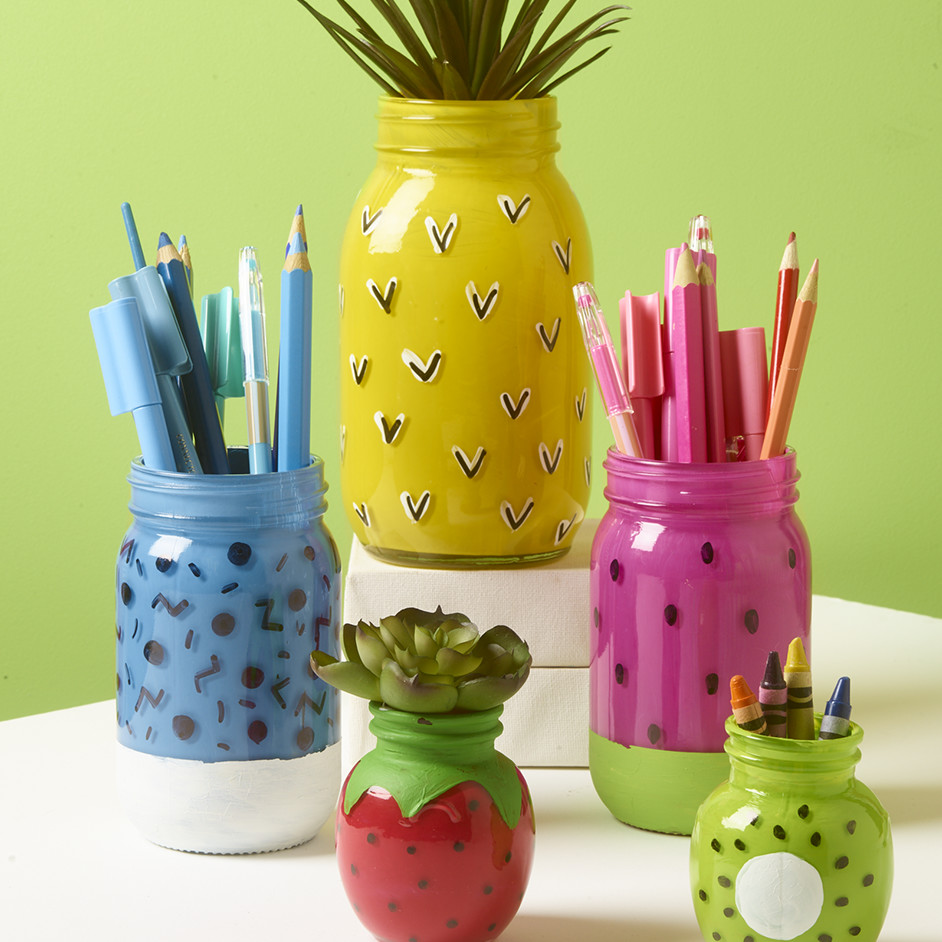
FRUIT PAINTED GLASS JARS

LEVEL: EASY
WHAT YOU'LL NEED:
- Assorted glass jars
- Acrylic paint
- Paint brushes (small, medium and large)
- Water
- Masking tape
- Black sharpie
- Faux greenery
INSTRUCTIONS
Step 1 - Decide on the colours you wish to paint your jars. We chose blue for the blue berry, yellow for the pineapple, pink for the watermelon, red for the strawberry and green for the kiwi fruit.
Step 2 - Pour paint into the jar, if mixing colours you can do this inside the jar also just pour both paints in and mix until you have reached the colour you desired. Once you are happy with your colour use a regular paint brush and cover the inside of the jar with overlapping strokes to ensure all the glass is covered in paint. Make sure to wipe the edges of you jar clean and leave to dry. If you paint colour is light it may need another coat of paint.
Step 3 - To create the colour blocked bases on the blueberry and watermelon jars use masking tape to section off the part you would like it paint. Make sure the tape is stuck down neatly then using a medium sized paint brush paint your paint across that section ensuring you don't go over the taped section. Allow the paint to dry, repeat a second coat if the colour isn't strong enough.
Step 4 - To create the fruit details on the kiwi fruit and strawberry use a smaller sized paint brush and paint on the strawberry leaves at the top of the jar and the kiwi centre. You can either do this free hand or use a sharpie to draw on your pattern first. Again allow the paint to dry before doing a second coat if necessary.
Step 5 - To finish, use a sharpie to draw on decorations on the outside of your jars. Fill with pencils or use faux greenery to decorate your jars!


