 | ||
| Your browser is not supported. | ||
|
Please browse our site using any of the following options:
| ||
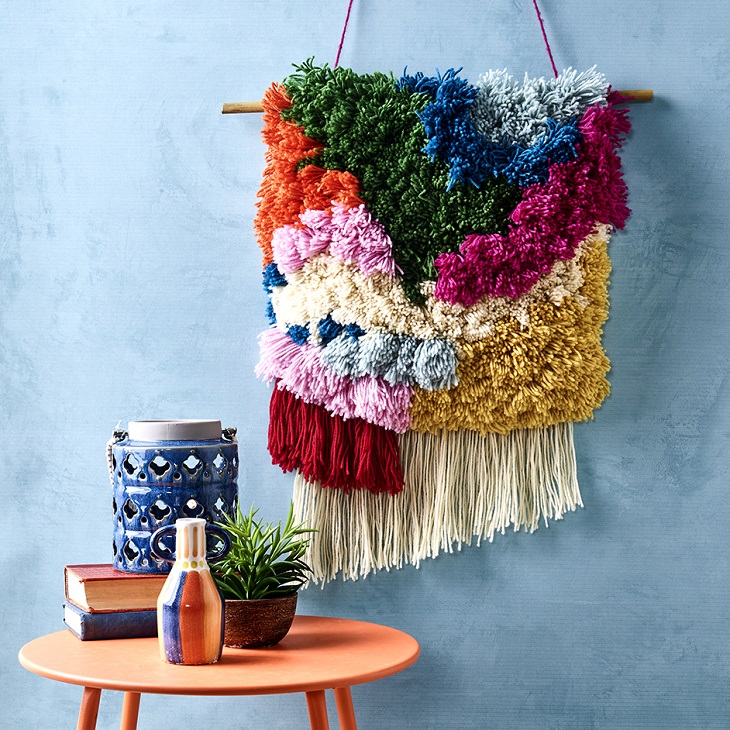
SHAGGY RYA WALL HANGING

Level: Easy
WHAT YOU'LL NEED
- 1 X 5mm Foam Board
- 2 x Elastic bands
- 1 x 50 x 50cm piece of rug canvas
- 3 x Pure Wool 8ply C1 (fringing)
- 2 x Pure Wool 8ply C2, C3, C4, C5, C6, C7, C8, C9
- A piece of driftwood or dowl to hang the canvas & cord for hanging.
- Cutting Knife
- Cutting Board
- Scissors
Finished Size
Approx 45cm wide x 65cm long (including fringing)
Notes
These instructions are a guide. Feel free to make colour or spacing changes as you work
INSTRUCTIONS
Wall Hanging
Step 1 - Using the foam board, cut out the two square templates. These will be used to wrap the yarn to create the shag pile.
Step 2 - This piece is created by working in rows, from the bottom upwards. Add 30cm fringe in C1 along the bottom row of the canvas.
Step 3 - Add a 16cm fringe in C2 just above the C1 fringe but only across the first 3rd of the canvas.
Step 4 - Working from the left, add 5 more rows of C2 16cm fringe, but shorten each row by about 4cm so the last fringe row only has a couple of fringes. This will create angled bulk towards the left of the C2 fringing.
Step 5 - To create the tufts of yarn, cut 2 x 25cm strips of yarn and lay them across the template as illustrated.
Wrap the yarn vertically around the template in the two vertical spaces
Step 6 - Add the elastic bands to hold the wraps in place before cutting.
Step 7 - Cut the two 25cm horizontal strips in half creating 4 separate strips. Tie a knot with these trips to capture the vertical threads tightly. You will have 4 knotted bundles.
Step 8 - Using scissors cut across the centre of the wraps on both sides of the template.
Remove the elastic bands and the four bundles of yarn.
Step 9 - Tie these bundles to the canvas in the desired colour groups. The closer you tie the bundles together, the denser the shag pile. Generally, knotting each bundle about 3 canvas sections apart creates a good plush effect.
Step 10 - Alternate between using the large and the small template to create different bundle lengths. Mix up the angles and colour groups and bundle lengths to add interest.
Step 11 - Continue working from the bottom up until about 2cm of canvas remains. Using the cord selected for hanging, wrap the cord around the dowel and then through the canvas all the way along the top of the canvas and dowel leaving sufficient yarn at each end to tie together to create a hanger to hang the canvas.
TO FINISH
If desired, trim the bottom fringe, with sharp scissors at an angle and trim any stray strands.


