 | ||
| Your browser is not supported. | ||
|
Please browse our site using any of the following options:
| ||
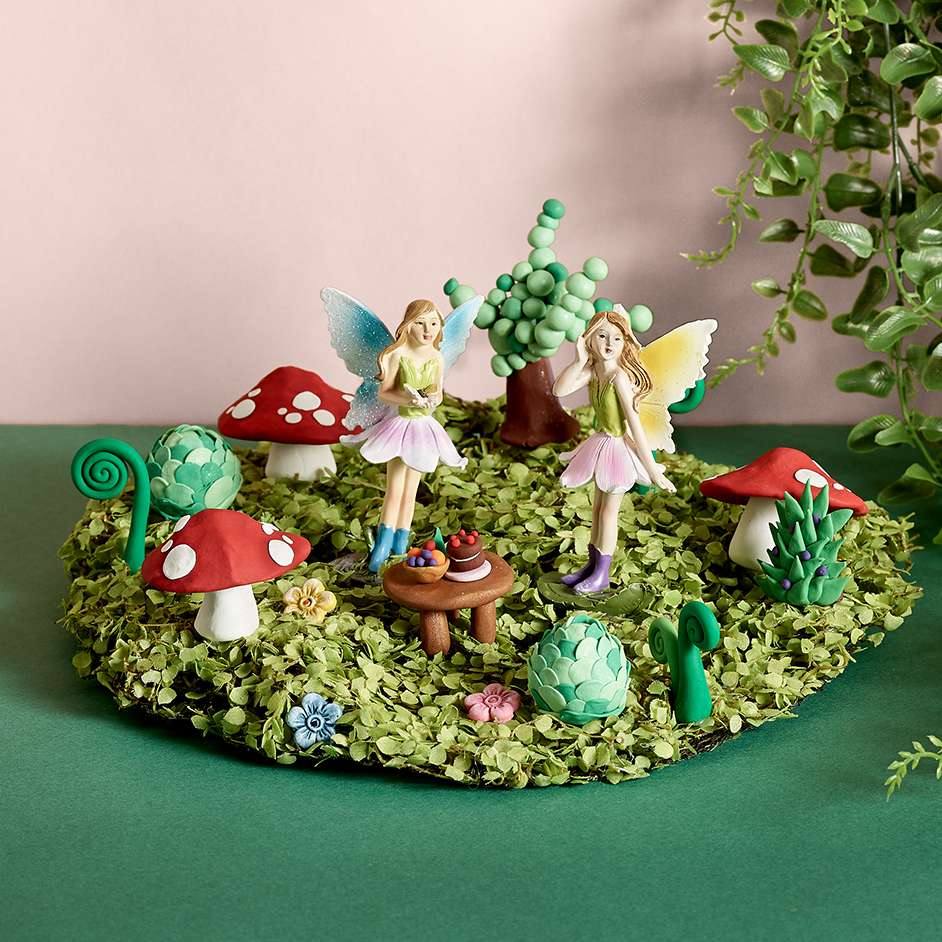
SCULPEY FAIRY VILLAGE

INSTRUCTIONS
Step 1 - Little Round Leaves - To create little rounded leaves, roll small amounts of clay into balls then press them flat. Try mixing different amounts of white in with your green clay to get several shades for added visual interest.
Step 2 - Spiral Fronds - For spiral fronds, roll your clay out into logs that are thick at one end, and get gradually thinner. Curl into a spiral from the thinner end, then flatten the base of the thicker end so that the frond stands up.
Step 3 - Toadstools - Make toadstool tops by rolling clay into discs, then moulding them so they are thinner around the edges and have an off-center, rounded peak. Use white clay to make clusters of unevenly sized spots, as well at the stem.
Step 4 - Tree - To make the tree, roll clay into small balls, and thread some onto thin florists wire to hold them in place. Insert these into the trunk in the position you want them in, then fill out the spaces between them with more little balls.
Step 5 - Table - Form the table top and legs separately, and attach the legs with glue after baking the clay.
Step 6 - Fruit Bowl - To create the fruit bowl, mould the clay over the end of your little finger. Fill with tiny balls of clay in bright colours to represent fruit.


