 | ||
| Your browser is not supported. | ||
|
Please browse our site using any of the following options:
| ||
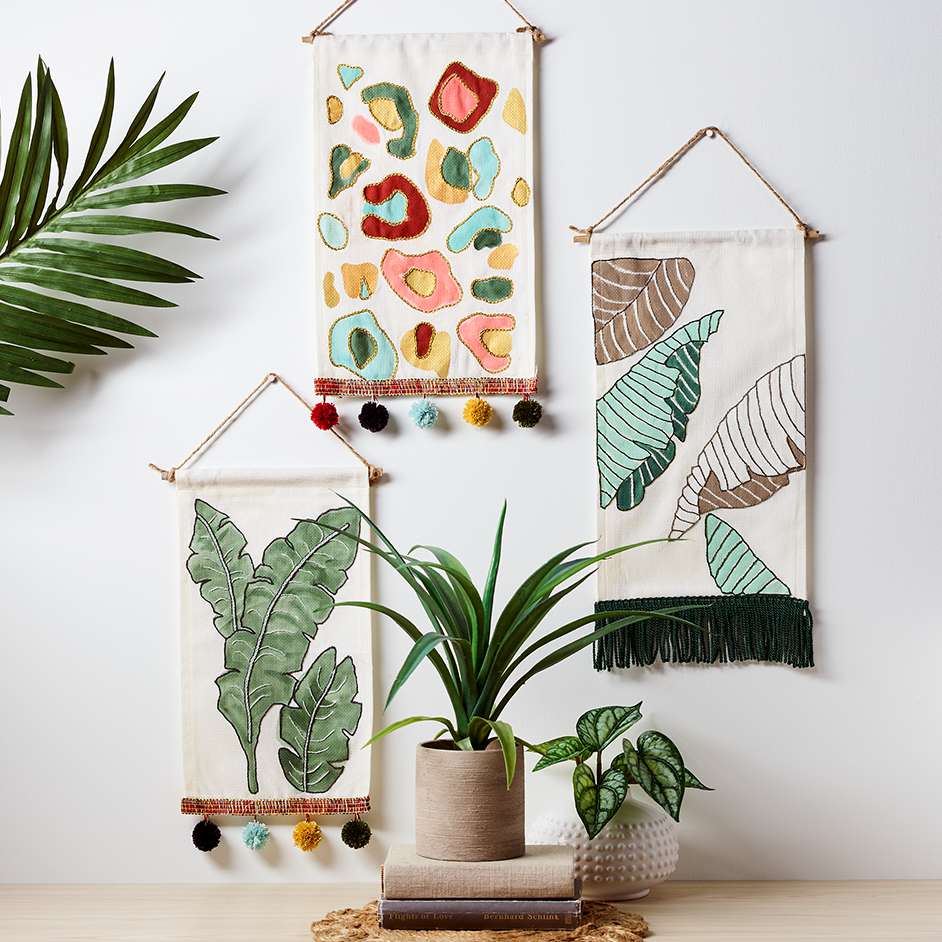
STRANDED COTTON PANELS

Level: Easy
WHAT YOU'LL NEED
- A piece of Aida Cloth 10cm wider and longer than desired finished size.
- A piece of fusible tearaway the same size as Aida Cloth.
- A permanent marker.
- An assortment of acrylic paints in desired colours.
- An assortment of embroidery threads in desired colours.
- Paint brushes.
- Braids and trims to decorate.
- A slim rod, cut to desired length for hanging.
- Embroidery needle.
- Scissors, yarn needle, tape measure.
INSTRUCTIONS
Step 1 - Using warm water and a gentle detergent, wash Aida cloth and allow to dry.
Step 2 - Using a warm iron press lightly on wrong side.
Step 3 - Using a dark permanent marker, draw or trace desired design onto a piece of paper.
Step 4 - Place adhesive side of fusible tearaway over design and trace using permanent marker.
Step 5 - Following instruction on fusible tearaway, adhere to wrong side of Aida cloth.
Step 6 - Turn Aida cloth over so right side of Aida cloth is facing. The design lines on fusible tearaway will be visible through Aida cloth.
Step 7 - Using acrylic paints and brush, paint design inside lines taking care to make sure paint is not too watery so it doesn't bleed, or too thick.
Step 8 - Allow to dry on a flat surface.
Step 9 - Peel off fusible tearaway.
Step 10 - Using desired colours of embroidery threads and an embroidery needle, work in either stem stitch or chain stitch and work design outlines around all painted areas.
Step 11 - Trim Aida cloth so there are 2.5cm borders around design.
Step 12 - Hem all edges, leaving top hem open at either end. Add any braid or trim as desired.
Step 13 - Slide rod through top hem and attach desired fastenings for hanging.


