 | ||
| Your browser is not supported. | ||
|
Please browse our site using any of the following options:
| ||
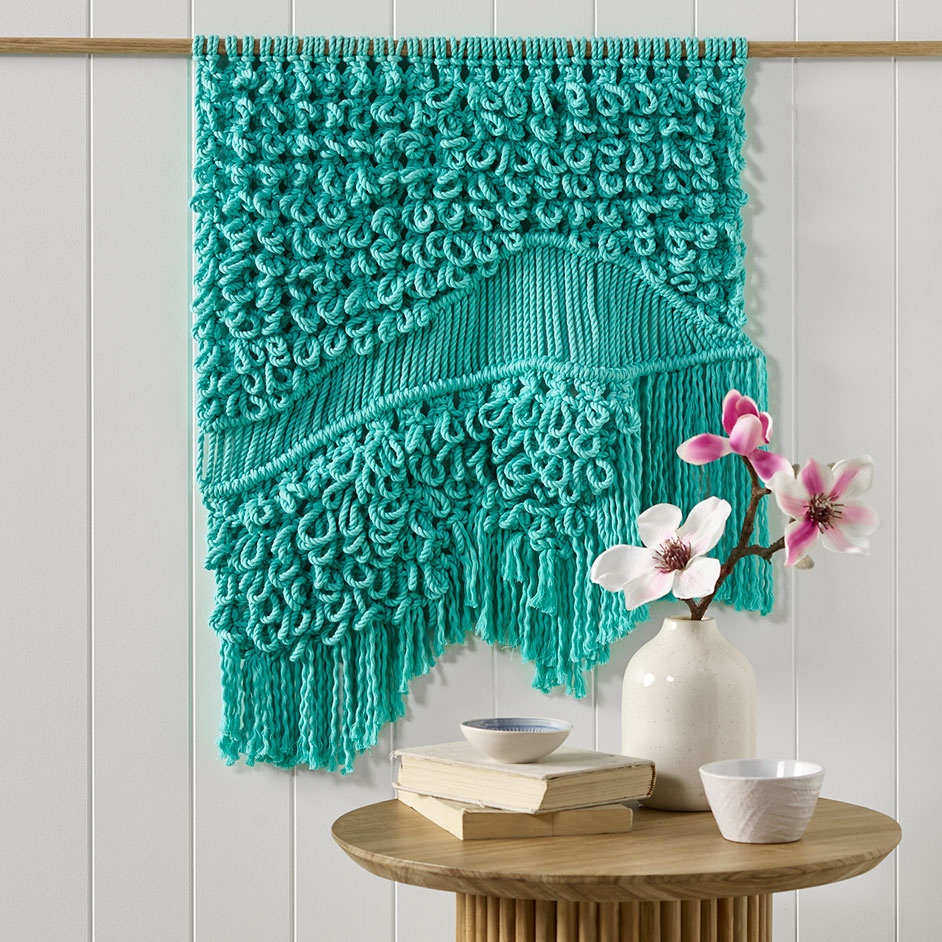
SHAGGY MACRAME WALL HANGING

LEVEL: INTERMEDIATE
WHAT YOU'LL NEED:
- 4 x Macramé Rolls
- Scissors
- Measuring tape
- Rod for hanging
INSTRUCTION
Step 1 - Start by cutting 36 pieces of cord at 5m long each.
Step 2 - Find the centre of the rope and create a loop. Place the loop over the rod and pull the cord tails through the loop to secure in place. Repeat with each piece of rope so you have all 36 cords secured onto the rope.
Step 3 - Now we can start working the cords. Start by tying square knots across all the cords until the first row of knots is complete.
Step 4 - Start working on the second row, leaving the first 2 cords free and then tying a square knot again but this time tie the knot roughly 3 inches below the first row. Continue this across the cords until there are 2 free cords on the opposite end.
Step 5 - Now comes the fun part. Hold onto the centre 2 cords of the square knots and push the knot up to meet the first row. This will create the looped shaggy effect, continue this across the row until all the knots have been pushed up.
Step 6 - Next tie another full row of normal square knots right underneath the 2nd row. Then continue this process of alternating rows of square knots and "shaggy" square knots until your desired pattern or look is achieved. We created an uneven wave across our wall hanging.
Step 7 - To finish off the rows of shaggy knots we tied a Diagonal Double Half Hitch Knots (Clove Hitch). Starting on the left-hand side, pull the end cord diagonally across the front of the other cords. Then start tying double half hitch knots working from the left across the rows following the curved shapes. Each cord needs to be tied twice. Stop once you reach the other side.
Step 8 - Tie another row of Diagonal Double Half Hitch Knots below the last row leaving a gap to create a section of just straight cords. This time take the first cord on the opposite side and work the knots from right to left.
Step 9 - Start working with the alternating square knots and "shaggy" square knots again to create your desired pattern.
Step 10 - To finish cut the cords to finished length and brush through the ends to create a frayed look. Hang on wall to finish.


