 | ||
| Your browser is not supported. | ||
|
Please browse our site using any of the following options:
| ||
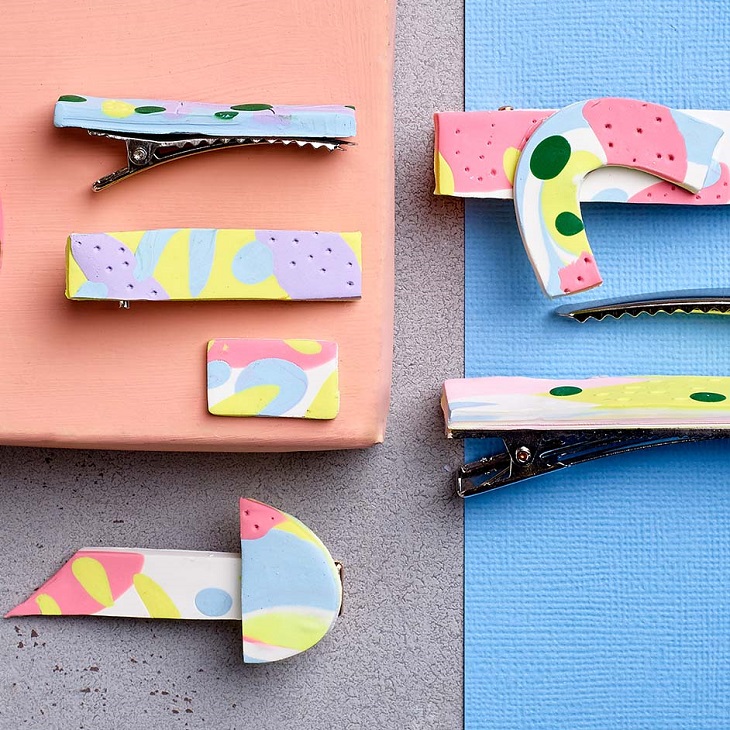
SCULPEY HAIR CLIPS

Level: Easy
WHAT YOU'LL NEED
- Sculpey Pearls & Pastels 12pc Multipack
- Sculpey Tools
- E6000 glue
- Baking Paper Oven
- Pack of hair clips
INSTRUCTIONS
Step 1 - Think about the colours and designs you want to create for your clips. Mix and match a few different colours for each one to create an interesting design.
Step 2 - To create the terrazzo effect choose what you want the base colour to be and roll out a piece of sculpey to about 5mm thick. Place small bits of other colours of sculpey over the top and again use the rolling pin to blend the colours together.
Step 3 - You can either use the sculpey shape cutters to cut out different shapes or you can cut other shapes out free hand using the sculpey cutting tools.
Step 4 - Once you have your shapes cut out of sculpey you can lay them onto baking paper and use a tooth pick or a sculpey tool to put holes or markings into your shapes for extra texture.
Step 5 - Bake your sculpey in the oven between 2 sheets of baking paper for 15mins at 130C. Let cool before handling.
Step 6 - Once cooled use the E6000 glue to stick the sculpey pieces onto the clips. The possibilities are endless so let your creativity go wild and see what creations you come up with!


