 | ||
| Your browser is not supported. | ||
|
Please browse our site using any of the following options:
| ||
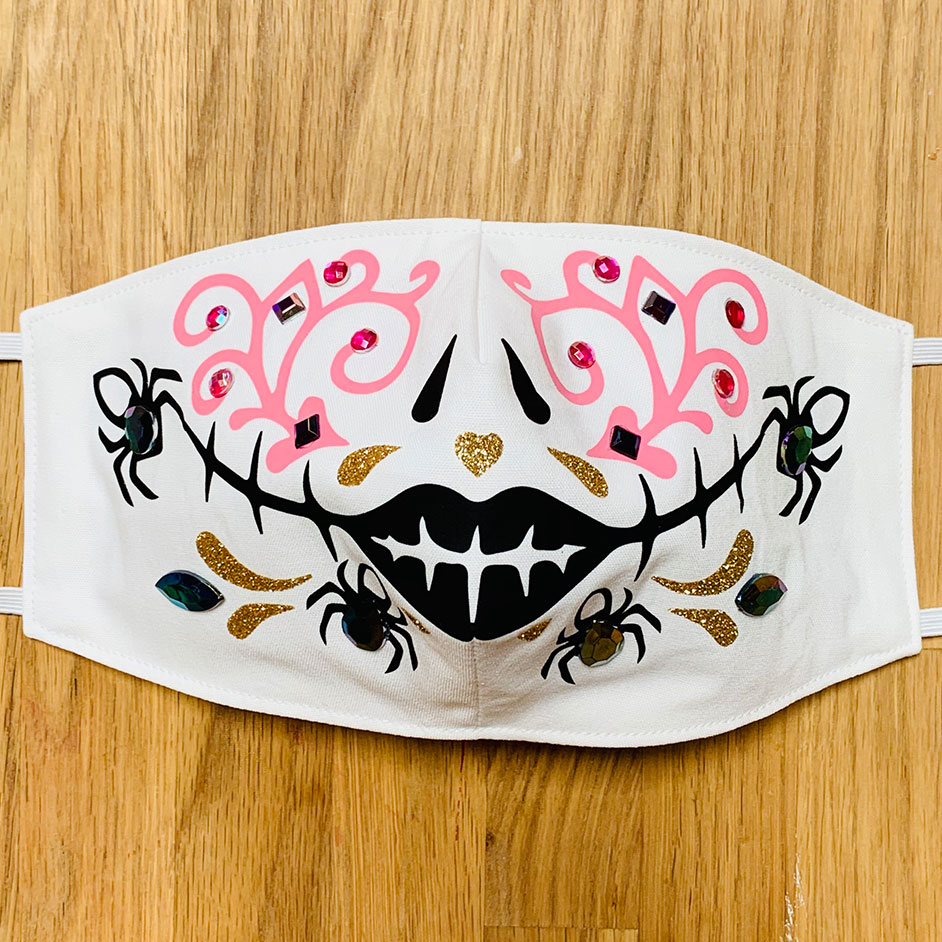
HALLOWEEN SKULL FACE MASK

Level: Easy
WHAT YOU'LL NEED:
- Cricut Maker Machine
- Cricut Design Space app
- Iron On Transfer roll in 3 x colours
- 50cm of Cotton Fabric
- 30cm of Elastic or Trim/Ribbon
- Crafters Choice Assorted Gems Pack
- Sewing machine and matching thread
- Pins
- Iron and ironing board
- Hot glue gun and glue sticks
INSTRUCTIONS
Step 1 - Download mask template and trace onto fabric ensuring it is cut on the fold. Repeat 3 times so you have 3 layers of fabric. Set aside.
Step 2 - Download the SVG Skull file and save to your computer. Log into Cricut Design Space and upload the SVG Skull File to your canvas.
Step 3 - Place 1 of the fabric layers onto the mat to determine the size needed for your Skull design. Use the stretch tool to set the size of the file.
Step 4 - Once the design is the correct size, select which layer you want to cut first and hide the other 2 layers by clicking the little eye icon on the right-hand side.
Step 5 - Press "Make It" in the top corner and if using a design that is not symmetrical, ensure to click the "Mirror" button before cutting your design so that the design will be the right way when cut.
Step 6 - Load iron on transfer paper with the shiny side facing down onto the mat and cut out. Repeat steps 4 and 5 with each colour of Iron on transfer until the entire design has been cut out.
Step 7 - Pull away the excess transfer paper on each piece. Take 1 layer of the mask and heat it with iron for 15 seconds to warm up the fabric. Then position your first layer of the skull design onto the mask in the position you want it to be.
Step 8 - Press the iron onto the design and hold for 15 - 20 seconds. Make sure your iron is set to Cotton or Linen setting and you do not use any steam. Turn mask over and press again on the backside for another 15 seconds. Remove clear sheet to reveal finished design. Repeat this process for each iron on transfer piece until the design is complete.
Step 9 - Take all 3 layers of fabric and fold in half, right sides facing in. Sew the darts of each pattern piece with a 1cm seam allowance.
Step 10 - Put your outer layers together with right sides facing in and place the middle layer on top, this will ensure it is inside the 2 outer layers when turned right side out. Pin the 3 layers together and sew across the top and bottom edge of mask with a 1cm seam allowance, leaving the sides open.
Step 11 - Carefully turn the mask right side out through the open sides.
Step 12 - Turn the open ends under 1cm and position neatly inside the mask, pin in place.
Step 13 - Cut 2 pieces of elastic 15cm long and position inside the ends of the mask, pin in place.
Step 14 - Top stitch with a 3mm seam allowance around the entire outside of mask, this will close the open edges shut and secure the elastic in the seams.
Step 15 - Use the hot glue gun to glue gems onto the mask to finish!


