 | ||
| Your browser is not supported. | ||
|
Please browse our site using any of the following options:
| ||
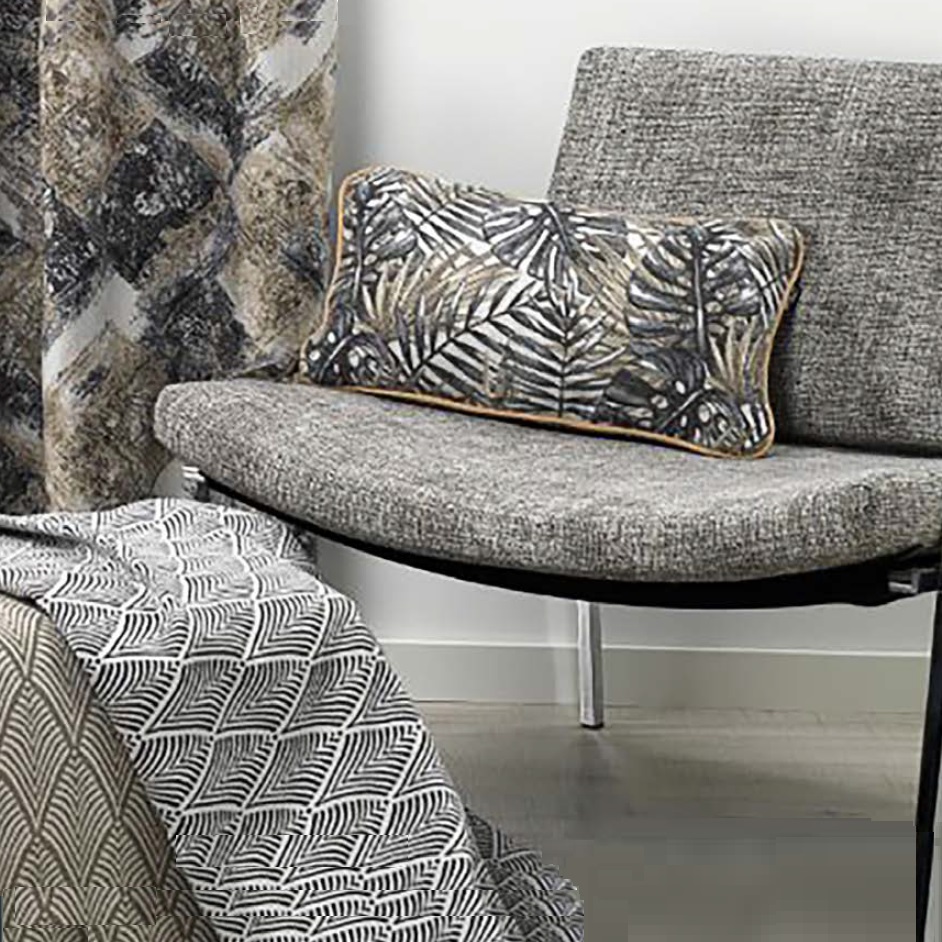
TAPESTRY CUSHION WITH PIPING

LEVEL: EASY
WHAT YOU'LL NEED:
- Ramal Tropical tapestry fabric in any colour
- Cushion insert
- Scissors
- Measuring tape
- Pins
- Sewing machine and matching thread
- Washable marker or tailors chalk
- Piping cord
- Iron
INSTRUCTIONS
Step 1 - Cushion Front - Measure the length and width of your cushion insert, for this example ours is 25cm by 45cm. Add 1.5cm to both the width and length measurements and using a ruler mark these onto your fabric using a washable marker or tailors chalk. Cut out your fabric piece.
Step 2 - Cushion Back - Add 1.5cm to the length and 18cm to the width of your cushion insert measurements and again using a ruler mark these onto your fabric and cut out.
Step 3 - Cut the cushion back fabric piece in half to give you two equal pieces.
Step 4 - Fold back a 1cm seam allowance along the long edges of your 2 equal pieces and press. Fold back another 1cm, press again. Pin and sew seam with a 1cm seam allowance.
Step 5 - Piping - For piping, please refer to 'How to make your own piping' guide.
Step 6 - Inserting your piping - Pin the piping onto the right side of your cushion front so that the raw edges of both the piping and cushion pieces are matching. Continue pinning your piping around the cushion but leave the unsewn section of the piping unpinned.
Step 7 - When you get to the corners of the cushion make 3 notches in the seam allowance to help the piping turn smoothly at the corner point. Note it will not make a complete point in the corner, it will be curved. This will also help the piping lay flat when sewing around the corners.
Step 8 - Once you have pinned the whole way round, fold the excess unsewn piping back and cut any excess piping from the other end off at this point. Slip the end of the piping you just cut into the open end of the unsewn fabric. The raw edges will overlap and where the piping meets will be invisible. Pin in place and then sew all the way around the cushion to secure the piping to the front cushion piece.
Step 9- Finish Cushion - To finish your cushion, place the cushion front with piping right side up and place one of the back pieces right side down over the top. Match the raw edges and pin in place. Repeat this with the 2nd back piece and pin in place, re pin the sections where the 2 back pieces overlap to pin through both layers. Sew along all the edges with a 1cm seam allowance, ensuring the stitching line gets as close to the piping as possible to give it a clean, neat edge. Trim the four corners using scissors and turn the cushion right side out to see the finished product! Fill with cushion insert and enjoy your new handmade cushion.


