 | ||
| Your browser is not supported. | ||
|
Please browse our site using any of the following options:
| ||
WRMK MUG TRANSFER

Level: Easy
WHAT YOU'LL NEED
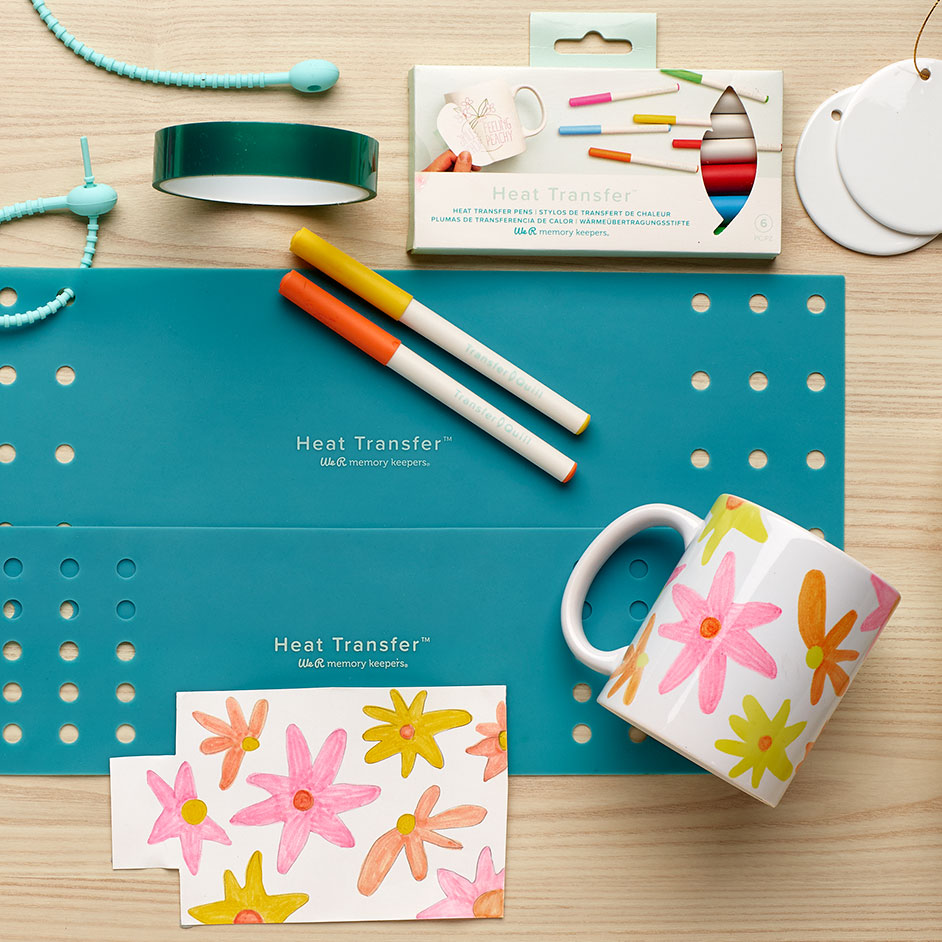
- We R Memory Keepers Heat Transfer Quill Markers 6pk, Brights
- We R Memory Keepers Heat Transfer Quill Heat Resistant Tape
- We R Memory Keepers Heat Transfer Quill Silicone Wrap
- We R Memory Keepers Heat Transfer Quill Blank Mug
INSTRUCTIONS
CREATING AN IMAGE TO TRANSFER
Step 1 - Freestyle a design with your Transfer Pens or create a design with your electronic cutting machine using Transfer Quill Adapters (for instructions see Using Pen Adapters)
Step 2 - Create design on plain white cardstock. Thin paper may cause bleeding of ink onto Silicone Wrap or heat press.
Step 3 - Design should be mirrored image of final design.
USING PEN ADAPTERS
Step 1 - Select coordinating pen adapter for your electronic cutting machine and attach to Fabric Quill Pen.
A: Silhouette Portrait, Cameo 1-3
B: Brother
C: Cricut
D: Sizzix, Silhouette Cameo 4
Step 2 - Insert chosen pen into machine and fasten according to machine instructions. If machine has both blade and pen carriages use pen carriage.
Step 3 - Follow your machine's operating instructions for drawing pen.
TRANSFERRING YOUR IMAGE MUG BLANK, WATER BOTTLE BLANK AND OTHER CYLINDRICAL OBJECTS
Step 1 - Tape design ink side down onto Transfer Blank with Heat Resistant Tape.
Step 2 - Preheat oven to 400oF (200oC).
Step 3 - Using Silicone Zip ties, secure the Heat Transfer Silicone Wrap around the Transfer
Blank to provide pressure for transfer.
Step 4 - When necessary connect multiple zip-ties to reach around the entire circumference of
your Transfer Blank.
Step 5 - Place in preheated oven for 13 minutes to transfer design.
Step 6 - Remove from oven. Caution: Use heat protection to remove from oven.
Step 7 - Allow to cool completely before removing wrap, tape, and paper.


