 | ||
| Your browser is not supported. | ||
|
Please browse our site using any of the following options:
| ||
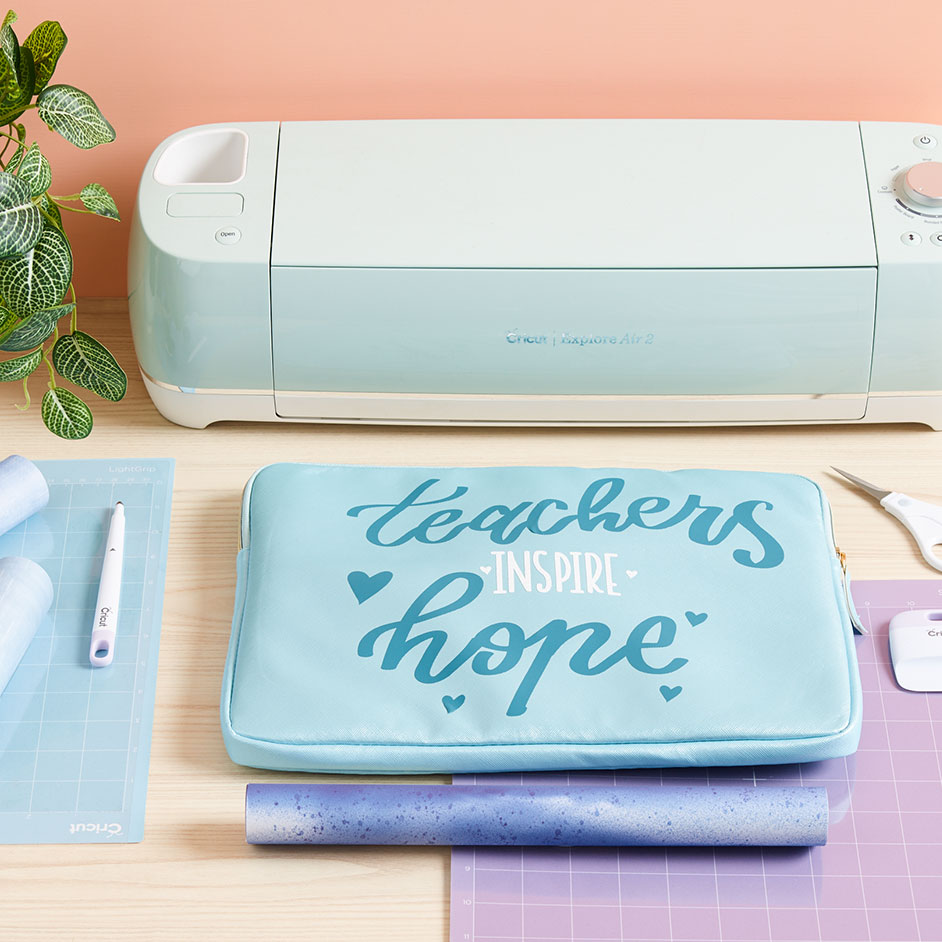
CRICUT TEACHERS LAPTOP SLEEVE

Level: Easy
WHAT YOU'LL NEED
- Everyday Iron On of your choice
- Cricut explore air 2 machine or Cricut Maker
- Standard Grip Machine Mat - 12"x12"
- Easy Press Mat
- Easy Press 2 - we used 12" x10"
- Weeder
- Laptop Sleeve ( we used crafters choice laptop sleeve)
- White fabric ( to use as a liner between vinyl, protect material and easy press)
INSTRUCTIONS
Step 1 - Go to design space apps and search project Teacher Laptop Sleeve or follow this link https://design.cricut.com/landing/project-detail/5da5f7fd42c2650140242f16
Step 2 - If you want to alter the project, select Customize, then use the tools in the Edit panel to make changes before you cut.
Step 3 - Be sure to Mirror the image then using iron-on and place the shiny side (clear liner) down on the mat.
Step 4 - Follow the prompts in Design Space to cut the images from the iron-on material.
Step 5 - Use a Weeder Tool to remove the negative pieces of iron-on so just your design remains on the clear liner.
Step 6 - Apply the iron-on layers to your project using a Cricut Easy Press and Cricut Easy Press Mat with CRICUT Heat Transfer Guide, link for the perfect time and temp settings: https://cricut.com/heatguide . This project use 140deg C for 30 seconds.
Step 7 - Make sure to place laptop case on clean mat. Preheat for 5 s. We use clean white fabric to line between easy press and vinyl. Press the design.
Note - When using multiple colours, work from largest to smallest and make sure the first layers are protected from excessive heat with each press.


