 | ||
| Your browser is not supported. | ||
|
Please browse our site using any of the following options:
| ||
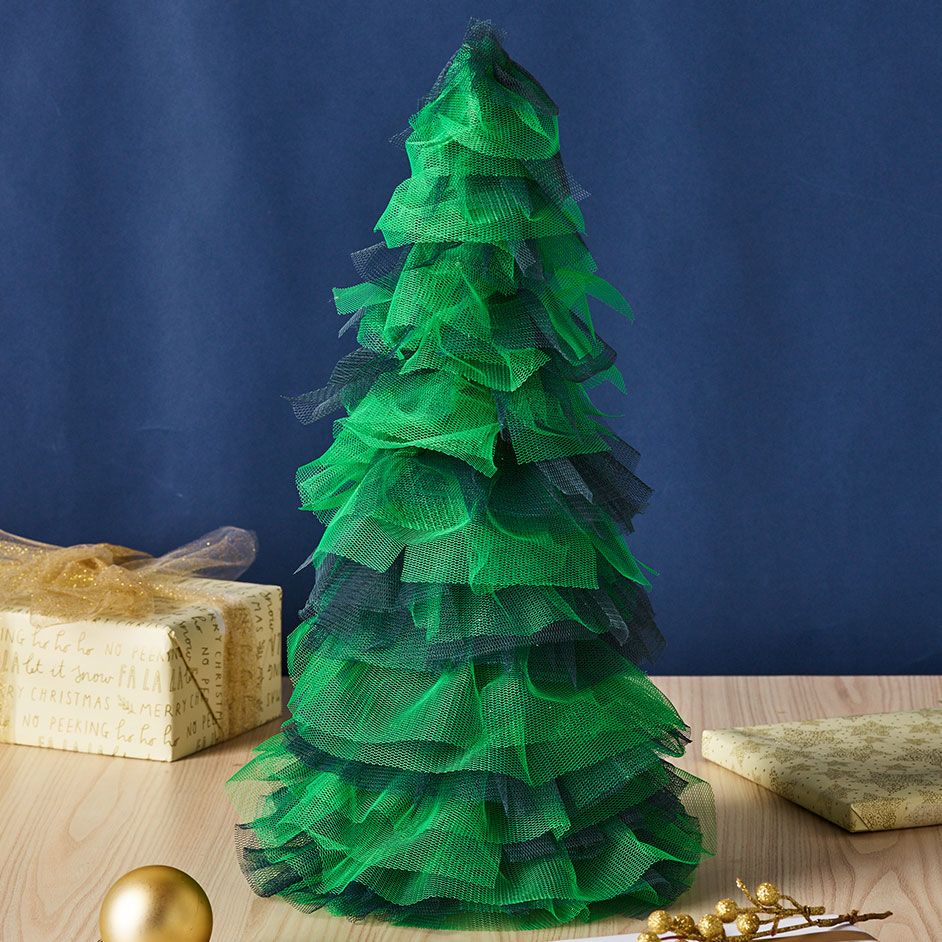
TULLE CHRISTMAS TREE

Level: Easy
WHAT YOU'LL NEED:
- Shamrock Craft Deco Foam Cone
- Green Acrylic paint
- Paint brushes
- 1m x Tulle Nylon Netting in Dark
- 1m x Tulle Nylon Netting Fluro Green
- Sewing Machine and matching thread
- Scissors
- Pins
- Measuring tape
INSTRUCTIONS
Step 1 -Start by painting your deco foam cone with the green paint. This will help the cone blend into the tulle colours and give your tree a nice base. Allow to dry before painting a second coat. Set aside to dry completely.
Step 2 -While your cone is drying, start cutting the tulle into long strips (the length of the fabric) that are 3 different widths. We cut ours to 5cm, 10cm and 15cm wide. The larger strips will be at the bottom of the tree, followed by the medium strips in the middle and the smaller strips up the top, creating a gradual increase in the tree shape.
Step 3 -Once all your strips are cut, use the sewing machine to sew along the top edge of each strip roughly 1cm from the edge. You have 2 choices, you can either sew a running stitch that you can then pull to create the gathered edge or fold the tulle as you sew to create little pleats. We used the pleating method as it was much quicker and less fiddly. Repeat this to all the strips of tulle.
Step 4 -Once your strips are ready and the tree is dry you can begin to assemble. Starting with the larger strips, pin the pleated edge to the deco foam and begin wrapping the tulle around the tree. Continue wrapping close to each layer before and pin in place once that strip is finished.
Step 5 -Then take another large strip but in the other colour and repeat step 4. Continue this process working your way through the different sizes of tulle up the tree until your cone is completely covered!
Step 6 -To finish, use the scissors to trim any excess tulle. You can decorate your tree or have it on display as is!


