 | ||
| Your browser is not supported. | ||
|
Please browse our site using any of the following options:
| ||
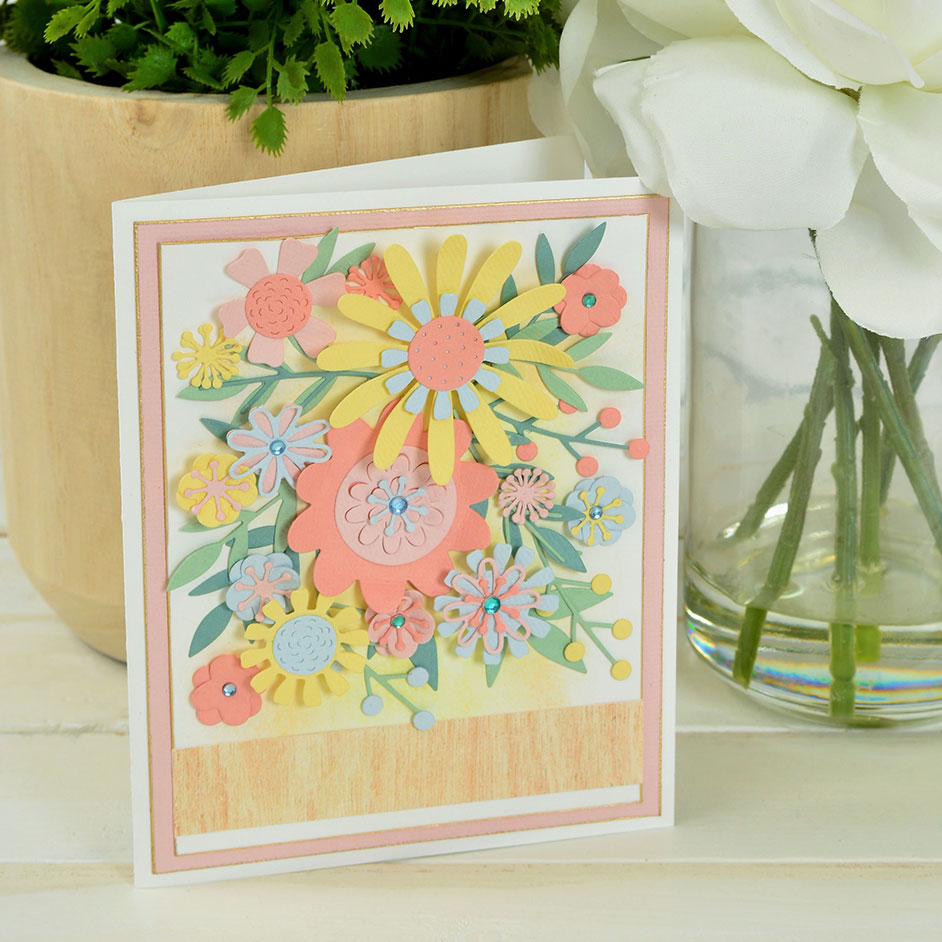
BOLD FLORA CARD

Level: Easy
WHAT YOU'LL NEED:
- Sizzix® Big Shot® Machine (660200) or Sizzix® Big Shot® Plus Machine (660020) or Sizzix® Big Shot® Express Machine (660850) or Sizzix® Big Shot® Foldaway Machine (662220)
- Sizzix® Thinlits® Die Set 17PK - Bold Flora (80504519/664397)
- Sizzix Accessory - Multi-Tool (80451772/662875)
- Sizzix Accessory - Cardstock Sheets, 80PK (20 Colours) (663007)
- Sizzix Making Essential - Cardstock, 8 1/4" x 11 5/8", 10 Neutral Colors, 60 Sheets (80451721/663007)
- Foam Tape
- Paper Sculpting Kit
- Stamp ink Blend Tool with Sponge
- Patterned Paper
- Liquid Adhesive
- Paint Pen (Gold)
- Paper Trimmer
- Rhinestones (Adhesive-Backed)
INSTRUCTIONS
Step 1 - Cut a 5 1/2" x 8 1/2" panel of white cardstock, a 5 1/4" x 4" panel of pink cardstock and a 5" x 3 3/4" panel of white cardstock. Cut a 1" x 3 3/4" strip of patterned cardstock. Fold the largest white panel in half to form the card base.
Step 2 - Line the edge of the small white panel and the pink panel with a gold paint pen. Center and adhere the pink cardstock to the front of the card base, center and adhere the small white panel to the pink panel, and adhere the patterned strip 1/4" from the bottom of the small white panel with double-sided adhesive.
Step 3 - With the Blending Tool Head add yellow ink to the center area of the small white panel as desired.
Step 4 - Die-cut out of aqua, dark pink, green, light blue, orange, pink, yellow an assortment of flowers and leaves from the Bold Flora die set.
Step 5 - Assemble layered flowers as desired and adhere each flower stack together with liquid adhesive.
Step 6 - Above the blended yellow background, adhere the die cut foliage and layered florals as desired with liquid adhesive and foam tape.
Step 7 - Adhere rhinestones in the center of several flowers.


