 | ||
| Your browser is not supported. | ||
|
Please browse our site using any of the following options:
| ||
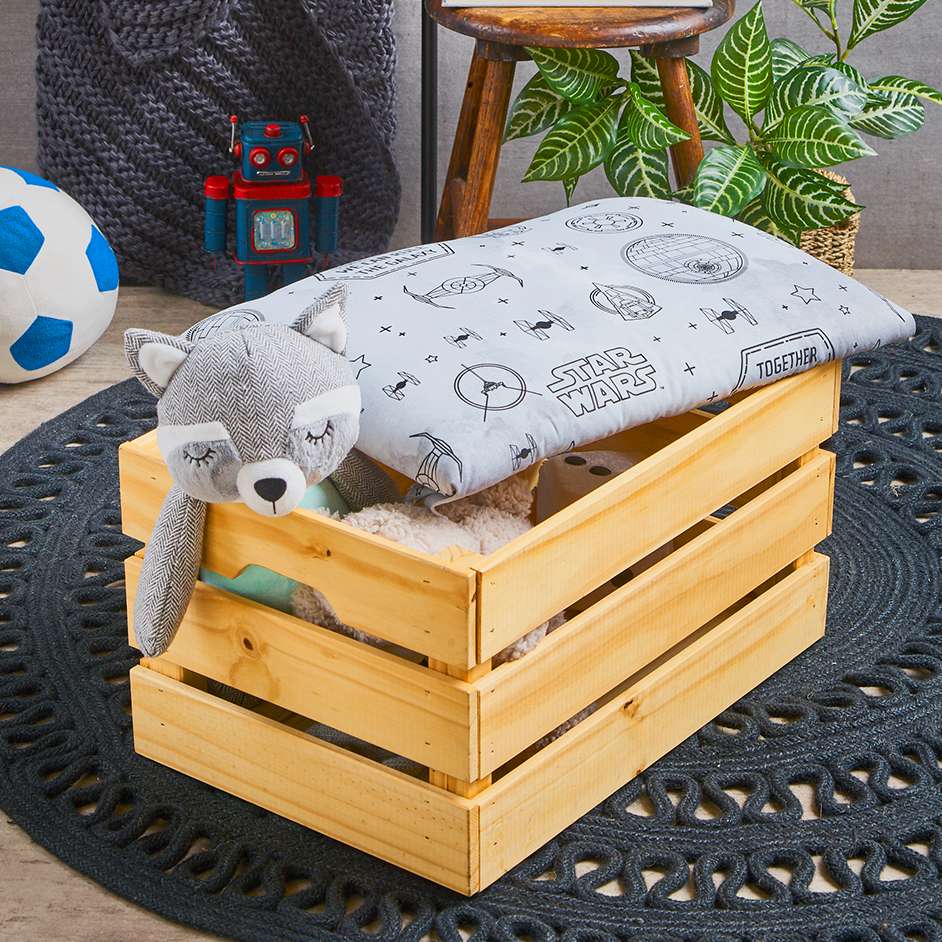
KIDS STORAGE BOX

Level: Easy
WHAT YOU'LL NEED
- Wooden storage box
- Ply wood or MDF panel (cut to size to fit storage box)
- Star Wars kids decorator fabric
- Staple gun and staples
- Foam or wadding
- Scissors
- Hot glue gun and glue sticks
- Trim of your choice
INSTRUCTIONS
Step 1 - Measure the length and width of top of your storage box and get one piece panel of ply wood or MDF to cut to this size at your local hardware store.
Step 2 - Using the same measurement, cut a piece of foam or a few layers of wadding to the same size to create a soft top to your lid.
Step 3 - Add 10cm to both the length and width measurements you recorded in step1 to cut out your Star Wars fabric.
Step 4 - Lay your fabric right side down on clean base. Then place the wadding or foam on the centre of the fabric. Lastly, place the wooden panel on the top. You are now ready to assemble your lid.
Step 5 - Pull the fabric firmly around the edges of the wooden panel. Repeat this process on the opposite side, pulling the fabric to make sure that it is well stretched without bumps across the front part.
Step 6 - Once the 2 sides are complete, finish the ends by folding in the fabrics so the corners are neat and continue securing fabric to the wooden panel with the staple gun.
Step 7 - Once fabric is firmly down, use a hot glue gun to glue the trim of your choice along the stapled edges of the fabric on the inside of your lid, so it is neatly covered.
Step 8 - To finish, place the lid over the storage box. And your toy storage box is ready to use!


