 | ||
| Your browser is not supported. | ||
|
Please browse our site using any of the following options:
| ||
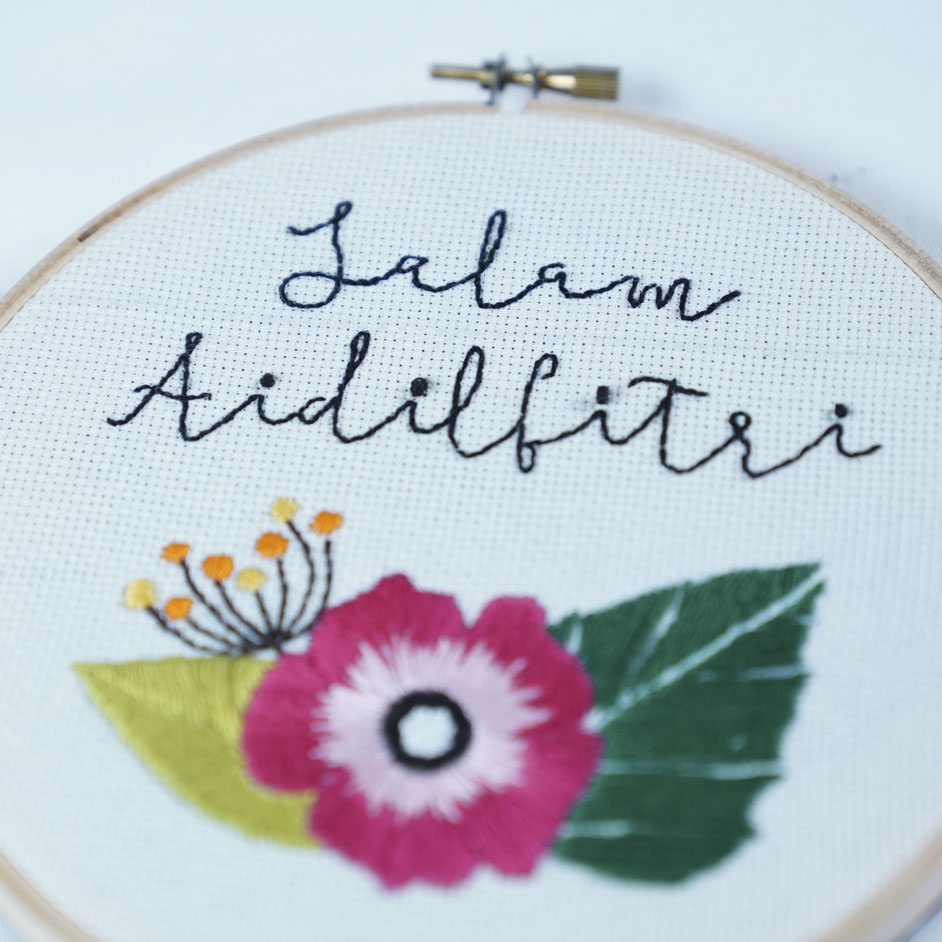
HARI RAYA EMBROIDERY

LEVEL: INTERMEDIATE
WHAT YOU'LL NEED:
- 'Aida' fabric Embroidery needles
- DMC embroidery floss / thread
- Colours: no. 725 (yellow), no.740 (orange), no. 600 (fuchsia), no. 151 (light pink), no. 909 (emerald green), no. 905 (apple green), n0. 166 (lime green), no. 3371 (dark brown), no. 310 (black)
- Needle threader
- 6" embroidery hoop
- Glue gun & glue stick
- Tracing carbon paper
- Scissors
- Black felt
- Design template
- Pencil & paper clips
INSTRUCTIONS
Step 1 - Place the carbon paper on fabric (carbon side facing down), and template of design on carbon paper.
Step 2- Trace the design using a soft pencil or stylus pen in the centre of fabric.
Step 3- Remove carbon paper and template.
Step 4- Secure the fabric onto embroidery hoop. Make sure fabric is taut and centreed.
Step 5 - Separate the embroidery in 3-strands. All stitches will be done in 3-strands count.
Step 6- Thread the needle using the threader and make a knot at the end of the thread.
Step 7 - Starting from the beginning of the letter, bring the needle through the bottom of the fabric and pull through.
Step 8 - Make the first stitch forward, following the line, then bring the needle back underneath the fabric a full stitch length.
Step 9- Then bring the needle back and pass through the same place as the previous stitch to create a full line.
Step 10 - Pull the needle through and move forward in the same way.
Step 11 - End the stitch with a knot at the back of the fabric.
Step 12 - Separate the embroidery in 3-strands. All stitches will be done in 3-strands count.
Step 13 - Thread the needle using the threader and make a knot at the end of the thread.
Step 14 - Starting from the top of the leaf, bring the needle through the bottom of the fabric and pull through.
Step 15 -Make the first stitch forward, following the line, then bring the needle back underneath the fabric a full stitch length creating a diagonal stitch.
Step 16 - Then bring the needle back and pass through slightly below the first stitch to cover the leaf/ flower centre area.
Step 17 - Pull the needle through and move forward in the same way.
Step 18 - End the stitch with a knot at the back of the fabric.
Step 19 - Choose two colours for the petals
Step 20 - Separate the embroidery in 3-strands. All stitches will be done in 3-strands count.
Step 21 -Thread the needle using the threader and make a knot at the end of the thread.
Step 22 -Starting from the inside of each petal, bring the needle through the bottom of the fabric and pull through.
Step 23 - Make the first stitch nearest to the flower centre , following the line, then bring the needle back underneath the fabric creating a random length stitch.
Step 24 - Change thread colour and stitch the rest of the petal with long-short stitches
Step 25 - End the stitch with a knot at the back of the fabric.
Step 26 - Thread an 8 inch long embroidery to needle
Step 27 - Cut the fabric with a 2cm bigger than the hoop circumference
Step 28 - Sew running stitch around the hoop, pull and tighten the fabric inwards
Step 29 -Cut a circle felt and glue to the back of the hoop


