 | ||
| Your browser is not supported. | ||
|
Please browse our site using any of the following options:
| ||
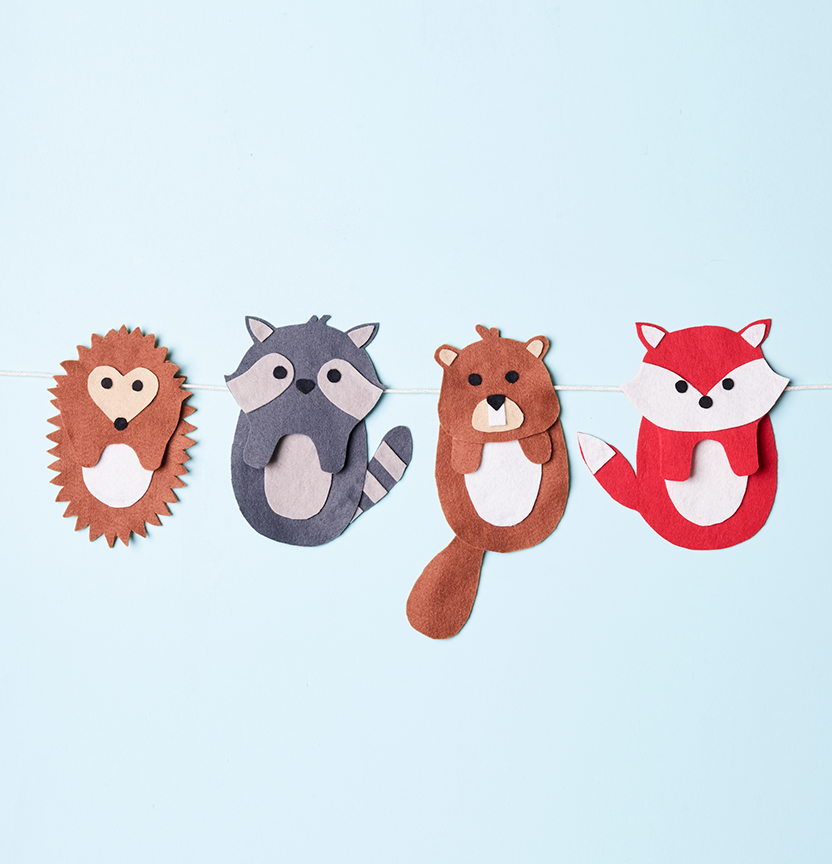
ANIMAL FELT GARLAND

LEVEL: EASY
WHAT YOU'LL NEED:
- Assorted Felt packs
- Pencil
- Scissors
- Templates
- Hot Glue Gun
- Twine or cord for hanging
INSTRUCTIONS
Step 1 - Use a pencil to trace around templates onto the according colour of felt sheet.
Step 2 - Cut out felt sheets with scissors and group all the pieces for each animal in piles to avoid confusion.
Step 3 - Once all your pieces are cut out you can start to assemble your animals. Turn on the hot glue gun and starting with the face pieces use a small amount of the hot glue on the back of the felt and stick each piece in place according to the templates.
Step 4 - Once the faces are complete you can assemble the body of each animal, use hot glue again to glue the belly and tail onto the main body piece.
Step 5 - Now that the head and body are complete, use hot glue again to join the 2 pieces at the centre back of the head. You want the face to be free to hang over the cord for hanging later on so be sure not to glue the whole head down onto the body.
Step 6 - Once you have attached all the pieces for each animal they are ready to hang. Cut a piece of cord or twine and place each animals head over the cord so it runs in between the head and body pieces. If you want to secure the animals indefinitely use a bit of hot glue to attach them to the cord.
Step 7 - To finish hang your animal garland on a wall or door and enjoy!


