 | ||
| Your browser is not supported. | ||
|
Please browse our site using any of the following options:
| ||
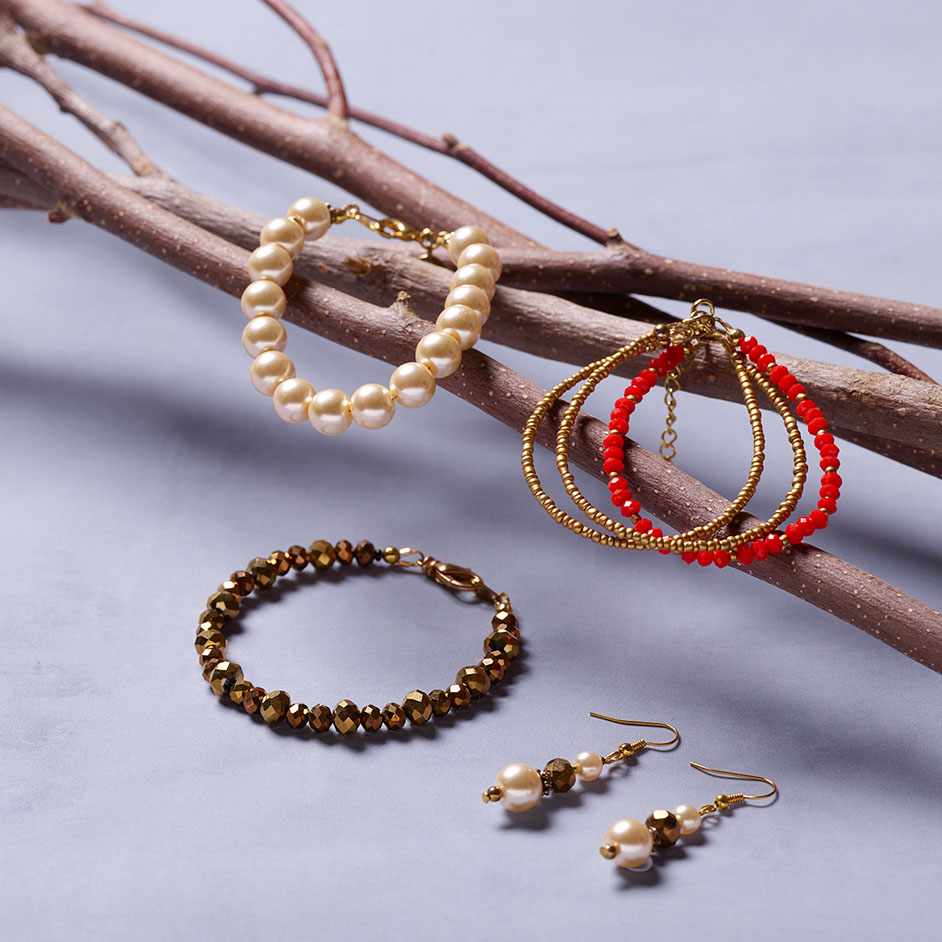
JUST BEAD IT BRACELET & EARRING

LEVEL: INTERMEDIATE
WHAT YOU'LL NEED
- JBX43 Small Dark Gold Faceted Glass Beads
- JBX29 Large Dark Gold Faceted Glass Beads
- JBX81 Large Bright Gold Faceted Glass Beads
- JB100 Matte Gold Seed Beads
- JBZ72 Large Glass Pearl Beads
- JBZ65 Small Glass Pearl Beads
- 1 x Lobster Clasp
- 1 x Split Ring
- 1 x Double Split Ring
- 1 x Flat Disc Engraving Charm
- 1x Strands of beading thread or wire
- 2 x Wire Guards
- 2 x Crimp Covers
- 2 x Crimps
- 2 x Brass Spacer Beads
- 2 x Gold Tone Carved Beads
- Pearl Glass Beads
INSTRUCTIONS
Step 1. Decide on the size of the pearls you would like to use.
Step 2. Determine the length of the bracelet that you need it to be (including the clasp, extender chain and split rings).
**Important Tip: Measure the length twice this saves you from cutting the wire incorrectly.
Step 3. Thread onto the beading wire in the desired pattern.
Step 4. Thread a gold tone carved bead at each end of wire. This is optional, but will accentuate the warmth of the ivory pearls.
Step 5. Insert crimps onto each end of the wire.
**Important Tip: When using larger beads such as these pearls, before you finish the strand by crimping - it is good to bend them to the shape of your wrist or neckline to ensure there is not only enough room for the crimp cover - but also to accommodate the shape of the beads and how they sit against each other in that curved shape.
Step 6. Attach wire to a small gold jump ring.
Step 7. To ensure that the flat disc charm dangles freely from the bracelet, attach a double split ring to the lobster clasp.
Step 8. Attach the charm on a separate split ring before attaching the strand of pearl beads.


