 | ||
| Your browser is not supported. | ||
|
Please browse our site using any of the following options:
| ||
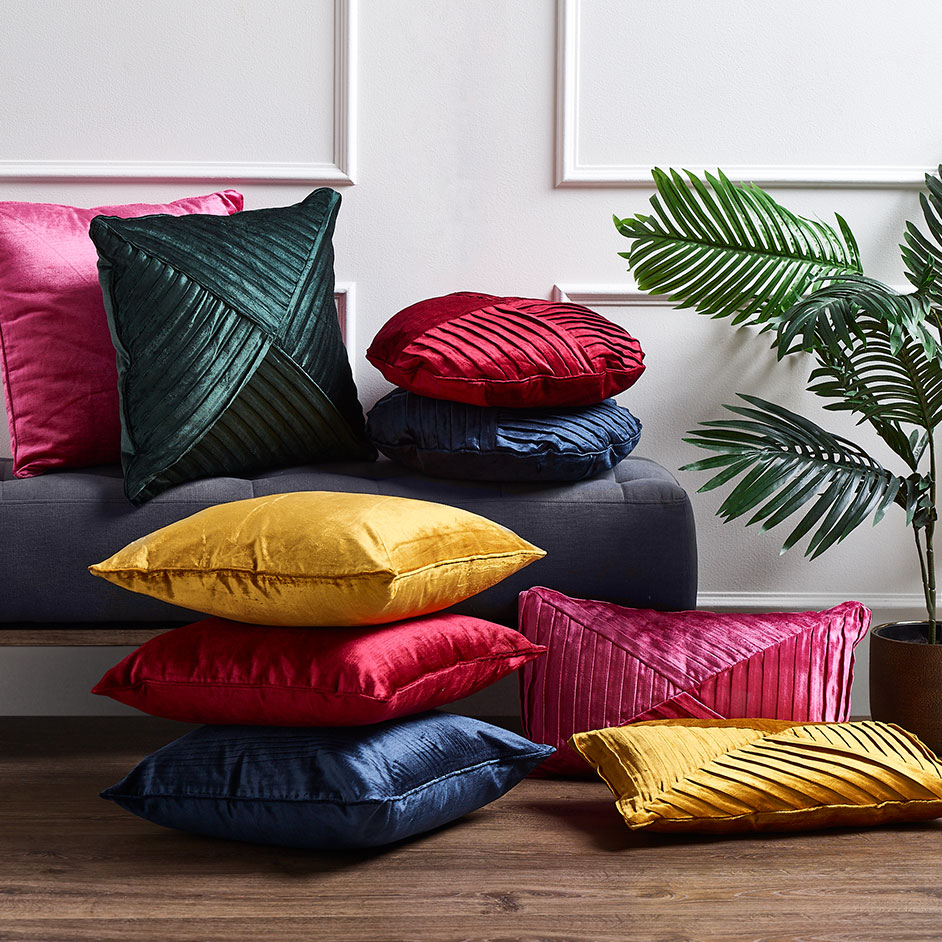
PLEATED CUSHIONS

Level: Intermediate
WHAT YOU'LL NEED:
- 2m of fabric of your choice
- Measuring tape, pins, scissors
- Sewing Machine and matching thread
- Invisible zipper
- Pipping cord
- Paper and pencil to create template
- Iron and ironing board
INSTRUCTIONS
Note - At least 1cm seam allowance used throughout unless otherwise indicated.
Step 1 - Lay out 1m of your fabric on a large flat surface. Measure and cut a notch every 4cm along the 2 edges of the length of fabric.
Step 2 - Now begin folding the fabric, aligning the notched edges to create the pleats. Pin and sew in place along the folded fabric so you have a 2cm pleat. Continue this method until all the fabric is pleated. Use an iron to set the pleats and make the whole piece of fabric nice and flat.
Step 3 - Create your pattern for the cushion by ruling out a 50 x 50cm square onto a piece of paper. Draw diagonal lines from the corners to create 4 triangles. Cut out these shapes and trace them onto another piece of paper adding 1cm seam allowance around the entire piece. These are your 4 x front panels for the cushion.
Step 4 - Pin and cut out the 4 triangle panels from the pleated fabric for the cushion's front. The pleats should all be following the same direction on each triangle. And then cut out a square piece (52cm x 52cm) panel of plain fabric (without pleats) for the cushion's back.
Step 5 - Carefully stitch 0.5cm seam allowance around the 4 triangle panels to keep the pleats in place and ensure the pleats don't come undone. Then take 2 of the triangle panels and sew together with right sides facing in. Repeat with the other 2 panels, then lastly sew the 2 halves together to create the square pleated cushion front.
Step 5 - To make the piping for your cushion cut a long strip of fabric 2cm wide x 2m long. As this needs to be cut on the bias of the fabric you may need to break the amount up into smaller measurements, remembering to add 1cm to each piece for your seam allowance of where the pieces will join. Pin and sew the bias strips of fabric together to create one long circular piece that measures 2m. Wrap the piping fabric around the piping cord and pin every 5cm or so to hold in place. Use a zipper foot or a cording foot on your machine as it allows you to stitch right next to the cording, encasing it tightly in the bias strip. Continue stitching staying very close to the cording and overlap the ends of the cords to encase them inside the piping.
Step 6 - Place and pin the piping around the edge of the front (pleated) piece of the cushion and stitch along the line of stitching next to the cording. Once the piping is sewn to one side of the cushion it's time to sew your cushion together. With right sides together, pin the back and front of the cushion together, leaving one side open for the zip. Then sew the 3 sides together sandwiching the pipping in-between the 2 layers.
Step 7- To finish, sew invisible zipper to the open front and back panel lining up zipper centrally. Turn cushion right side out through the zip opening and place cushion insert inside! Your cushion cover is ready. You can create all different styles of cushions using the same pleated fabric technique, why not try it with circle or rectangle cushions too!


