 | ||
| Your browser is not supported. | ||
|
Please browse our site using any of the following options:
| ||
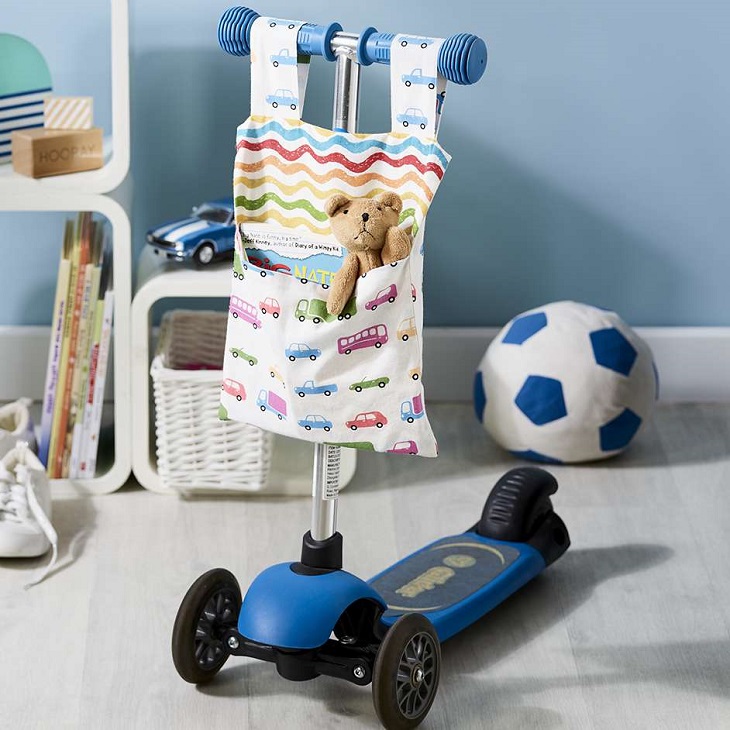
SCOOTER BAG

Level: Easy
WHAT YOU'LL NEED:
- Printed cotton fabrics x 2 designs
- Fabric 1 Transport
- Fabric 2 Squiggle
- Matching Thread
- Scissors
- Pins
- Tape Measure
- Sewing Machine
INSTRUCTIONS:
Step 1 - Cut the panels of the Printed Cotton Canvas fabrics as per the sizes given below.
Handles - Cut 2 pieces of Transport Fabric = 13cm x 22cm
Back Panel - Cut 1 piece of Transport Fabric and 1 piece of Squiggle Fabric = 34cm x 28cm
Pocket - Cut 1 piece of Transport Fabric and 1 piece of Squiggle Fabric = 24cm x 28cm
Step 2 - Take both pieces for the handles and fold them in half-length ways, so the right sides are facing in. Pin and sew along the long edge with a 1cm seam allowance. Turn the fabric right side out and press.
Step 3 - Fold the handles in half and pin them in place along the top edge of 1 of the back panels, roughly 2 cm in from the side seams. Ensure the handles are pinned onto the right side of the fabric and the loops are laying downwards on top of the fabric. Lay the other back panel on top and pin in place, sandwiching the handles in between the 2 panels. Stitch together with a 1cm seam allowance leaving a small gap along the bottom edge to turn the fabric back through. Once sewn turn the fabric right side out, ensuring the handles are at the top and press.
Step 4 - Pin the 2 pocket panels together, again with right sides facing in. Sew together with a 1cm seam allowance and leave a small gap for turning through. Once sewn, turn fabric right side out and press.
Step 5 - Lay the pocket panel on top of the back panel, lining up the bases. Pin and sew around the 3 edges with a 0.5cm seam allowance. This last stitching line will close both the openings in steps 3 and 4. You scooter bag is now complete!


