 | ||
| Your browser is not supported. | ||
|
Please browse our site using any of the following options:
| ||
Your guide to knitting for beginners
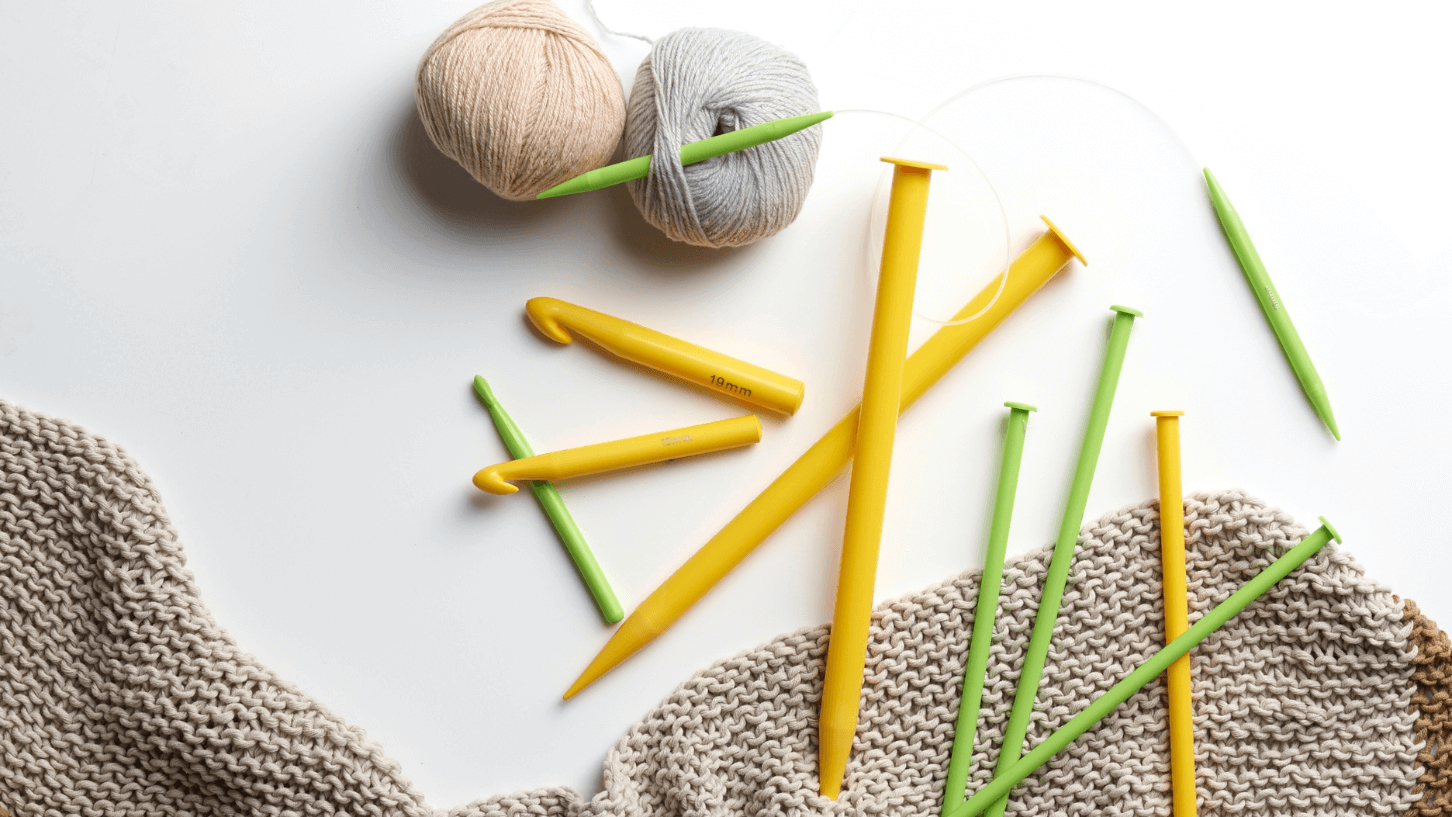
Fluffy scarves, warm beanies and toasty gloves - knitting is the perfect hobby to take up, particularly in the colder months! You can make all sorts of clothing, accessories and toys with nothing more than knitting yarn and a pair of needles, but from the outside in, knitting can seem like a very difficult pastime.
Here at Spotlight we have all the things you need to start knitting, but taking the first step can be scary! This guide covers everything you need to know about how to start knitting for beginners, including supplies, how to knit basic stitches and more.
Quick Links
- Benefits of knitting for beginners
- What you'll need to start knitting
- How to set up your area to start knitting
- Basic knitting techniques
- Easy knitting patterns for beginners
- Mistakes when knitting yarn to watch out for & how to fix them
Benefits of knitting for beginners
Once you've got the basics of how to knit down, there are some really lovely benefits to knitting, both mentally and physically. These include:
- Soothing stress and anxiety - according to The Craft Yarn Council's 2020 survey, 83% of respondents stated they made yarn creations, like knitting and crochet, to relieve stress. The repetitive motions of knitting have similar effects on the brain to meditation. When your muscle memory kicks in and knitters can work without worry, it allows them to 'zone out' while also getting small bursts of serotonin. While you'll retain only a small amount of focus, it's enough to keep knitters in the present and out of worrying about the past or future.
- Encouraging socialisation - while it only takes one person to knit, this hobby is extremely popular in social groups, and for good reason! Sharing patterns, comparing techniques and debating projects all make knitting with a group great fun. And it doesn't have to be in person either! Online knitting groups are easy to join and make friends in, no matter your age or experience.
- Improve memory and concentration - much like driving a car or riding a bike, learning knitting requires a lot of concentration, trial-and-error and practice. You mentally engage your brain like this when you knit, and studies have shown it will improve your cognitive skills.
- Boosting confidence - creating anything with your own two hands is empowering, whether it be cooking, drawing or building. Knitting is no exception, and it is exceptionally wonderful because what you make is often wearable! Whether you choose to wear them yourself or give them away, enjoying the style and comfort of a hand-knitted project is a sure-fire way to give yourself some warm fuzzies.
- Creating individual and unique projects for yourself or others is the best!
What do I need to start knitting?
If you want to start knitting, there's not much you need to get your hands on.
Knitting basics
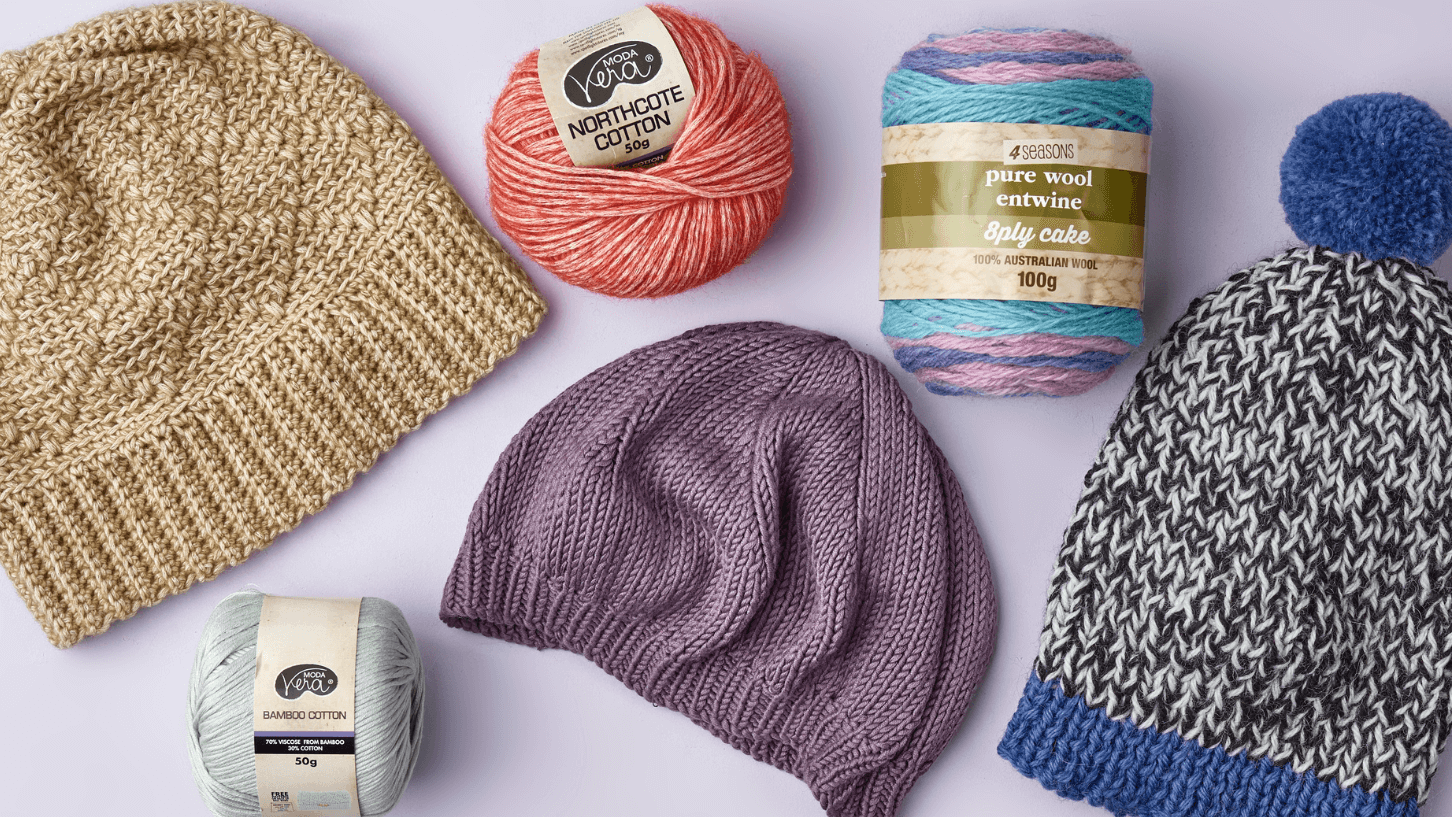
For beginner knitting, it is best to start with a chunkier yarn that is easy to handle. While you don't want to be spending big bucks on your first skein of knitting yarn, avoid going too cheap either, as you don't want your first project to be made of hard, scratchy material. Pick a yarn that you love the colour and feel of that also won't break the bank!
Balls of yarn will often have labels on them, on which you'll find a recommended size knitting needle. It's as good a reason as any to pick a needle size, but keep in mind larger needles will feel a little nicer in your hands and will help you finish your project faster. The material your needle is made from is a personal choice, rather than different needles for different projects, so either metal or bamboo will give you the same results. A wool needle to weave in the loose ends, as well as a tape measure, are also useful.
The last thing you'll need is something you probably already have at home - scissors (although if you don't want to blunt your good kitchen scissors we recommend buying a pair of craft scissors). Scissors will be used for the simple act of snipping threads when you're done with them, and while this doesn't sound too important it's no fun trying to do it with a knife or your nails!
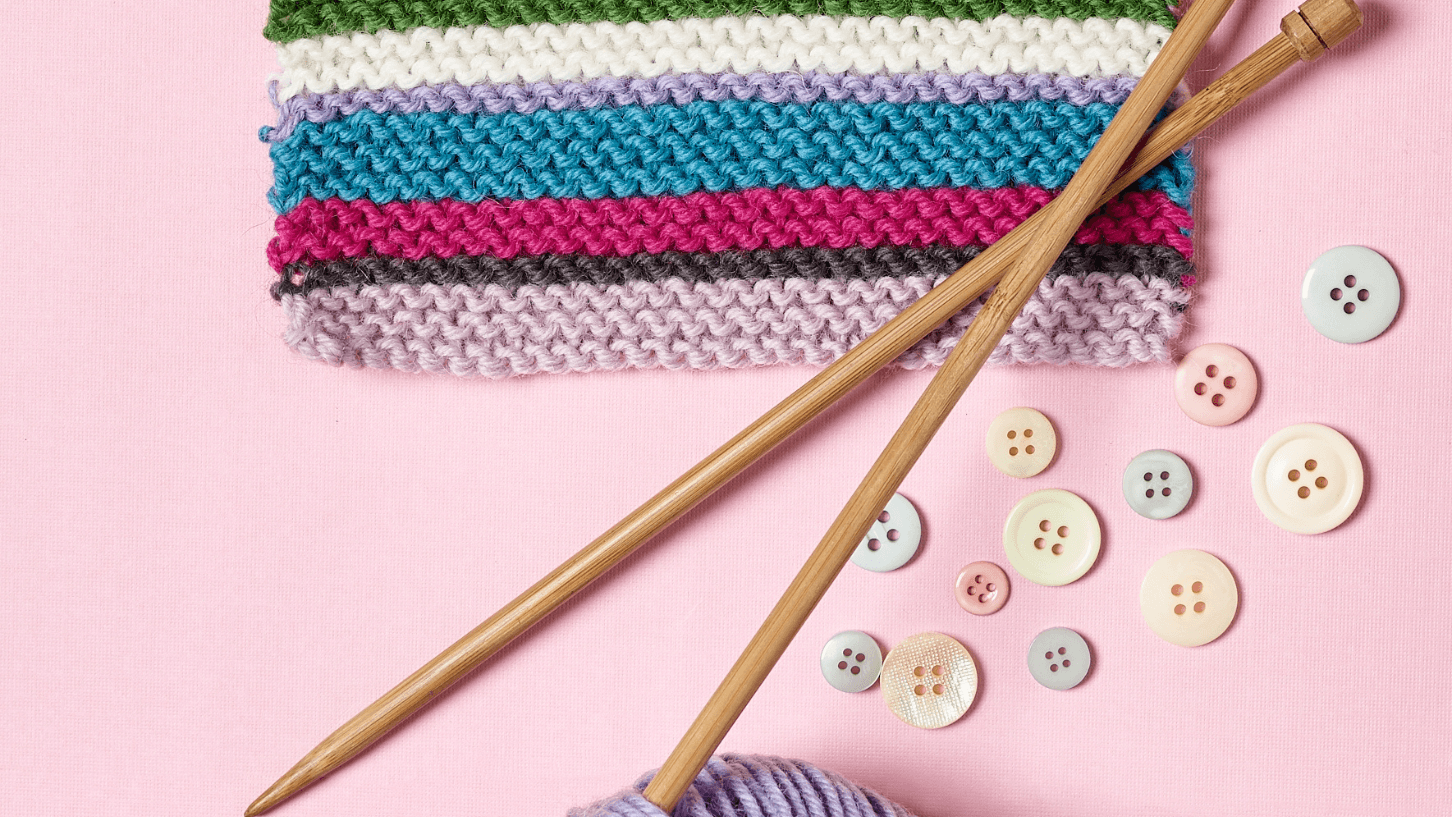
Extra knitting supplies
While all you really need are the products we've listed above, there are a few extra things such as knitting tools and accessories that will make your knitting journey a little easier if you can get your hands on them. They include:
- A knitting counter to help keep track of your rows and stitches
- Stitch markers come in heaps of cute varieties and are used to mark important places in your knitting. They can either slide over your needle or be attached to the yarn itself.
- A knitting gauge helps you determine the size of a needle and is also handy for checking how many stitches you are making per inch.
Keep your yarn, needles and patterns neat and tidy in a knitting bag or basket.
How to set up your area to start knitting
Now you have everything you need, where is the best place to knit? At the kitchen table? On the couch, or maybe on your bed? No matter where you choose to knit, that space can be improved for your hobby in a couple of interesting ways:
The seating
Because you'll be mostly seated when you knit, a supportive and comfortable chair is vital. Many knitters prefer to have their feet up when they knit, as it tilts the body back and decreases the angle at which you need to have your head. Either a recliner with an extendable footrest or a footstool is useful here.
A few comfy cushions nearby are also a good idea, as you can use them to support your elbows and back if you start to get tired. Make an effort to keep your shoulders relaxed as you knit, otherwise you'll be quite sore after your knitting session.
The lighting
The source of light where you choose to knit needs to be bright enough that you can see the details in what you're doing, but not so harsh that it hurts your eyes. Natural light is perfect for knitting by, so if you're near a window you'll have an easy source of comfortable light. But if you're knitting at night or in a room without access to sunlight, LED lights are your best bet. They give off a cool white light similar to sunlight and will help keep you alert. Avoid fluorescent lights and overly warm tungsten bulbs.
The mood
Get yourself in the creative zone by setting the mood in your knitting area. You may like to have colour swatches of your favourite yarns on a board to inspire your next project, or a home diffuser with invigorating scents like peppermint, orange and sandalwood. Scented candles can also work, but keep them well away from your supplies!
Finally, put your phone away or on silent. One of the joys of knitting is when you get in the zone and can let your mind drift - don't let pesky scam calls and random messages bring you out of it!
The snacks
While letting your mind drift as you knit is fun, don't go for so long that you forget to stay hydrated! Have a water bottle on hand, preferably one you can drink from without losing your knitting position.
In terms of snacks, avoid ones that are going to leave a powdery or sticky residue that you could then transfer to your yarn. Nuts, berries and crackers are all small, tasty snacks that you can eat with one hand.
Knitting is also a great hobby to take with you. If you know you are in for a long wait, like at a doctor's office or before an event, bring out your knitting needles and have fun passing the time!
Basic knitting techniques
Now that you're ready to learn how to knit, here are some techniques ideal for beginner knitting to get you started.
Create a slip knot - a slip knot is what will attach the yarn to your needle so you can start stitching.
- Take a length of yarn with about 15-20cm spare on the end.
- Pinch the middle of your length together to make a loop. Have the loose end lying underneath the part of the yarn that is connected to the rest of the ball.
- Pull the end that is connected to the yarn behind and then through the loop you made and pull through halfway, then insert your knitting needle through the centre and pull tight.
Yay, you've just made a slip knot!
Casting on - there are many ways of casting on either with 1 or 2 needles - the following is the easiest:
Single cast on -
- Hold your knitting needle with the slip knot in your right hand. Keeping the working yarn (ball end) in your left hand with your fingers, place your thumb over the yarn.
- Bring your thumb down to loop the yarn around your thumb and bring your hand back up to an upright position so it is looped anticlockwise around your thumb.
- Bring your knitting needle in your right hand to below the yarn at the base of your thumb and push it up through the loop alongside your thumb.
- Take your thumb out leaving the new loop on the knitting needle.
- Gently pull the loop until it is snug on the needle but take care not to tighten it too far.
You can keep repeating these steps until you have enough stitches on your needle
Garter stitch-all stitches knit -
- Begin garter stitch by holding the needle with the cast-on in your left hand and the other needle in your right hand. Hold the yarn in your right hand.
- Push the tip of the right needle into the first loop on the left needle. The needle tips will be making a T or X pattern. Make sure the working yarn lies towards the back of your needles.
- Wrap the yarn in your right hand around the right needle finishing at the back of the work.
- Pull the right needle out through the loop taking the new loop with the needle.
- Drop the original loop off the left needle. The first knit stitch should now be on the right needle.
Cast off - get your finished project off your needles and nicely tied off so it doesn't unravel!
- Start a new row and knit two stitches. Slide your left needle into your first stitch on your right-hand needle.
- Pull this stitch over the second stitch until it comes off the needle.
- Knit one more stitch and repeat the above steps until you have one stitch remaining.
- Cut off a 25cm yarn tail and wrap this around your needle.
- Pull the stitch through the yarn tail and then pull the tail through the needle.
- Pull the tail to tighten up your project.
You're finished! Either snip off the tail or thread it into your project so it's not visible.
Tension
Always check the tension of your knitting to ensure you get the correct finish to the project. Most patterns and yarn have a suggested tension to knit to, and this needs to be checked to ensure you are getting the correct number of stitches and rows in a 10cm square. If you are getting more rows and stitches then increase your needle size, use smaller needles for knitting that are too tight.
Easy knitting patterns for beginners
Now that you have the basics of knitting down, here are some easy projects that will show you how to knit a variety of cosy accessories!
Wool to be Wild Patchwork Scarf
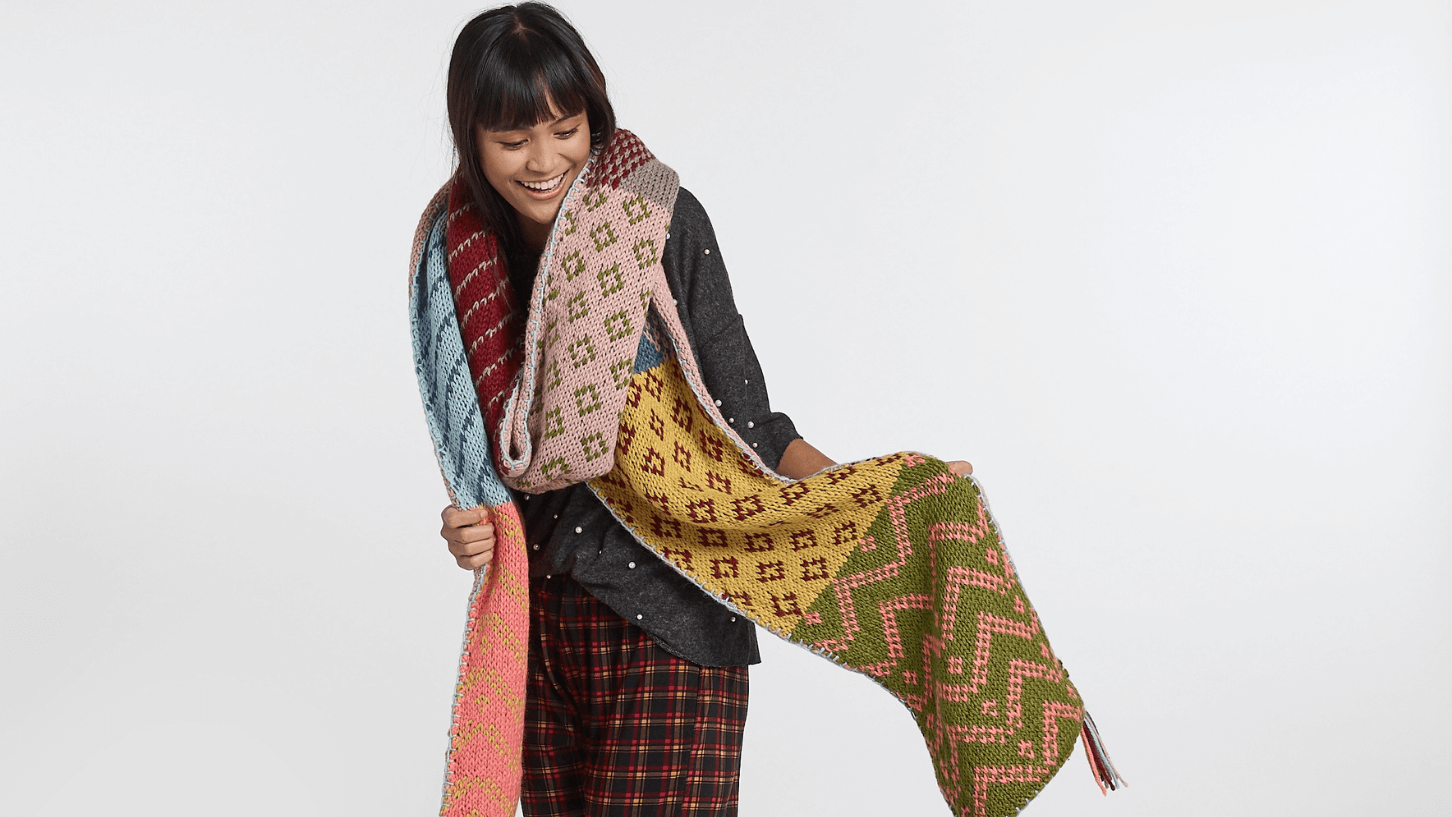
Scarves are one of the most popular knitting patterns for beginners, and this project will show you why. All the details of making this gorgeous scarf can be found here!
Textured Beanie
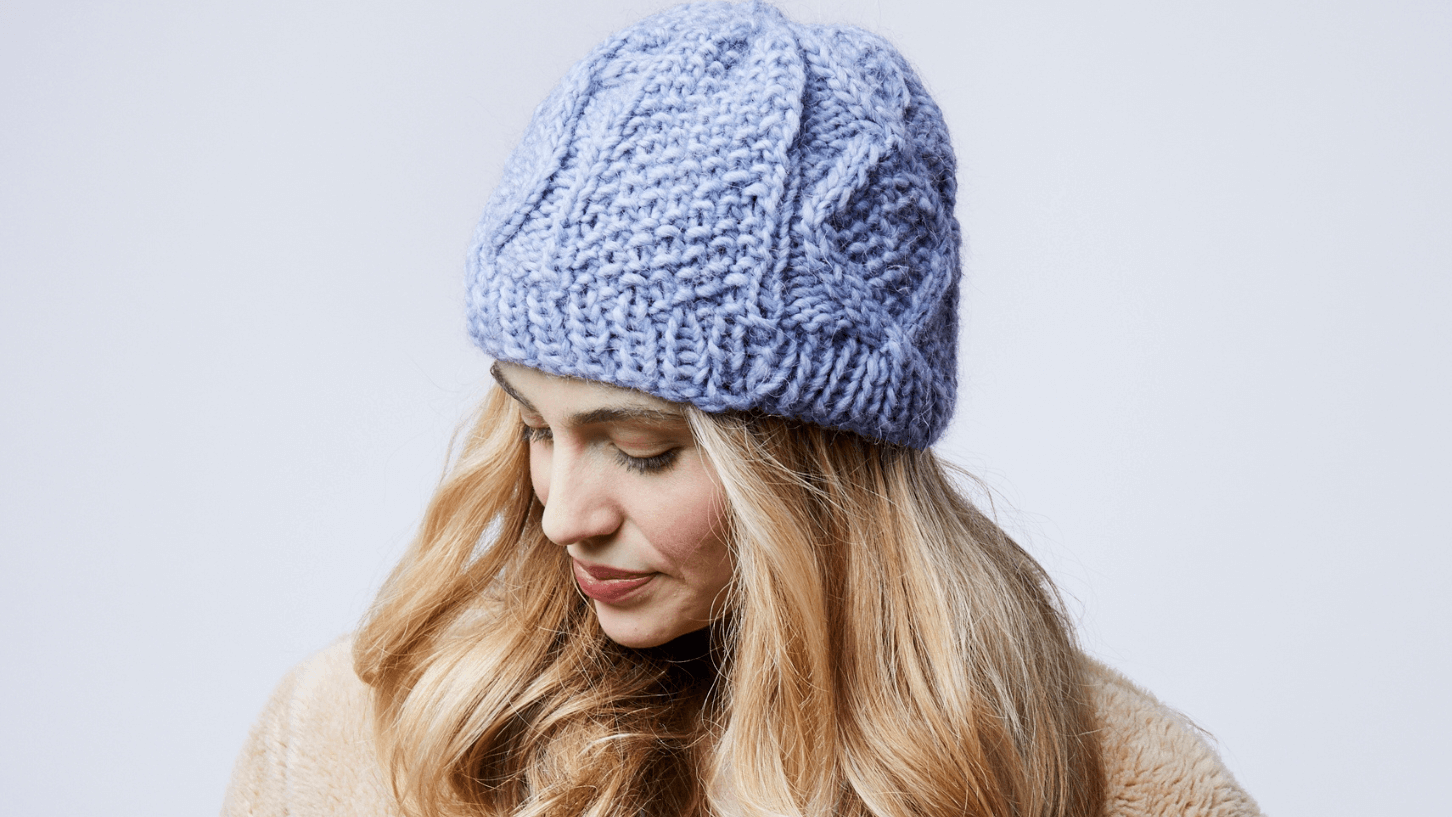
Beanies make great gifts, and this beautiful textured beanie is great to either keep for yourself or give to a loved one. Follow the instructions on our website to make it here!
Diagonal Knit Blanket Squares
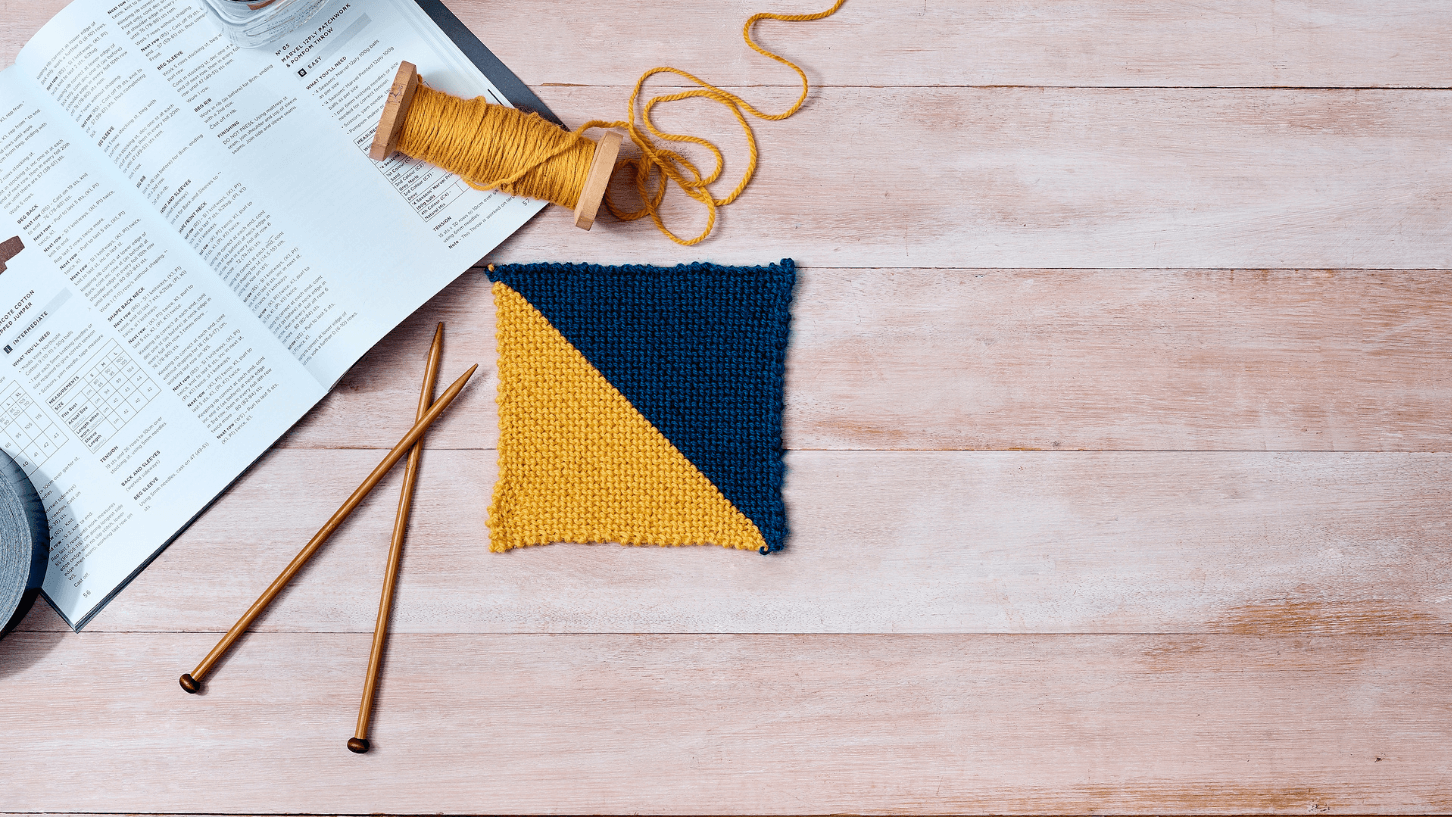
Creating a simple square like this one is your gateway into making quilts, cushions, scarves and more. Get started with our handy project page here!
Common knitting mistakes and how to fix them
- Dropped stitch - this is a common mistake made by many beginners, and it's easy to fix so don't panic! You'll notice a slipped stitch can occur when you pop your project away mid-stitch or if you're just not paying attention as you knit. To fix one that has only just slipped, pinch below the dropped stitch and insert the tip of your left needle into the stitch from the front.
If you have only noticed your dropped stitch after you've moved on from its position, there's a little more you need to do. Spread the completed stitches out on your left needle so they are clearly visible and pick up the dropped stitch with your right needle. Use your second needle to go underneath the yarn strand above your dropped stitch, and pull the dropped stitch over the strand above it and off the needle. Continue doing this using the strands above your dropped stitch until it has 'climbed' to the top of the needle. Then place the dropped stitch back on your needle and continue knitting! - Tight stitches - as you knit, are you finding it harder and harder to get your needle through your stitches? It may be that you are knitting too tightly! If this happens, try moving down a size in needles.
And take note of how you are knitting as well. Are you knitting into your stitches using only the tips of your needles, instead of letting them slide down? This will cause your stitches to only be as large as the tip rather than the body, so make sure to let them go the whole way up the length of the needle. - Yarnovers - are you seeing random holes in your knitting? You can create a gap in your stitches with a technique called a yarnover, which is so easy to do that many beginners do it by accident! It happens when you wrap your yarn around the needle anti-clockwise, which can occur when you switch from a knit to a purl stitch, turn your work around or you are working in the round. Always keep an eye on your yarn if you are switching something up and make sure to keep your working yarn below the needle!
Start knitting with Spotlight
Ready to dive into the incredible world of knitting? Spotlight has all the knitting supplies online you need, plus heaps of knitting projects to inspire you. Want to choose your yarn and knitting accessories in person? Head to your nearest Spotlight store and our team will help you find the supplies you need.
If you're after more hands-on activities, why not check out our weaving or sewing projects, and don't forget to read our fabric and sewing buying guides to find out everything you'll need to complete your next craft session.


